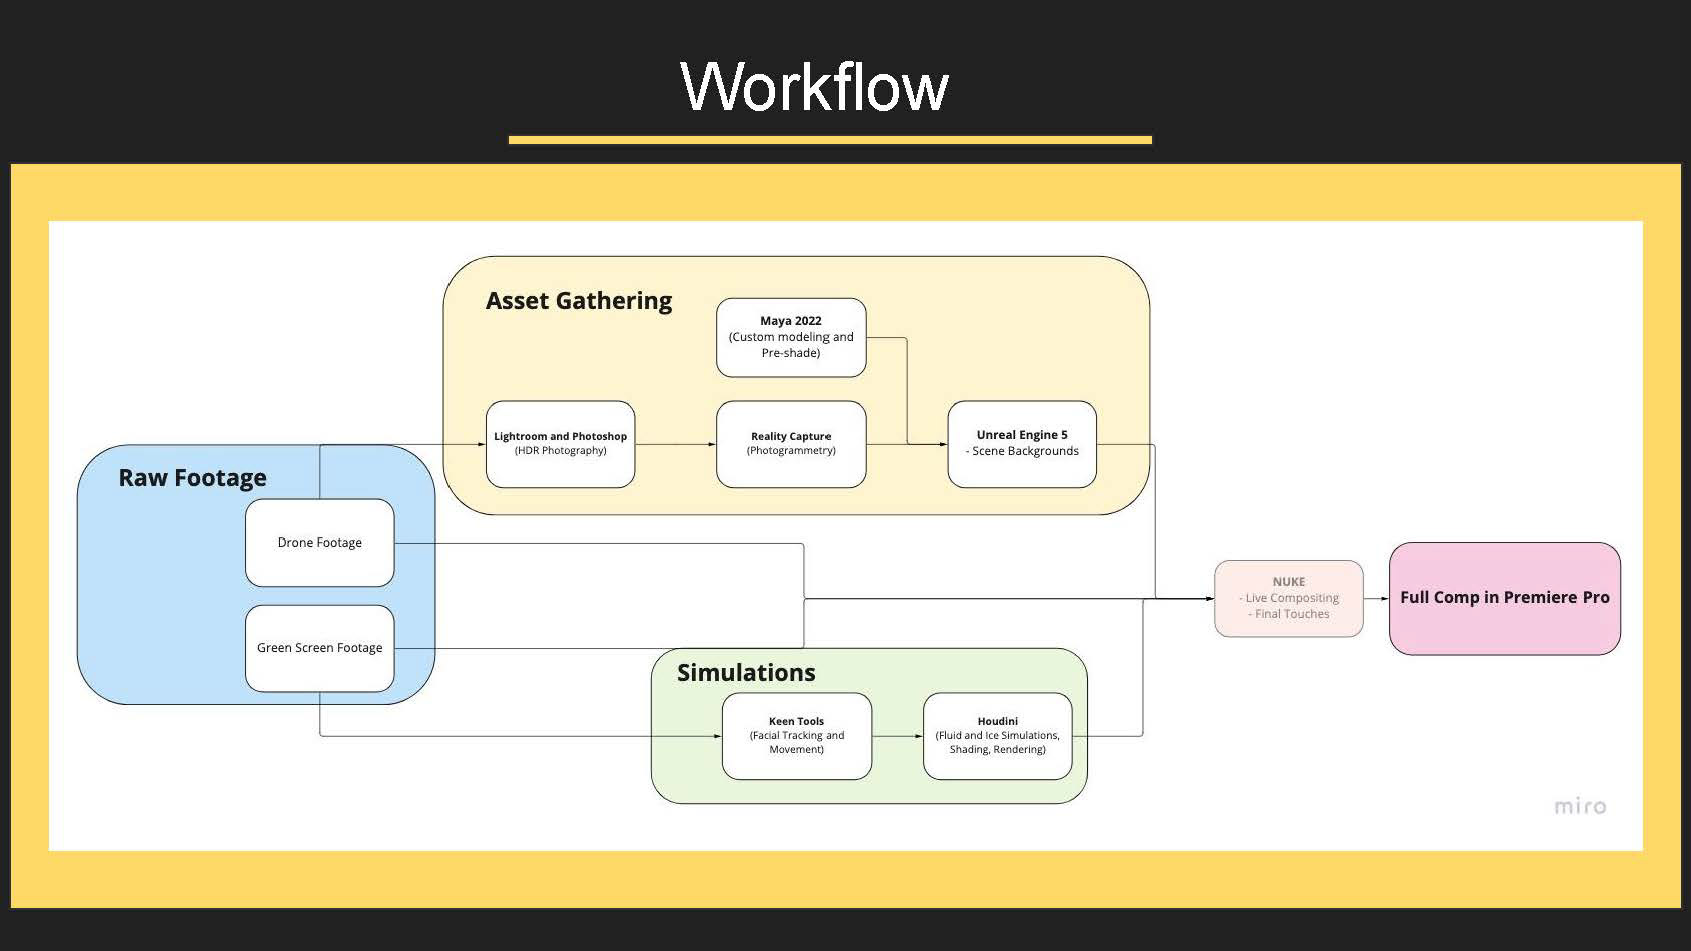
SANM 560, SCAD x Powerhouse VFX was a collaboration class where "Students from a variety of disciplines within the School of Animation and Motion work as a team to research, conceptualize, and develop creative solutions for current design challenges."
Body Augmentation and Seasonal Changes were the two themes provided to serve as guidelines for the project.
We had 3 mentors from Powerhouse VFX: VFX Supervisor Ed Mendez, CG Supervisor Monica Manalo-Hosenball, and Head of 2D Nick Dauphinais. They met with us weekly to provide feedback and advice for our projects.
Week 10 Final Version
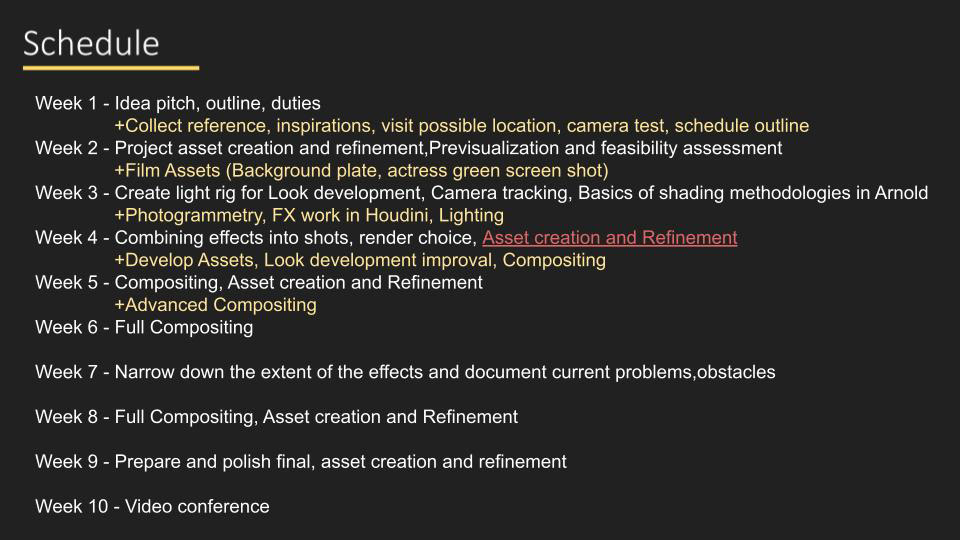
Week 1: Kickoff
In week 1 I was introduced to the class and got to meet the group I was going to be working with for the next 10 weeks. We introduced ourselves and the skills we had on offer and began workshopping our concept.
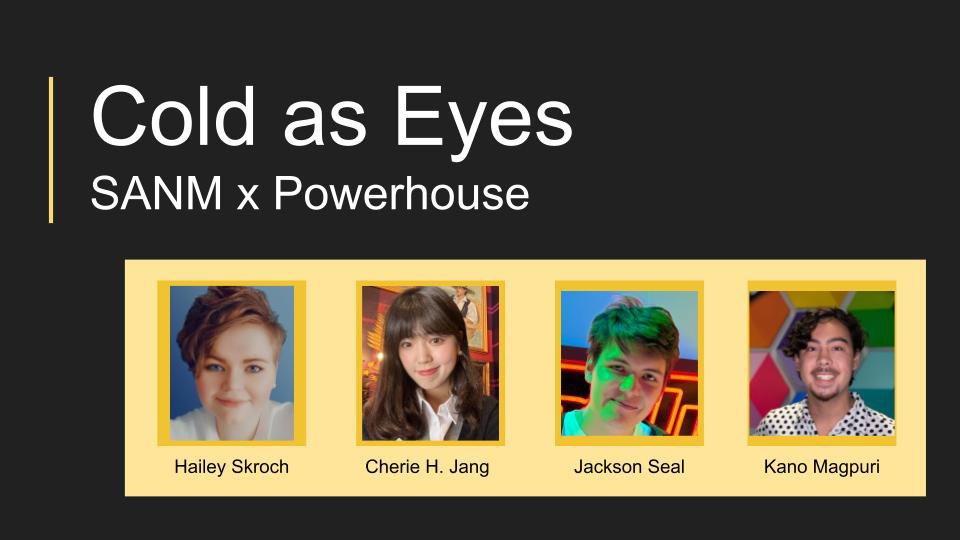
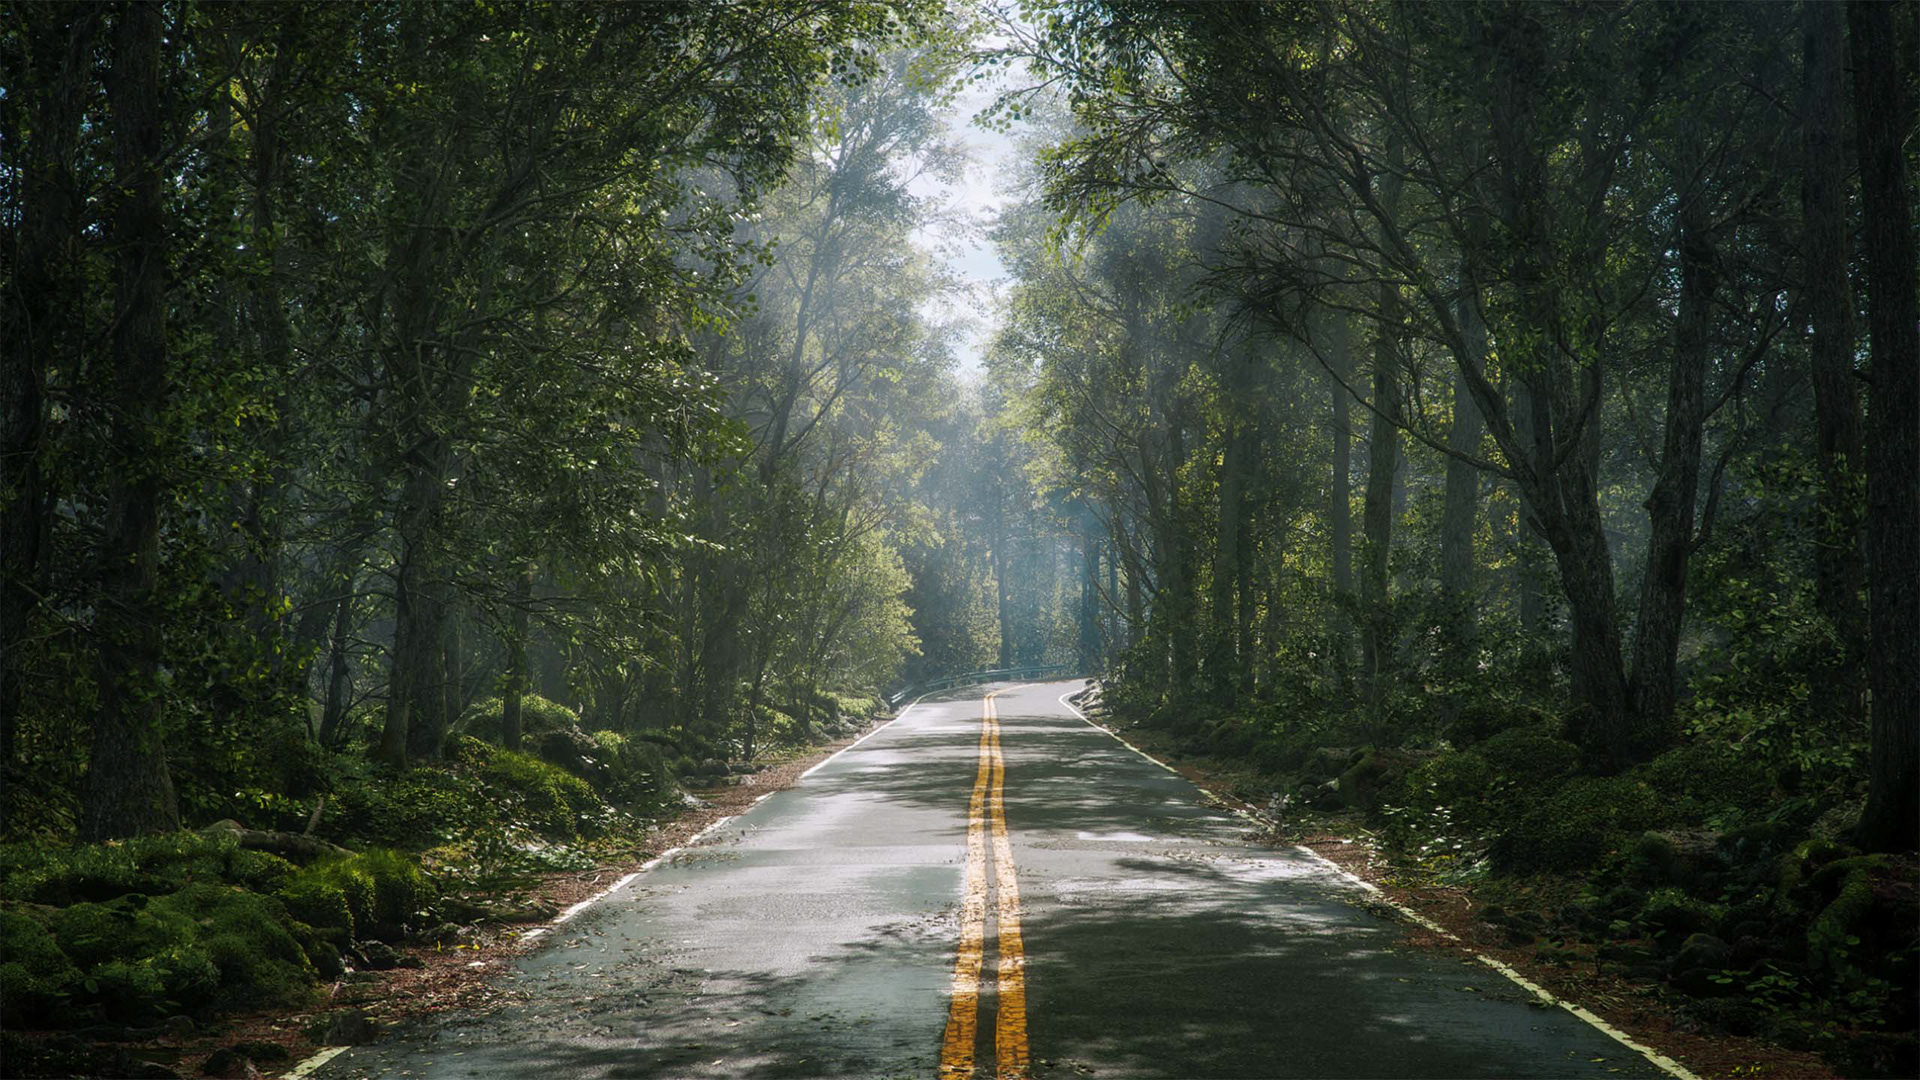
We landed on a combination between the two main ideas of Body Augmentation and Seasons Changing. The story involved a Summer to Winter transition and FX where water would pour from the eyes of our actor and freeze.
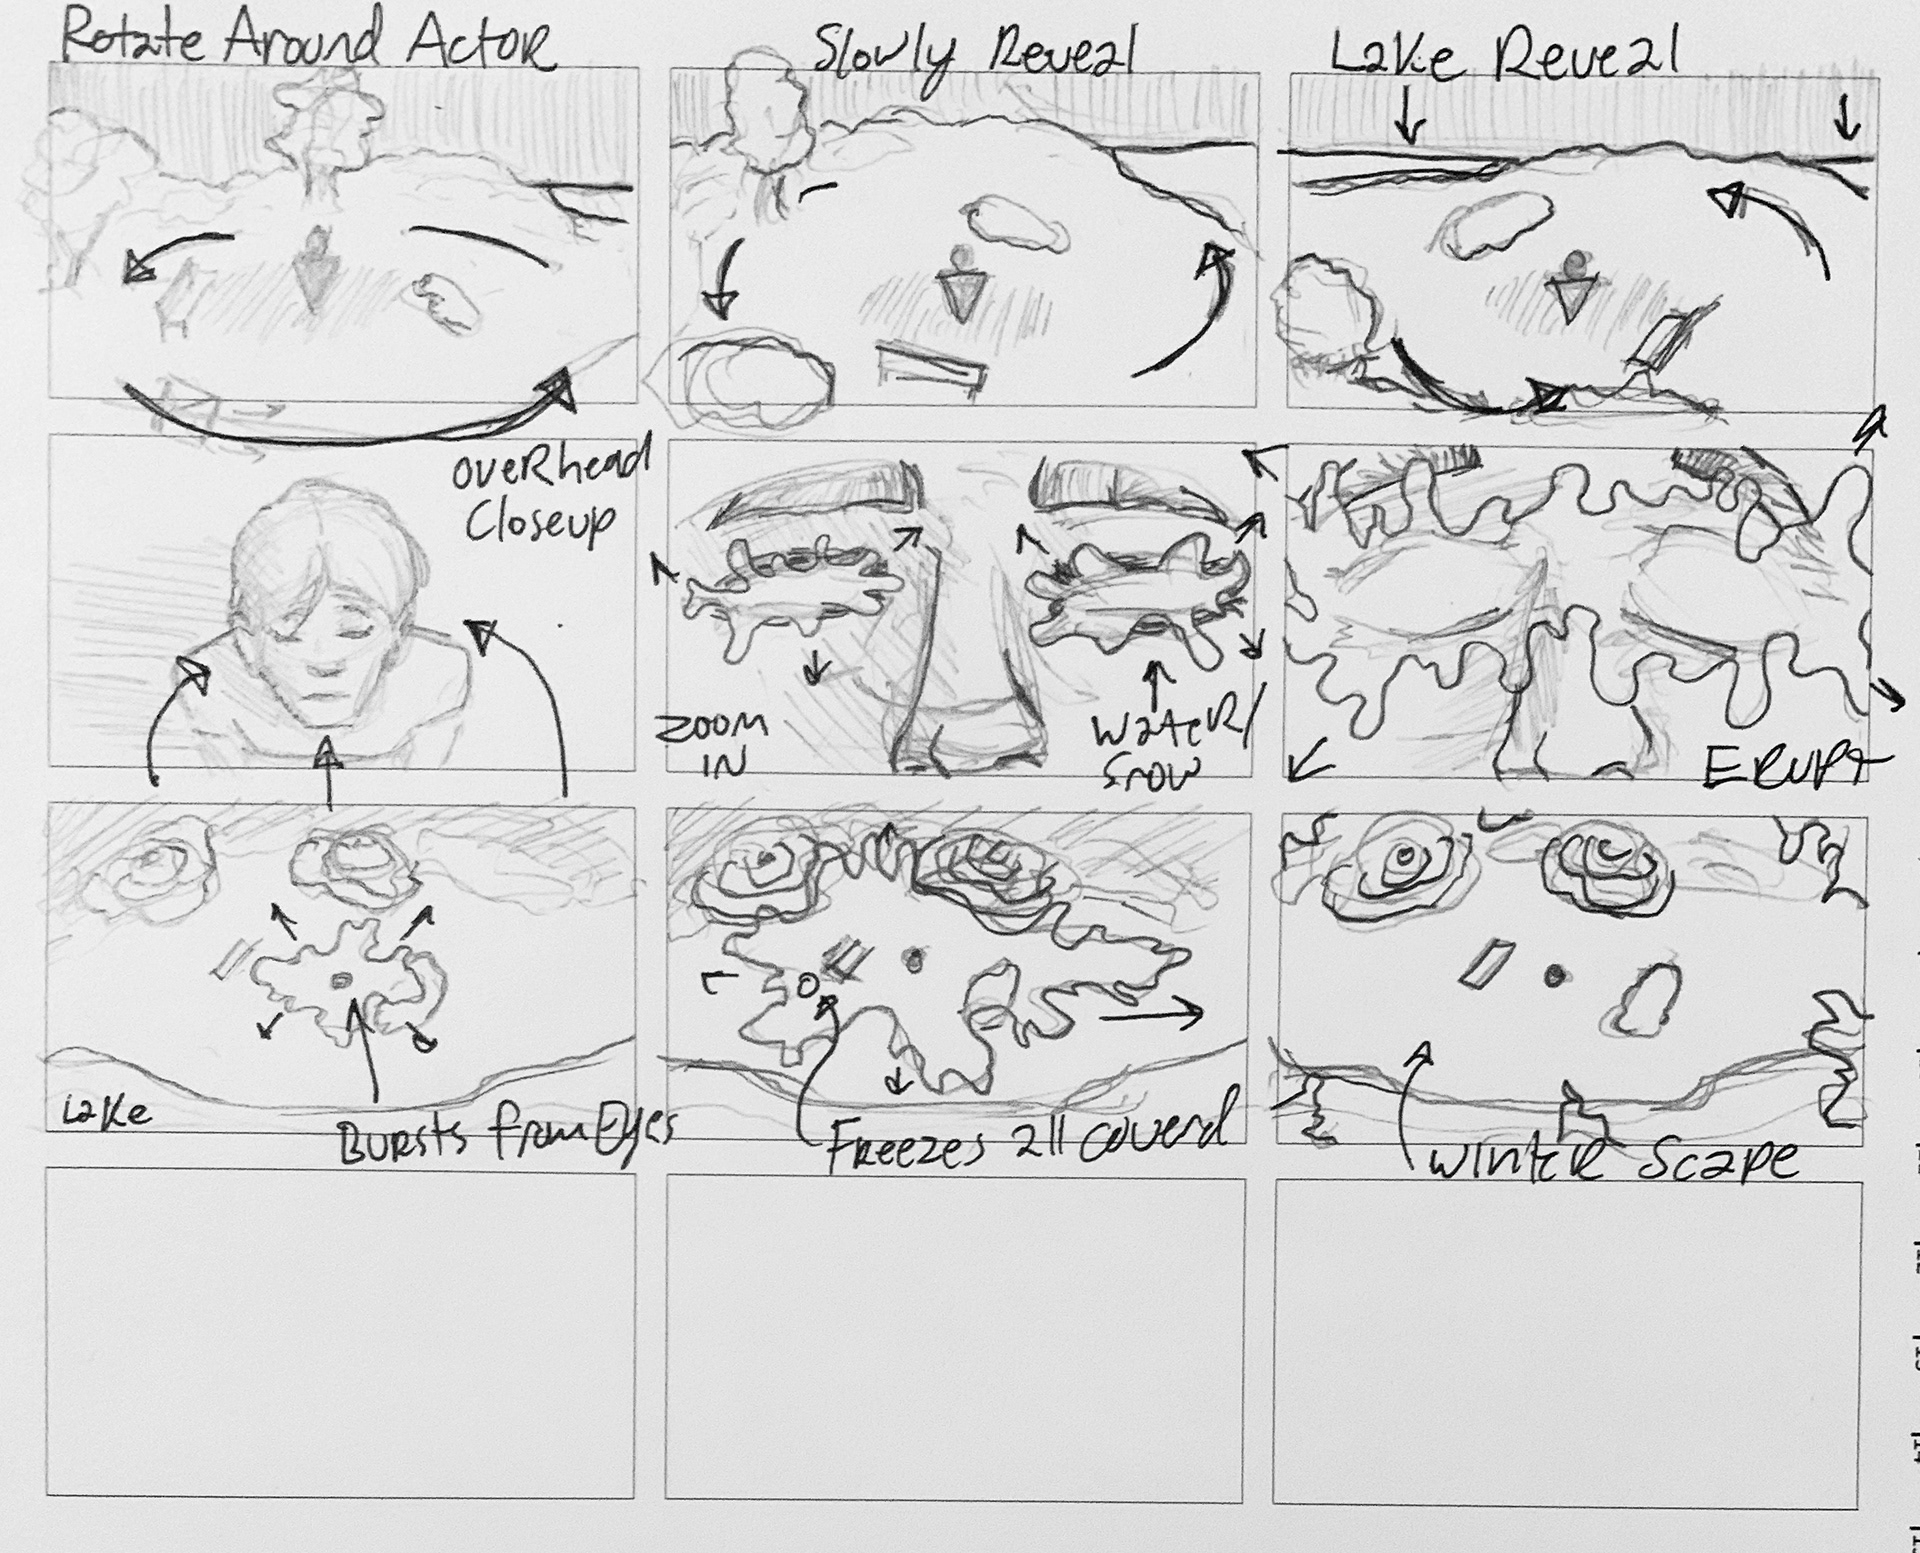
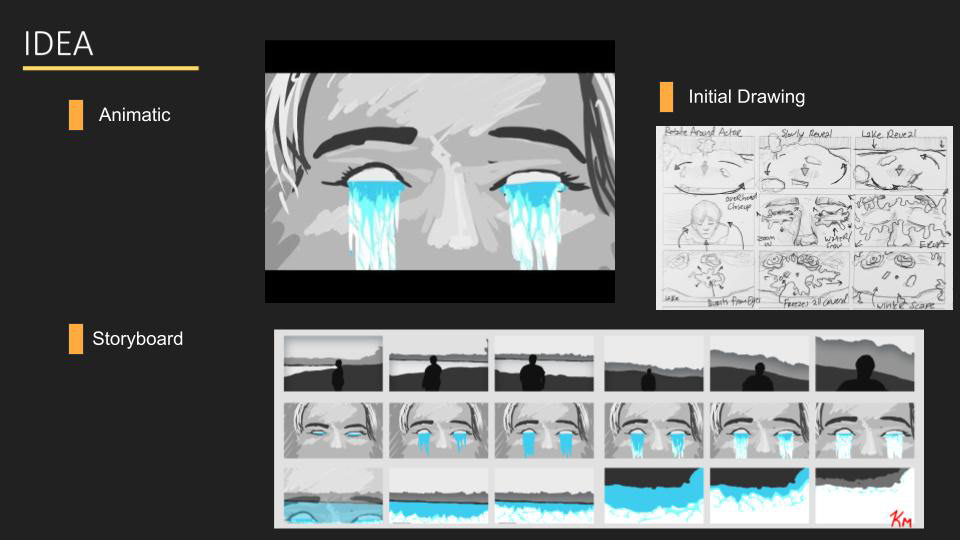
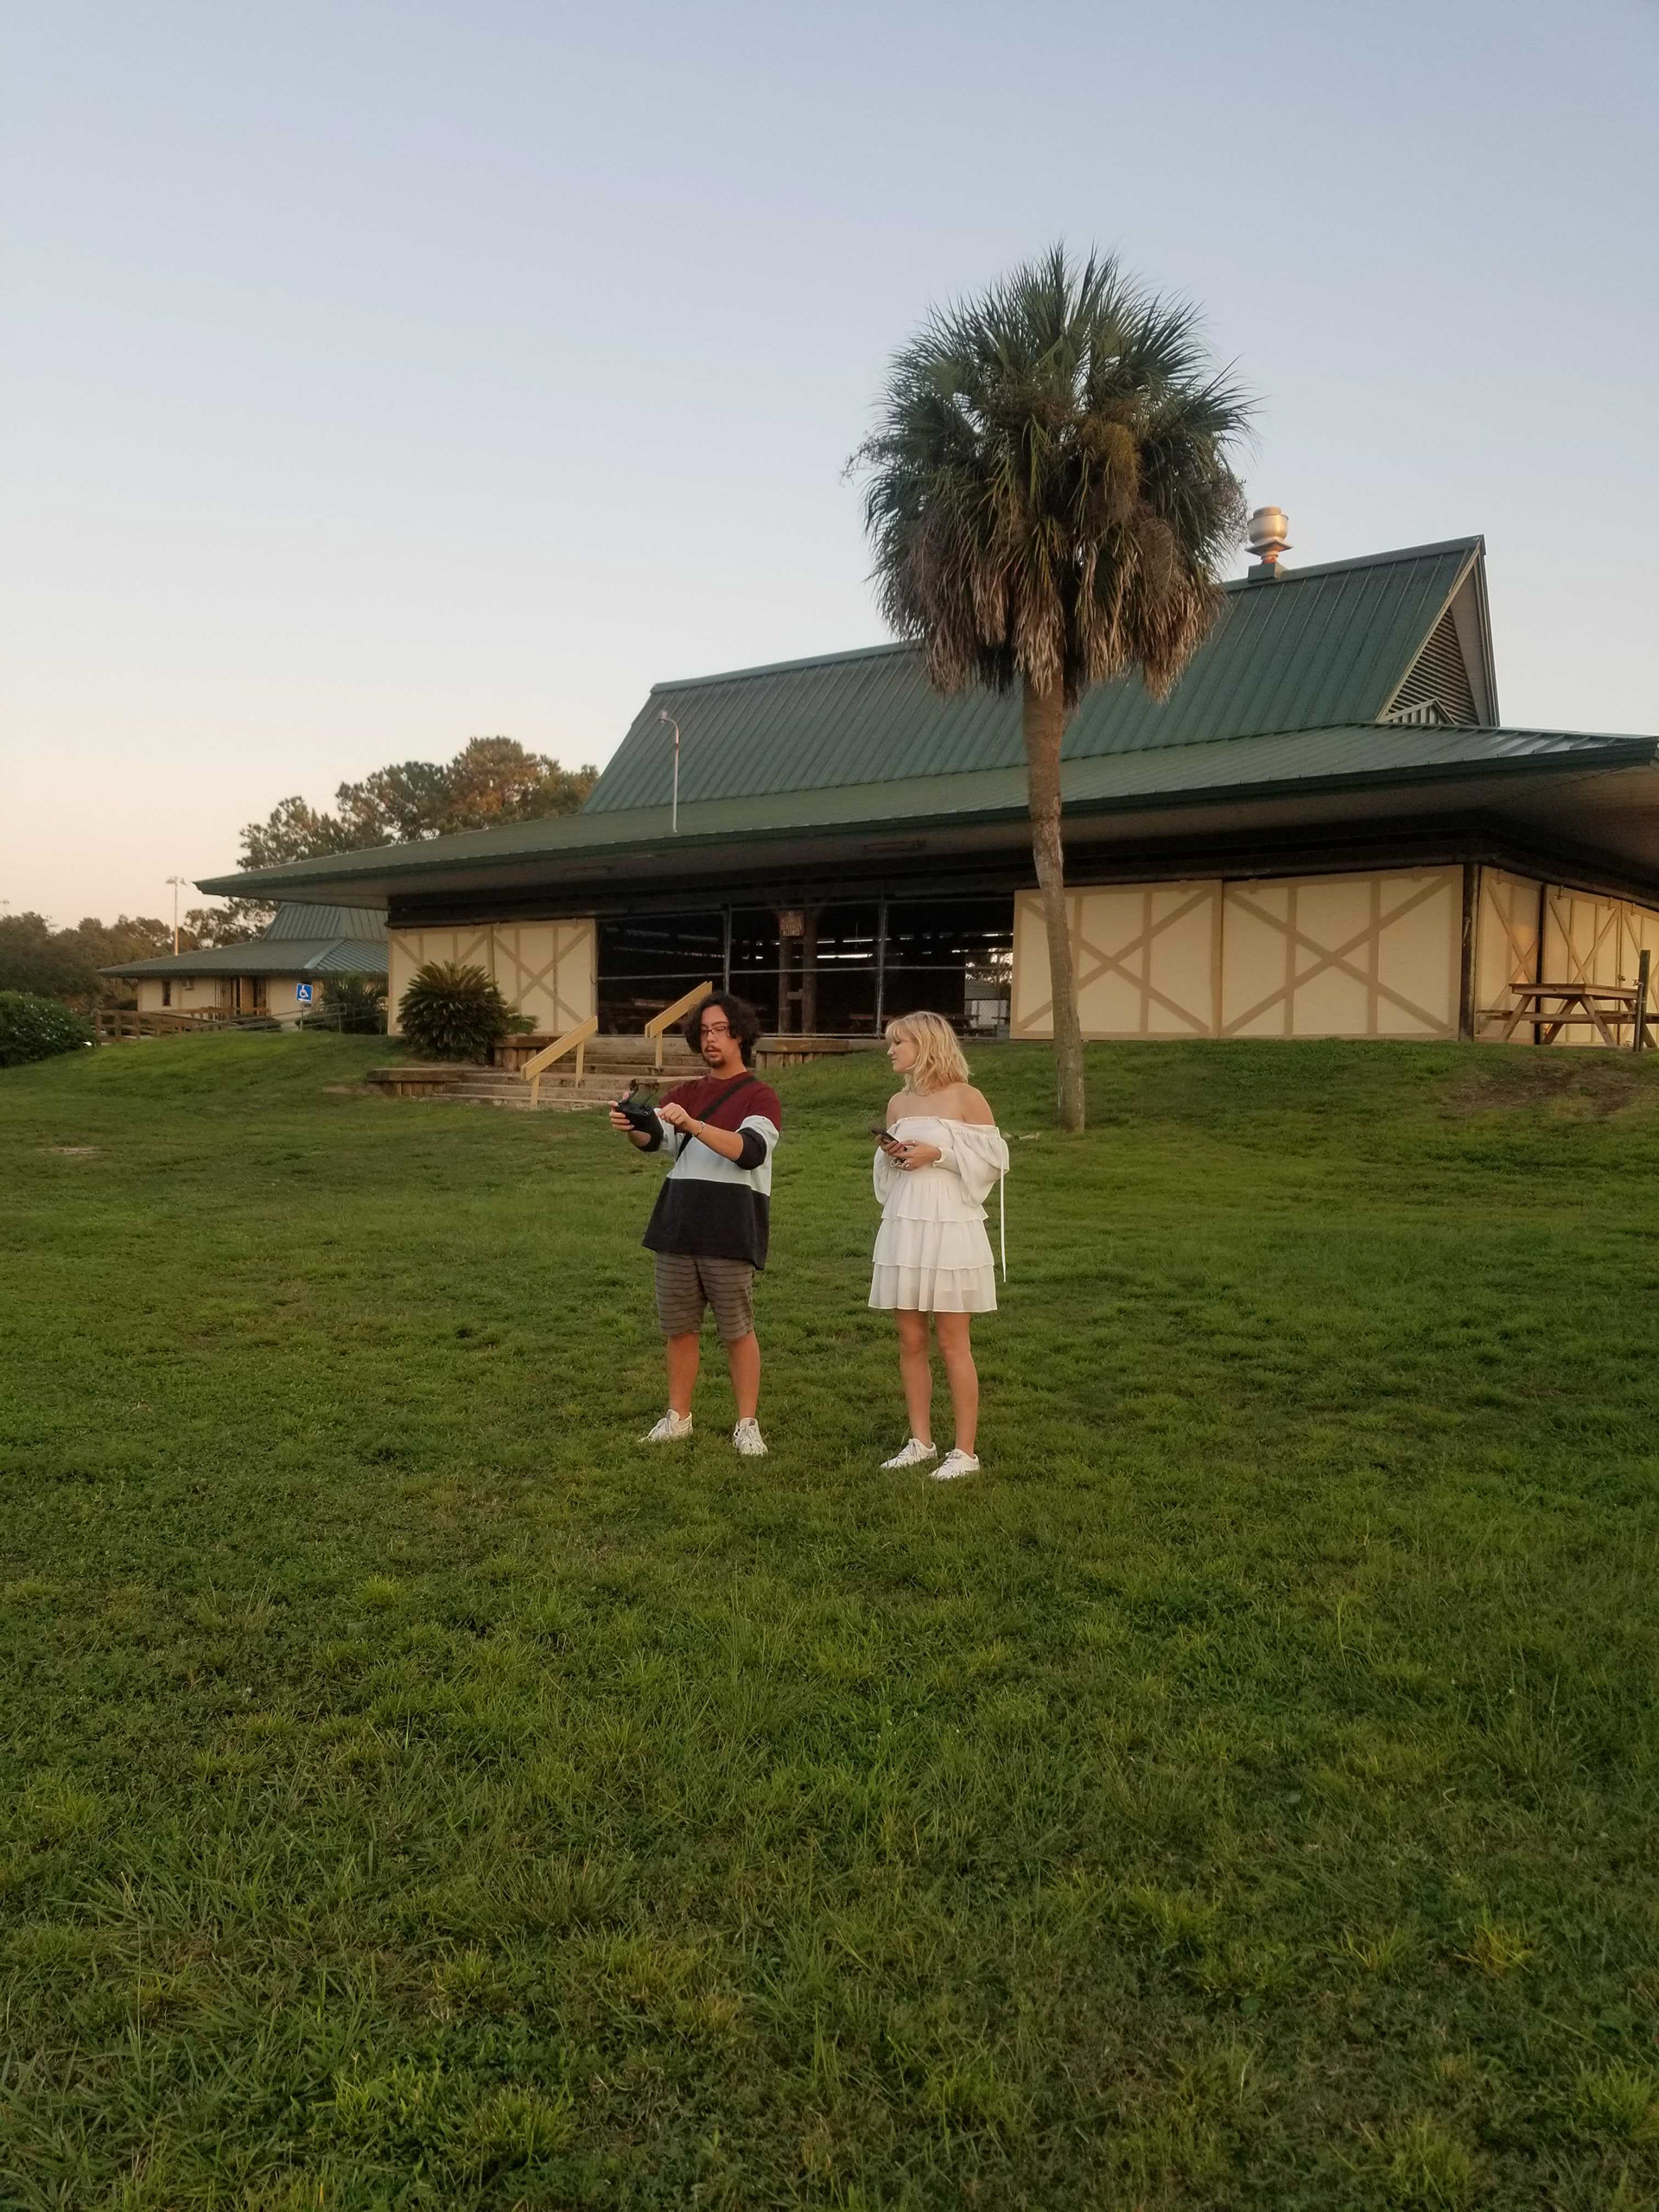
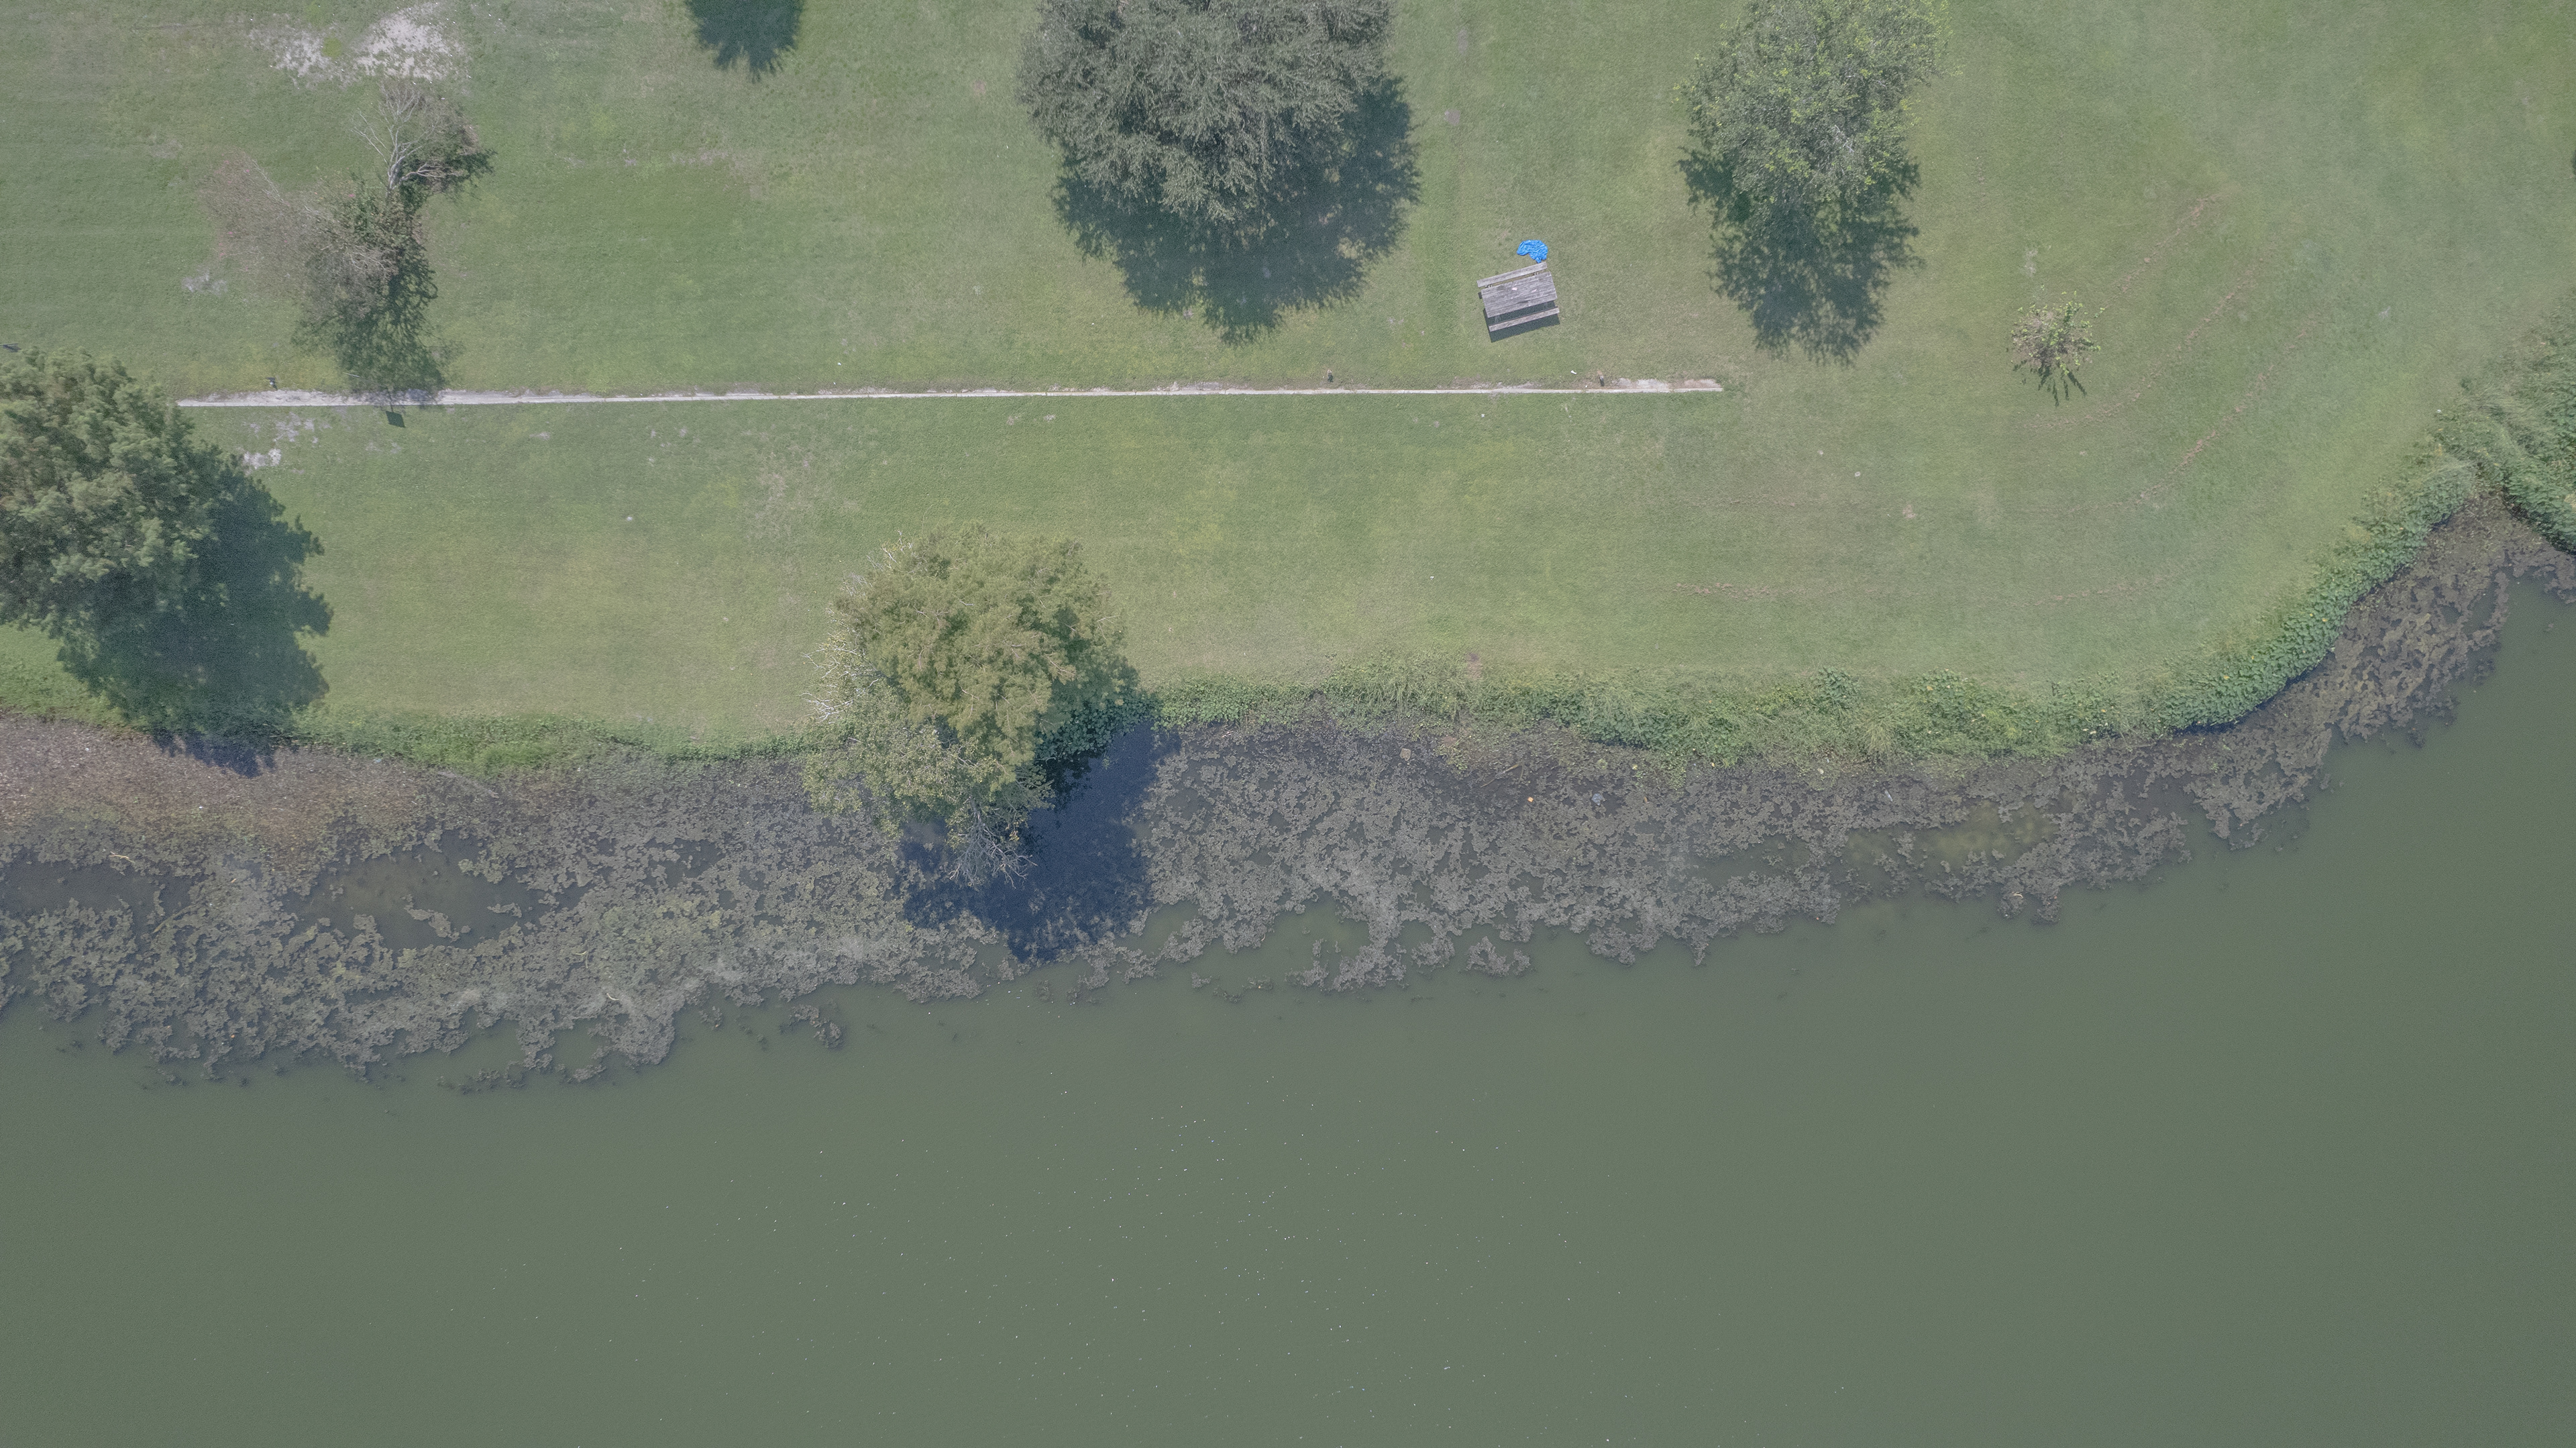
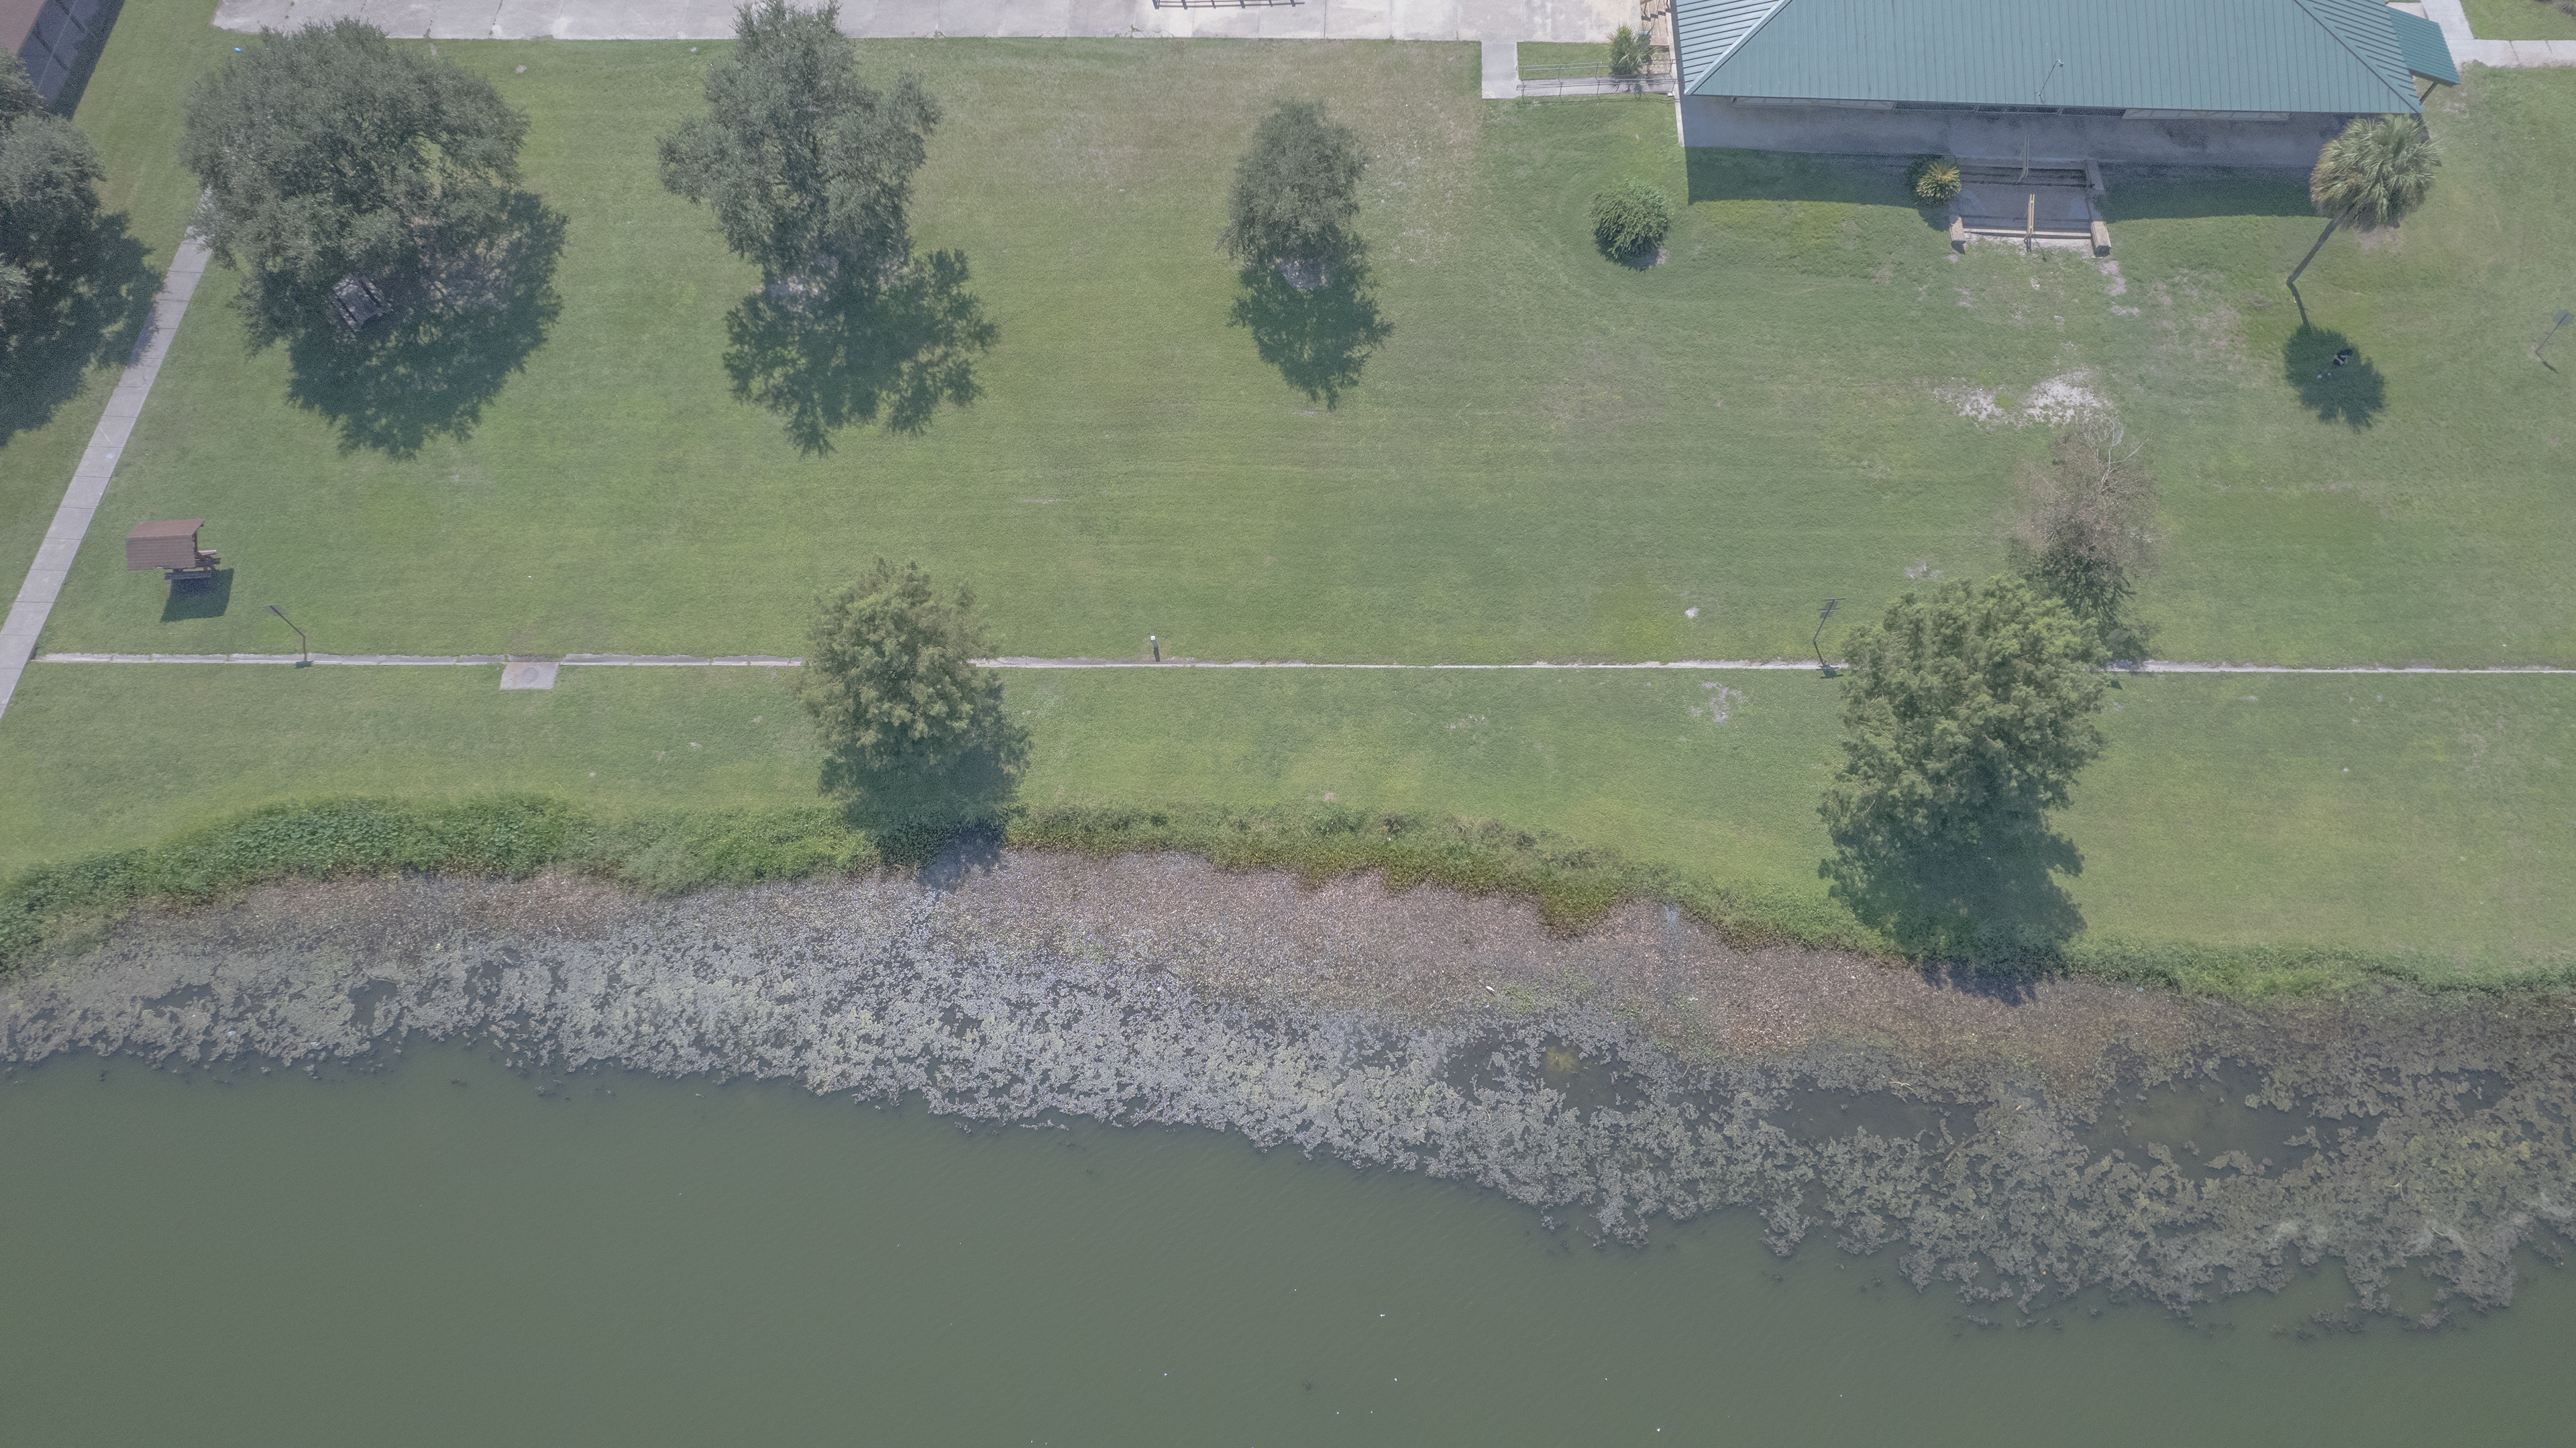
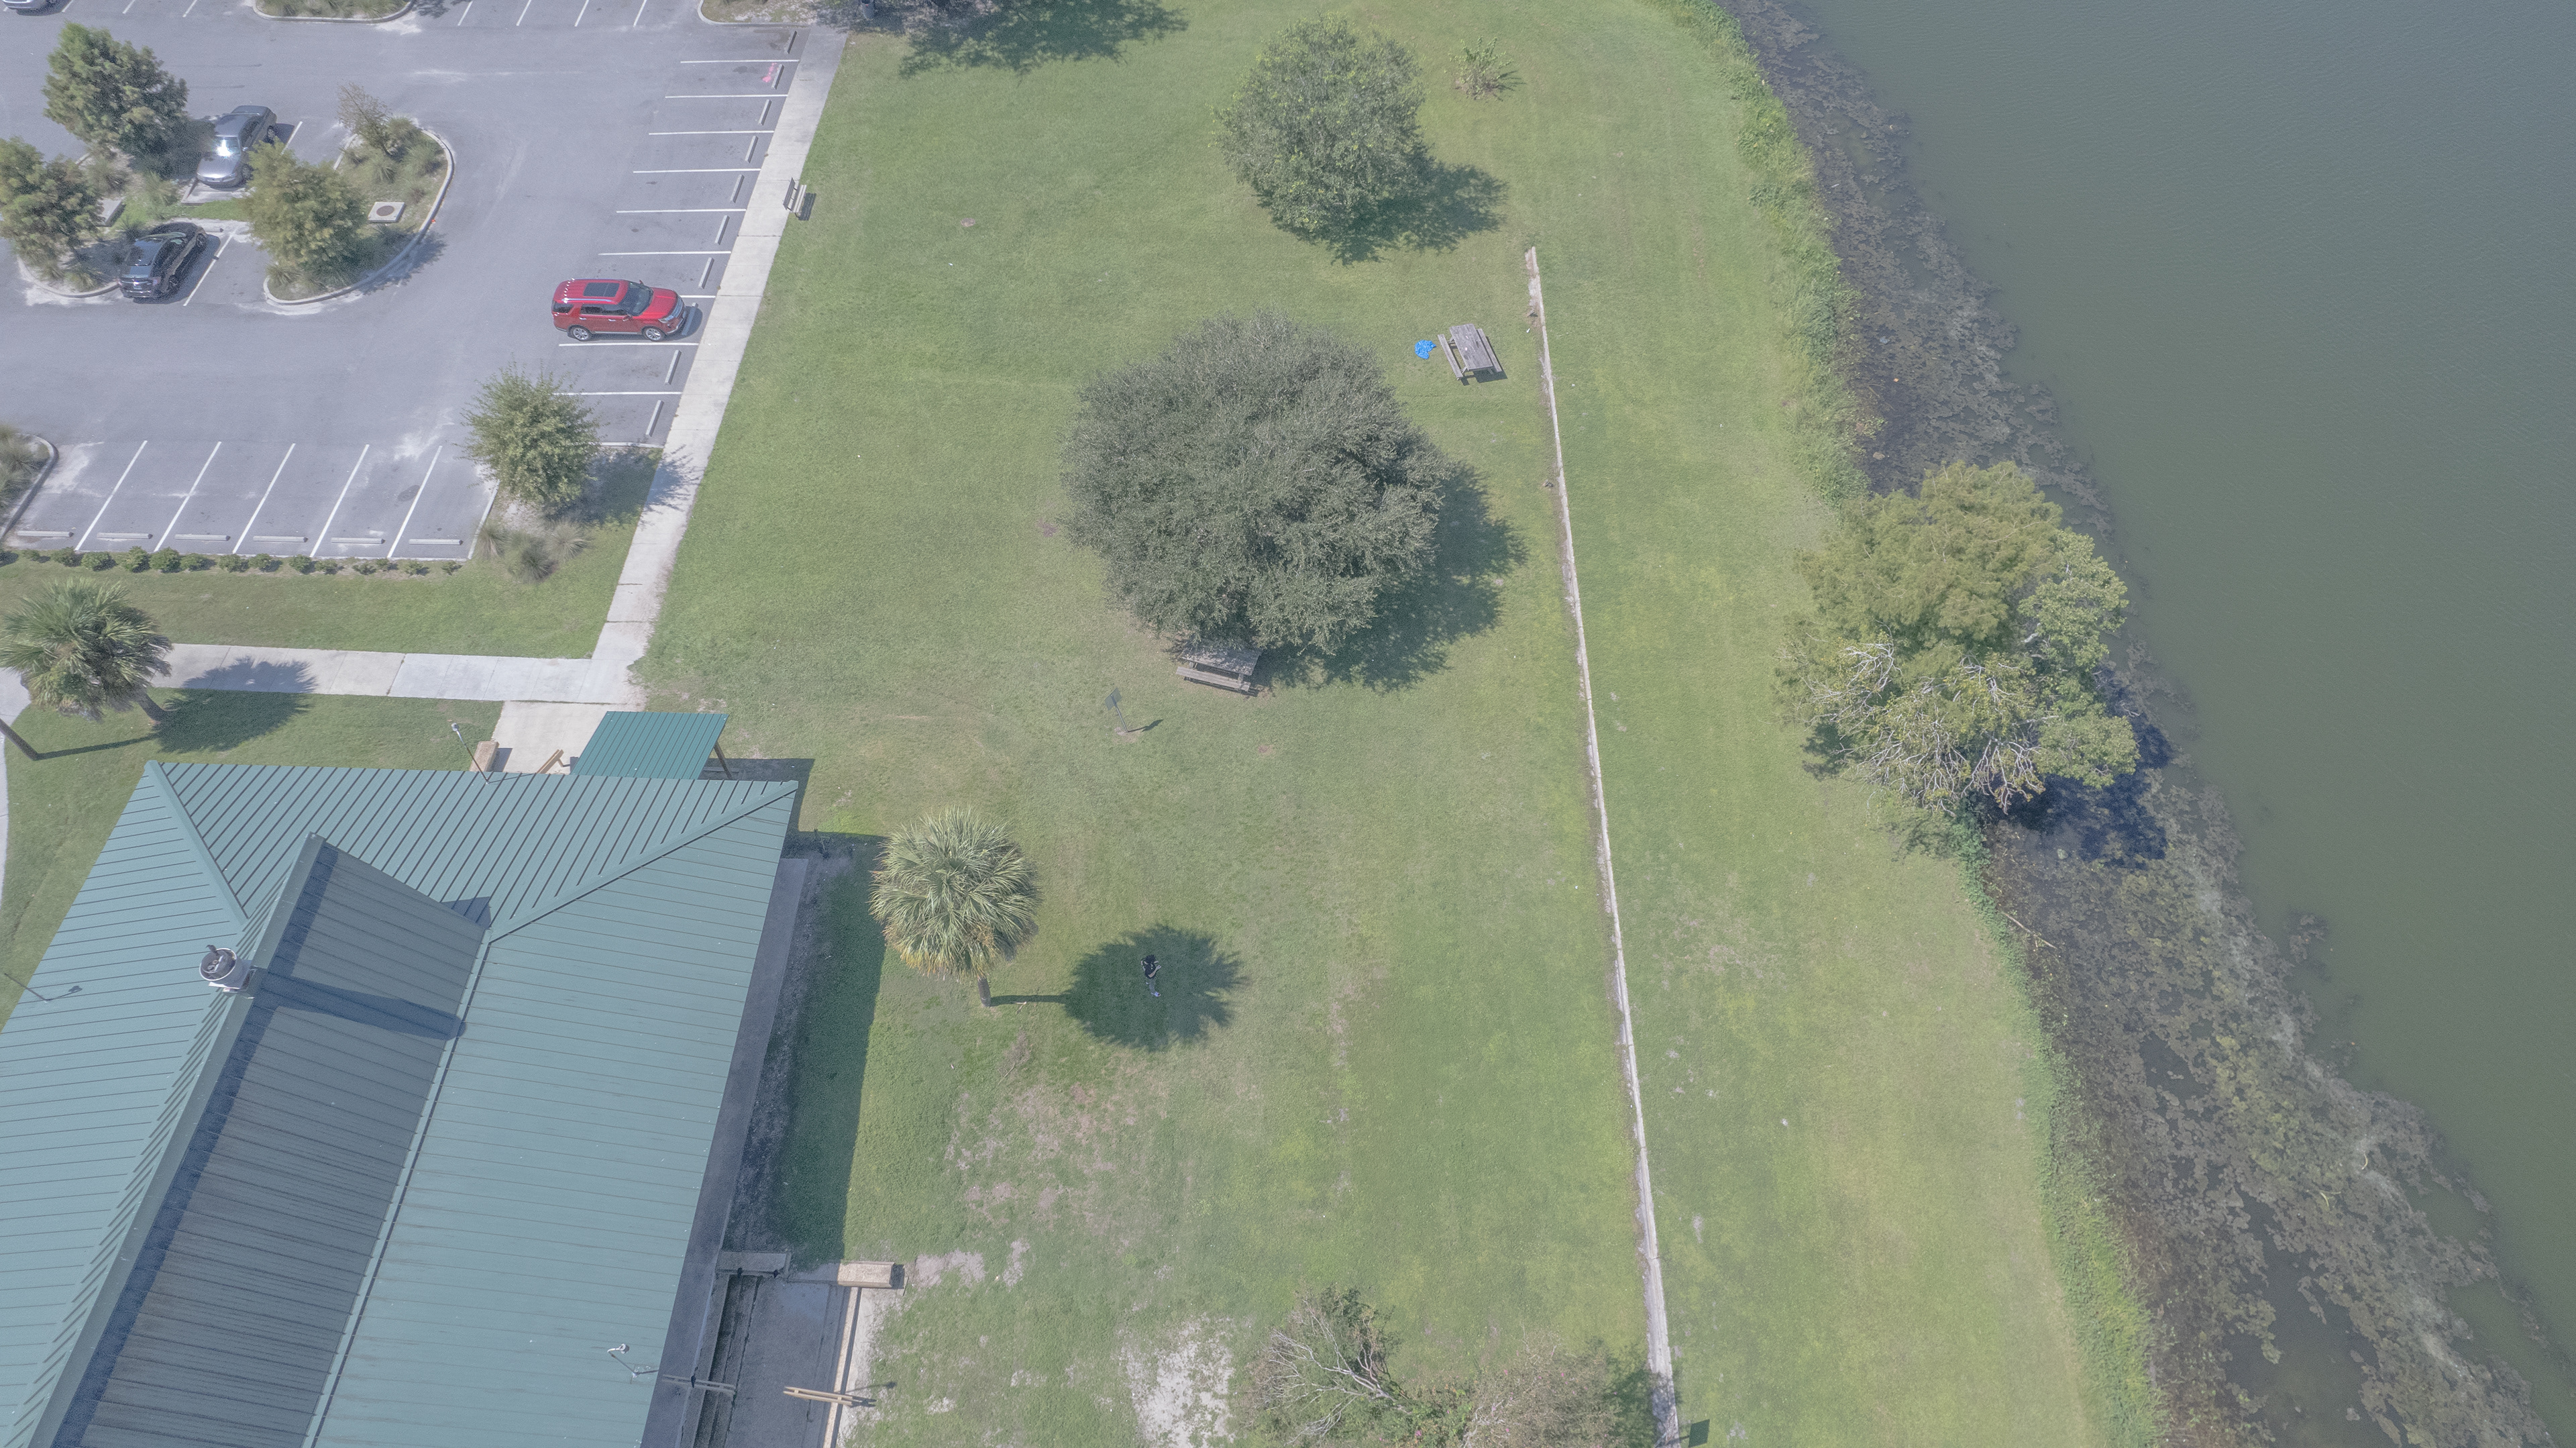
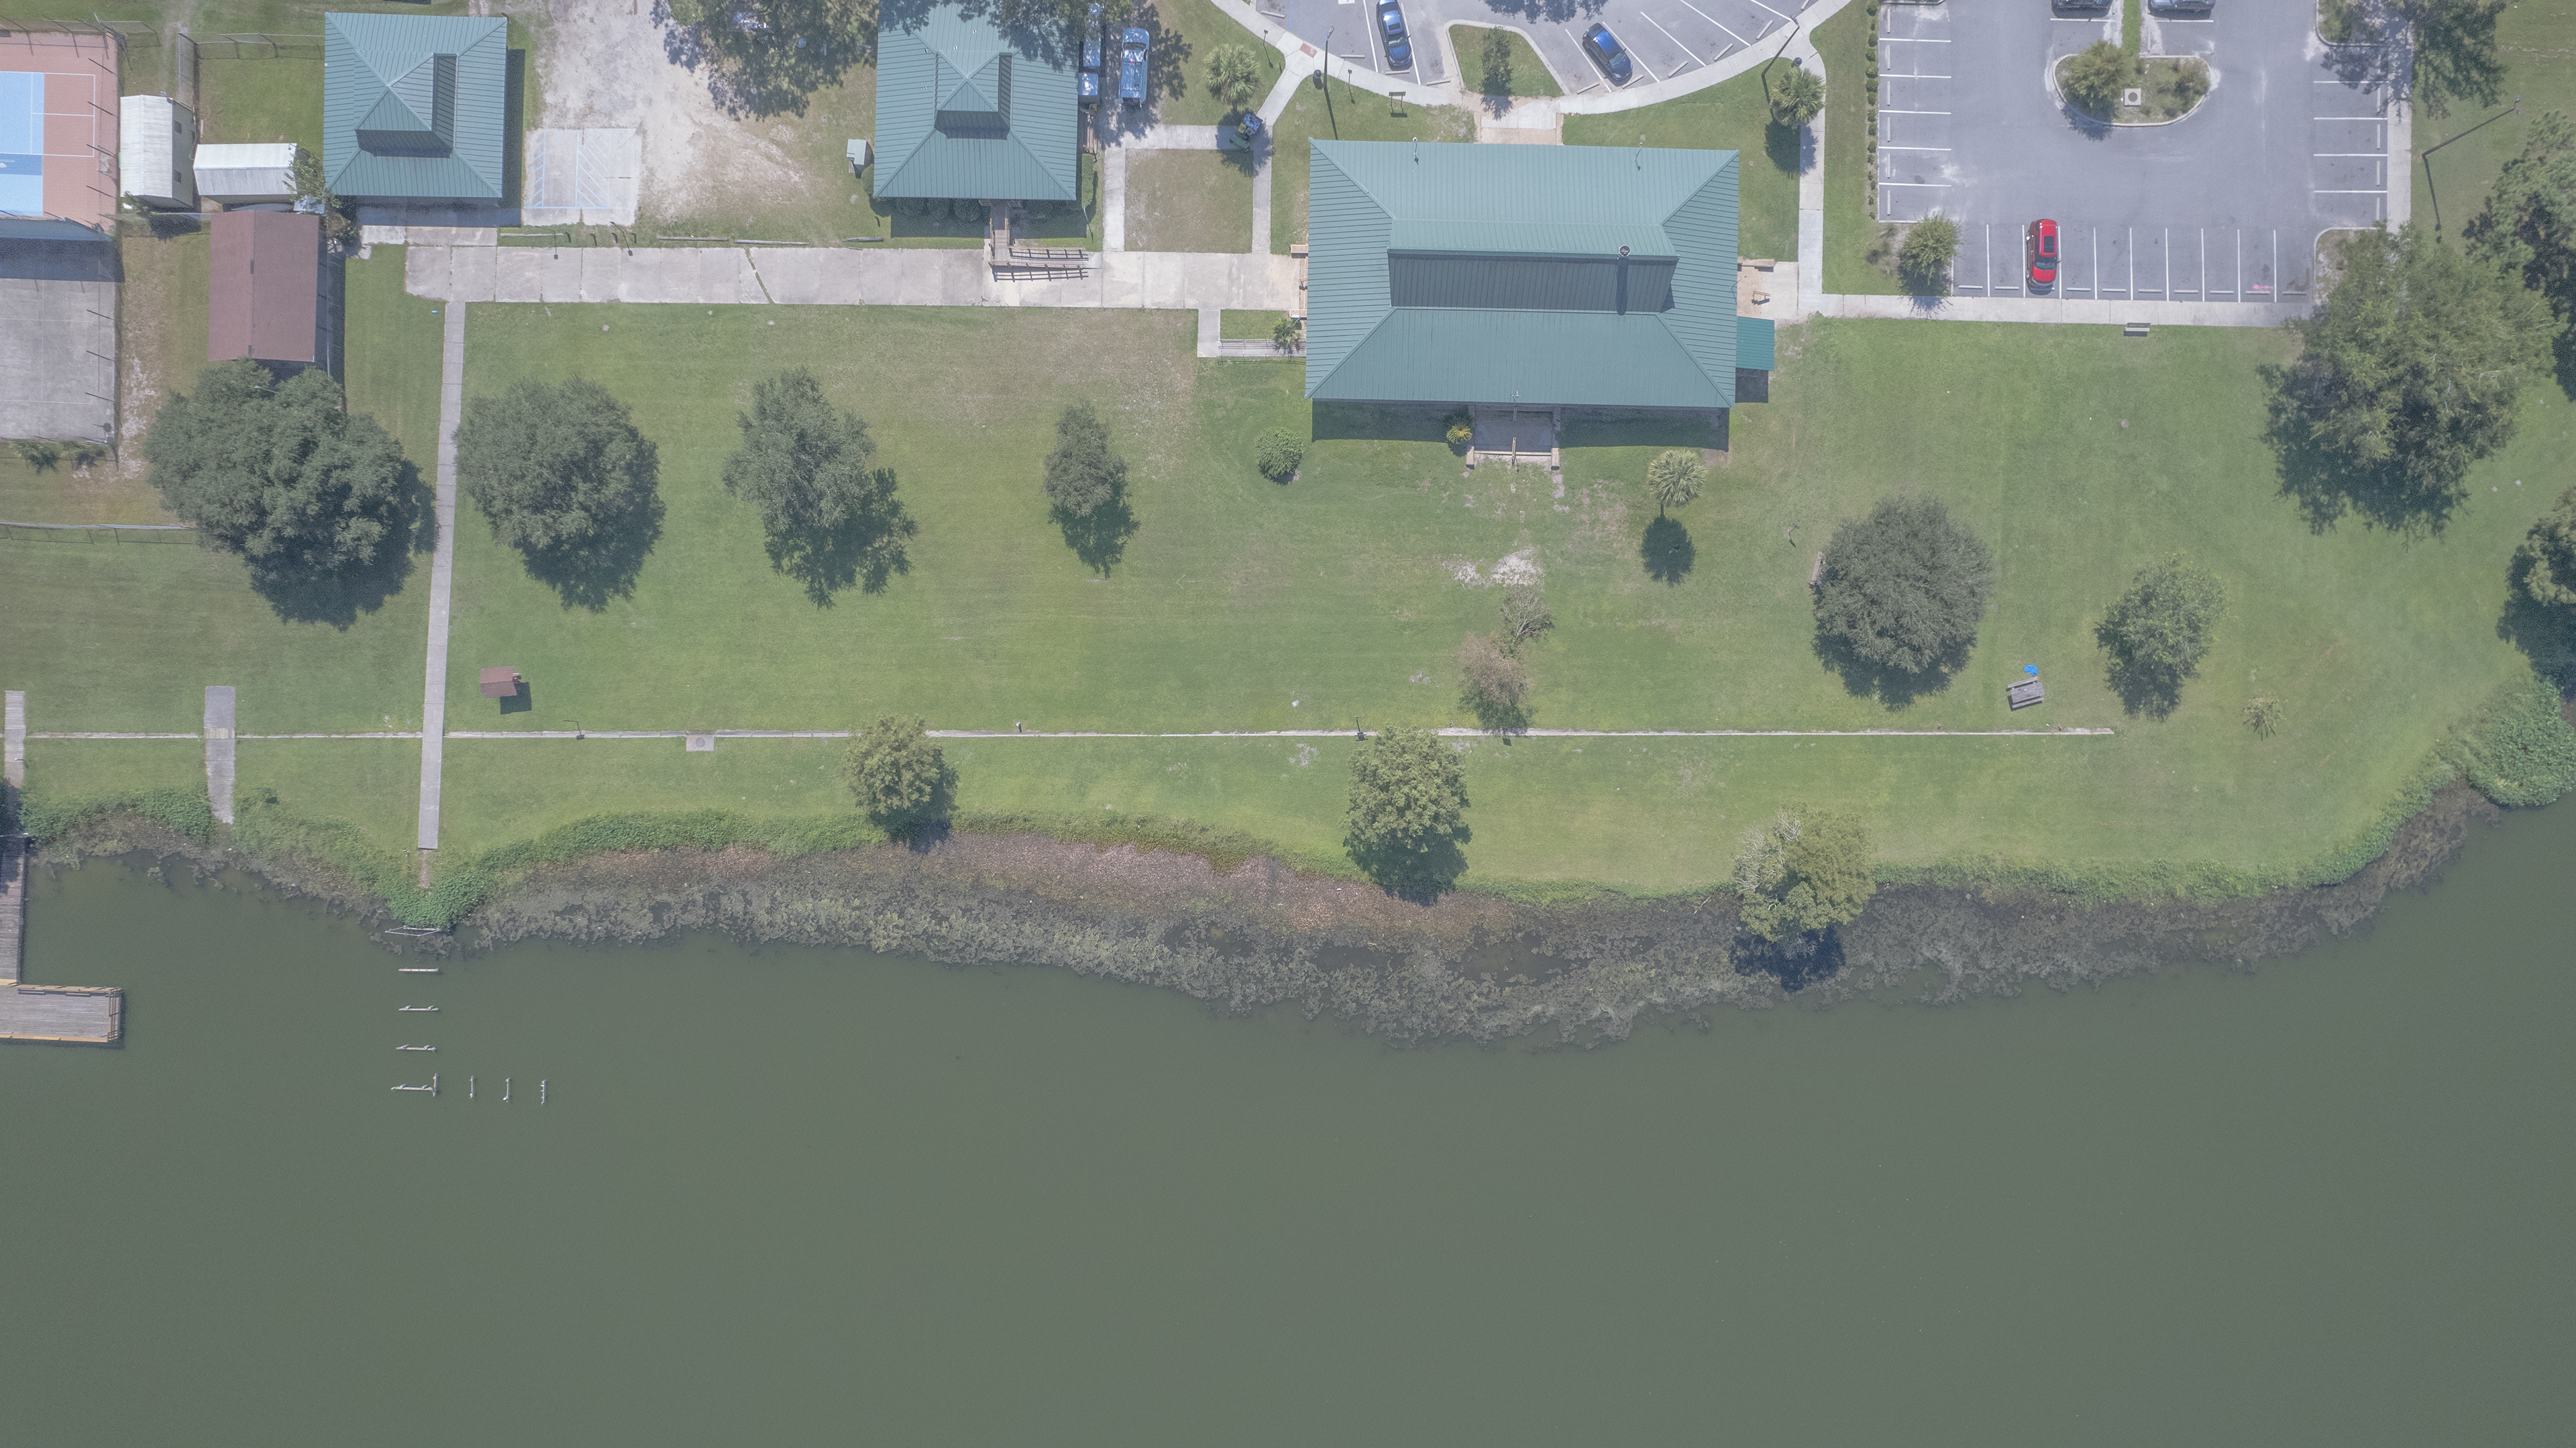
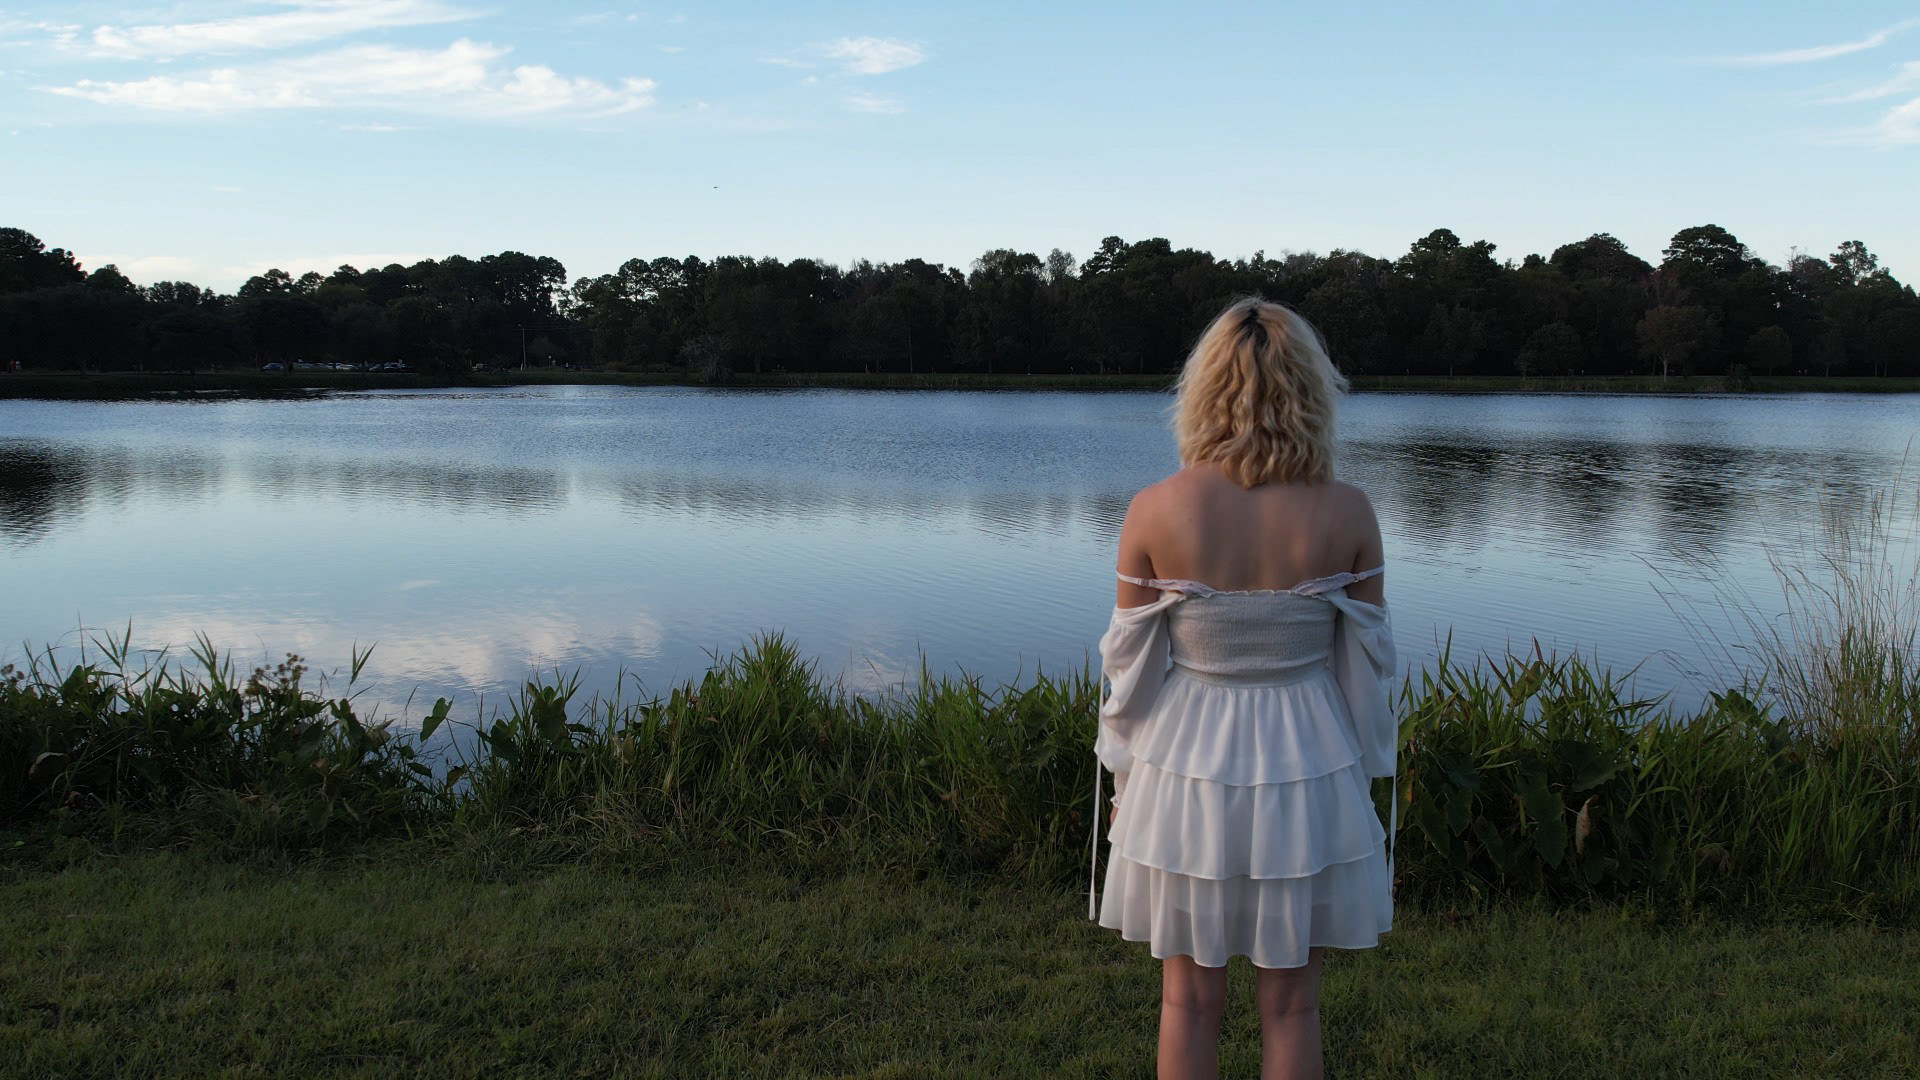
With our basic plan in mind, I made a basic storyboard. With storyboard in hand, we went to a nearby park to shoot some test footage using a drone.
I then used that test footage to create a more detailed storyboard and an animatic.
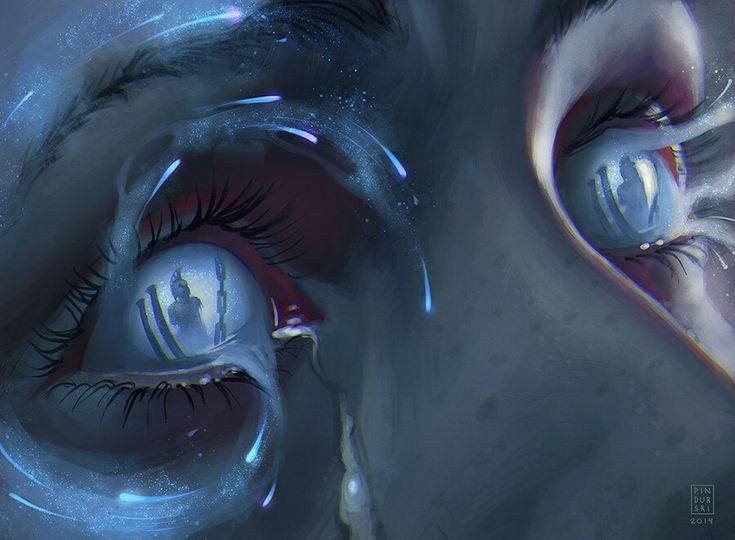
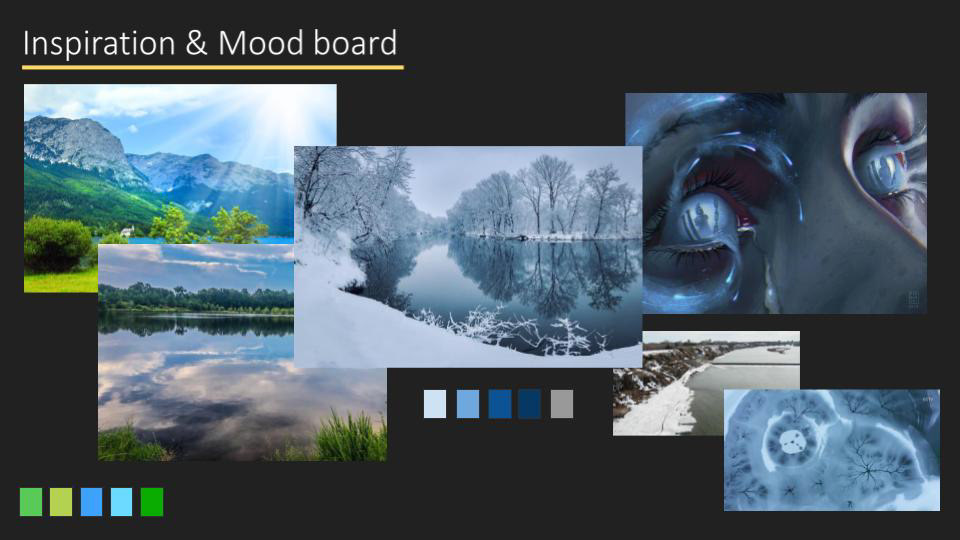
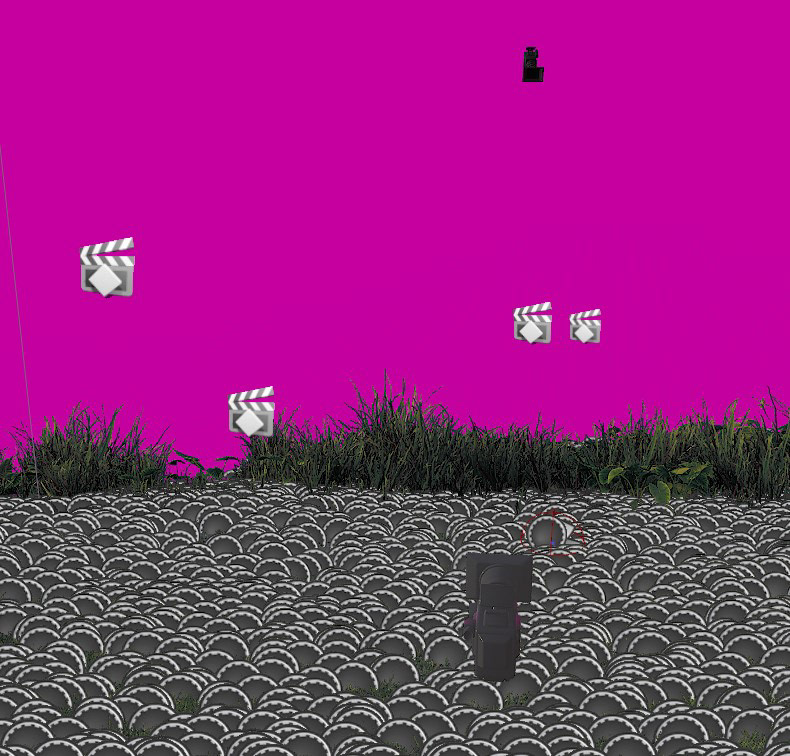
Concept Art Inspiration
Week 2: Pitch
In week 2, we compiled our work into a PowerPoint pitch deck to present to Powerhouse for feedback.
On that Tuesday, we met with the Mentors and got our feedback:
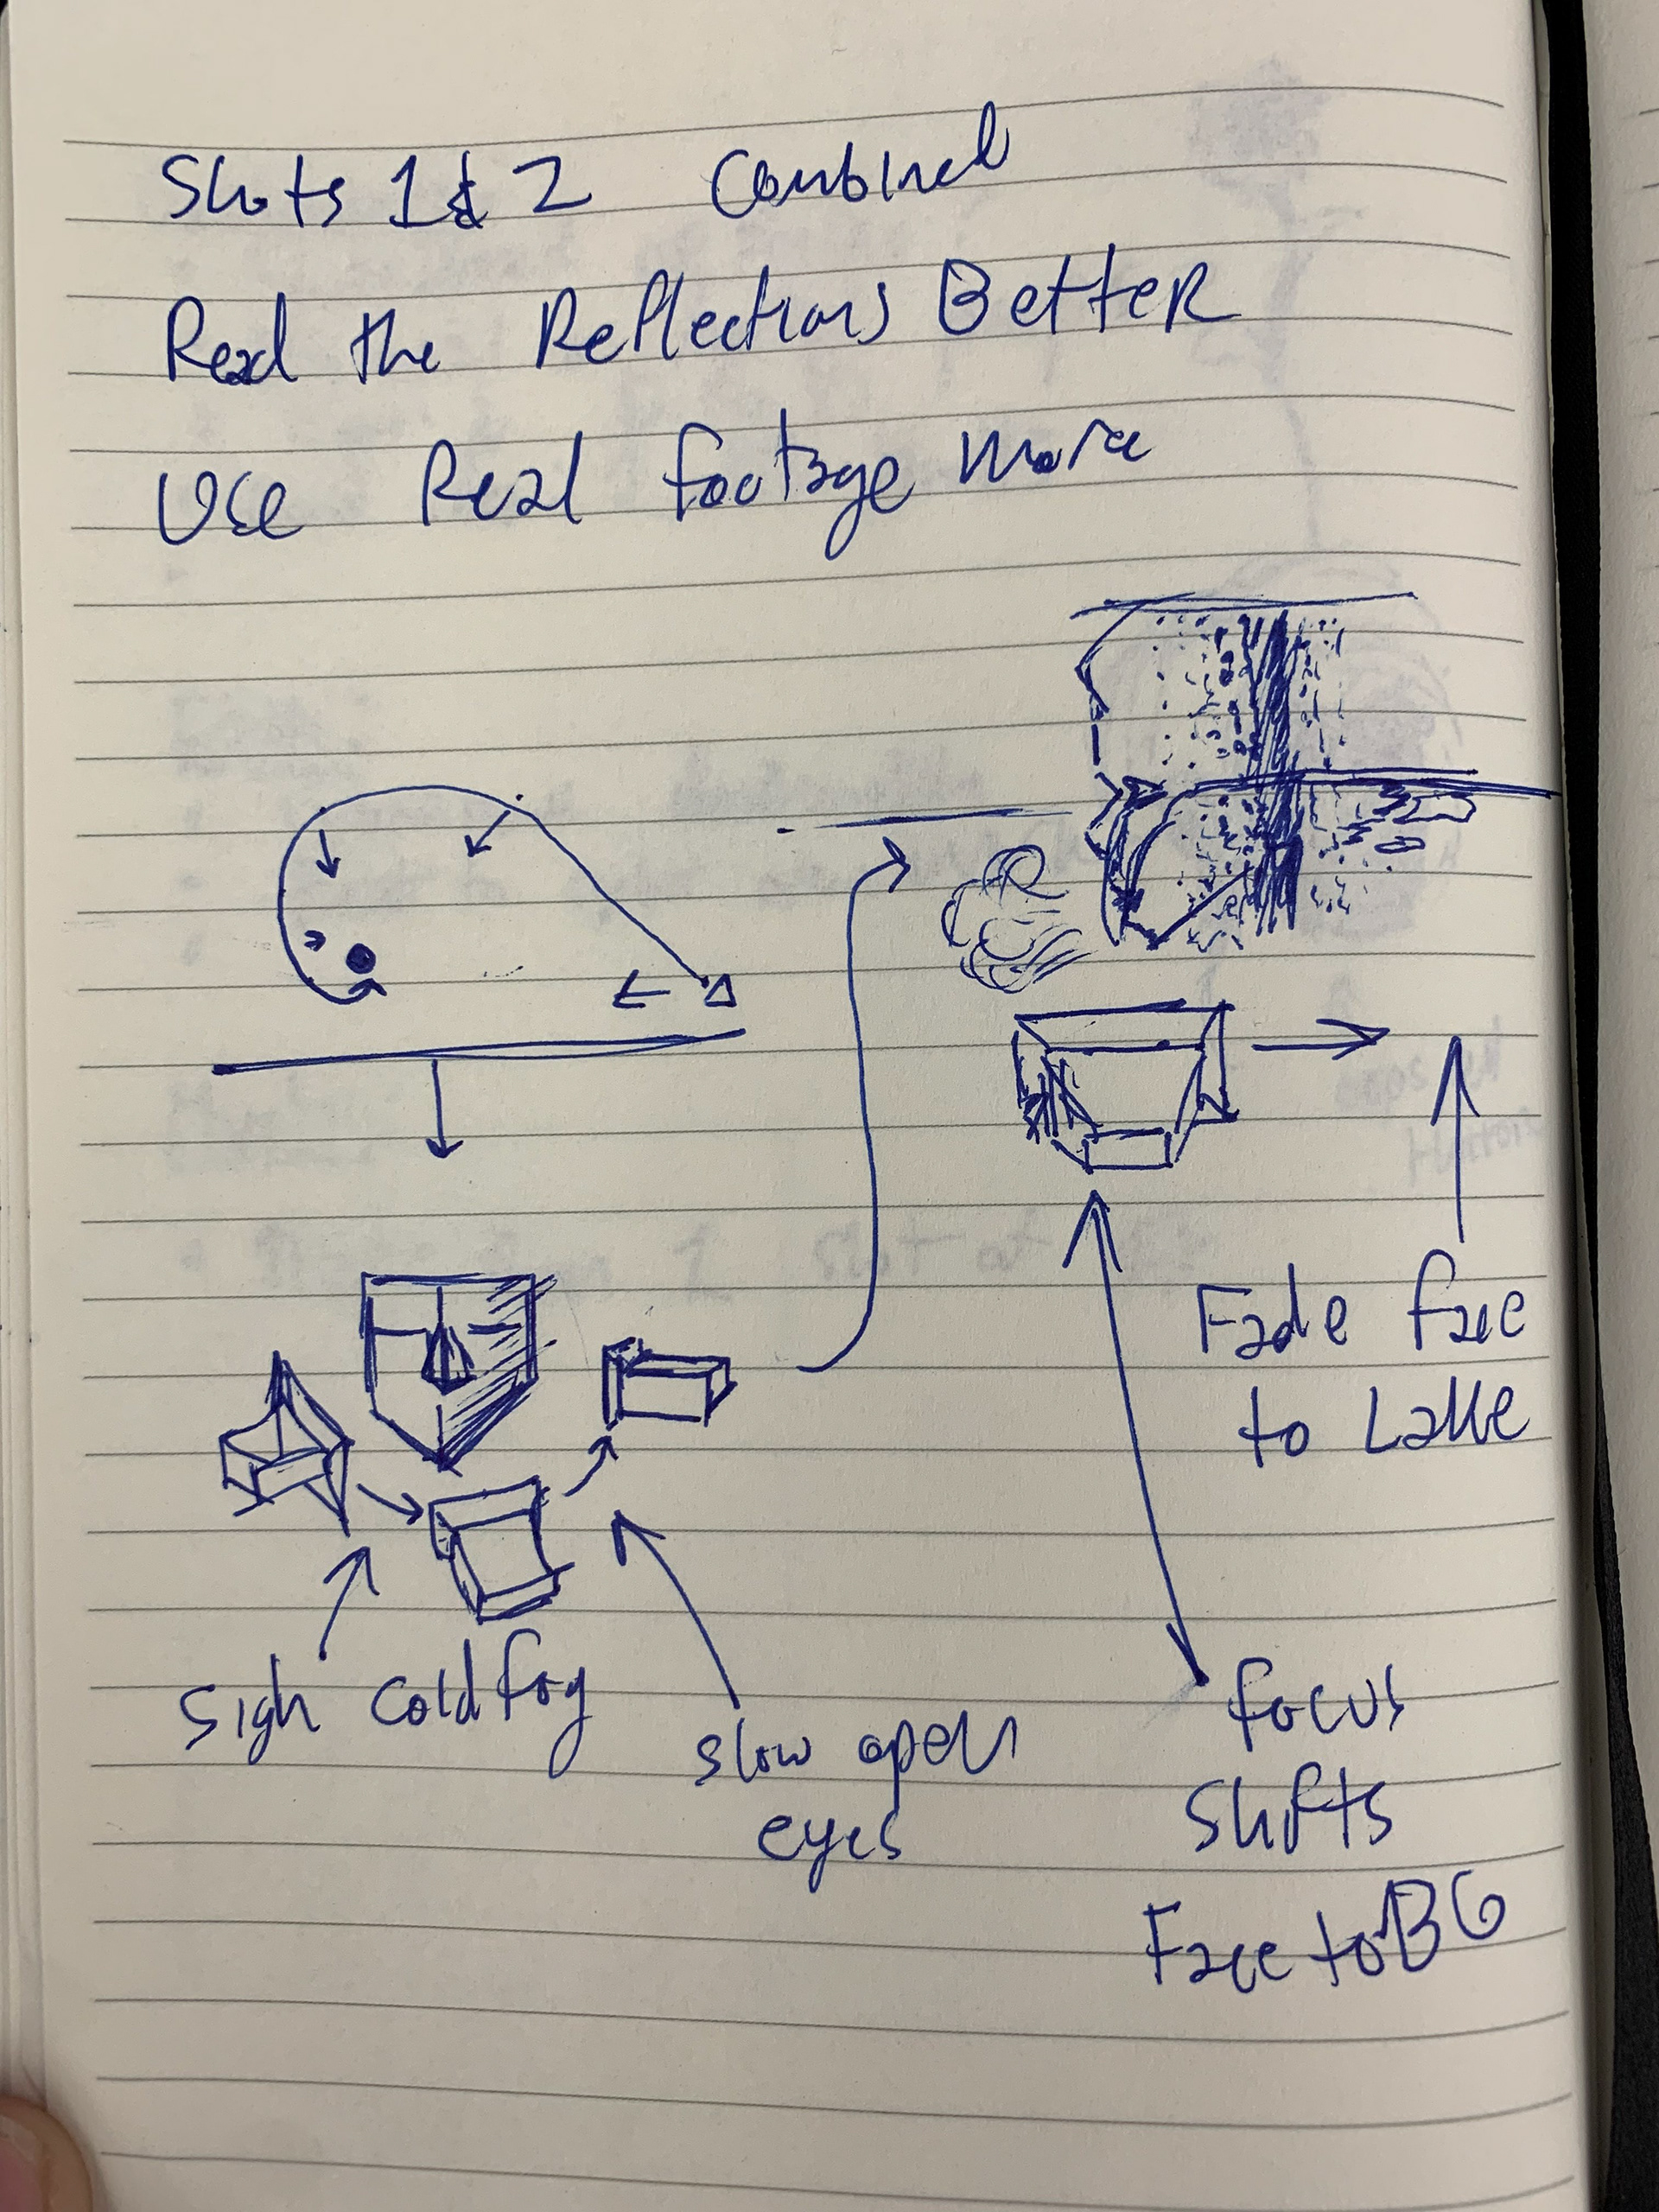
1. Our first two shots could be combined
2. Our idea of using the reflections in the eyes was not readable
3. We should use more of the real footage and less CG
1. Our first two shots could be combined
2. Our idea of using the reflections in the eyes was not readable
3. We should use more of the real footage and less CG
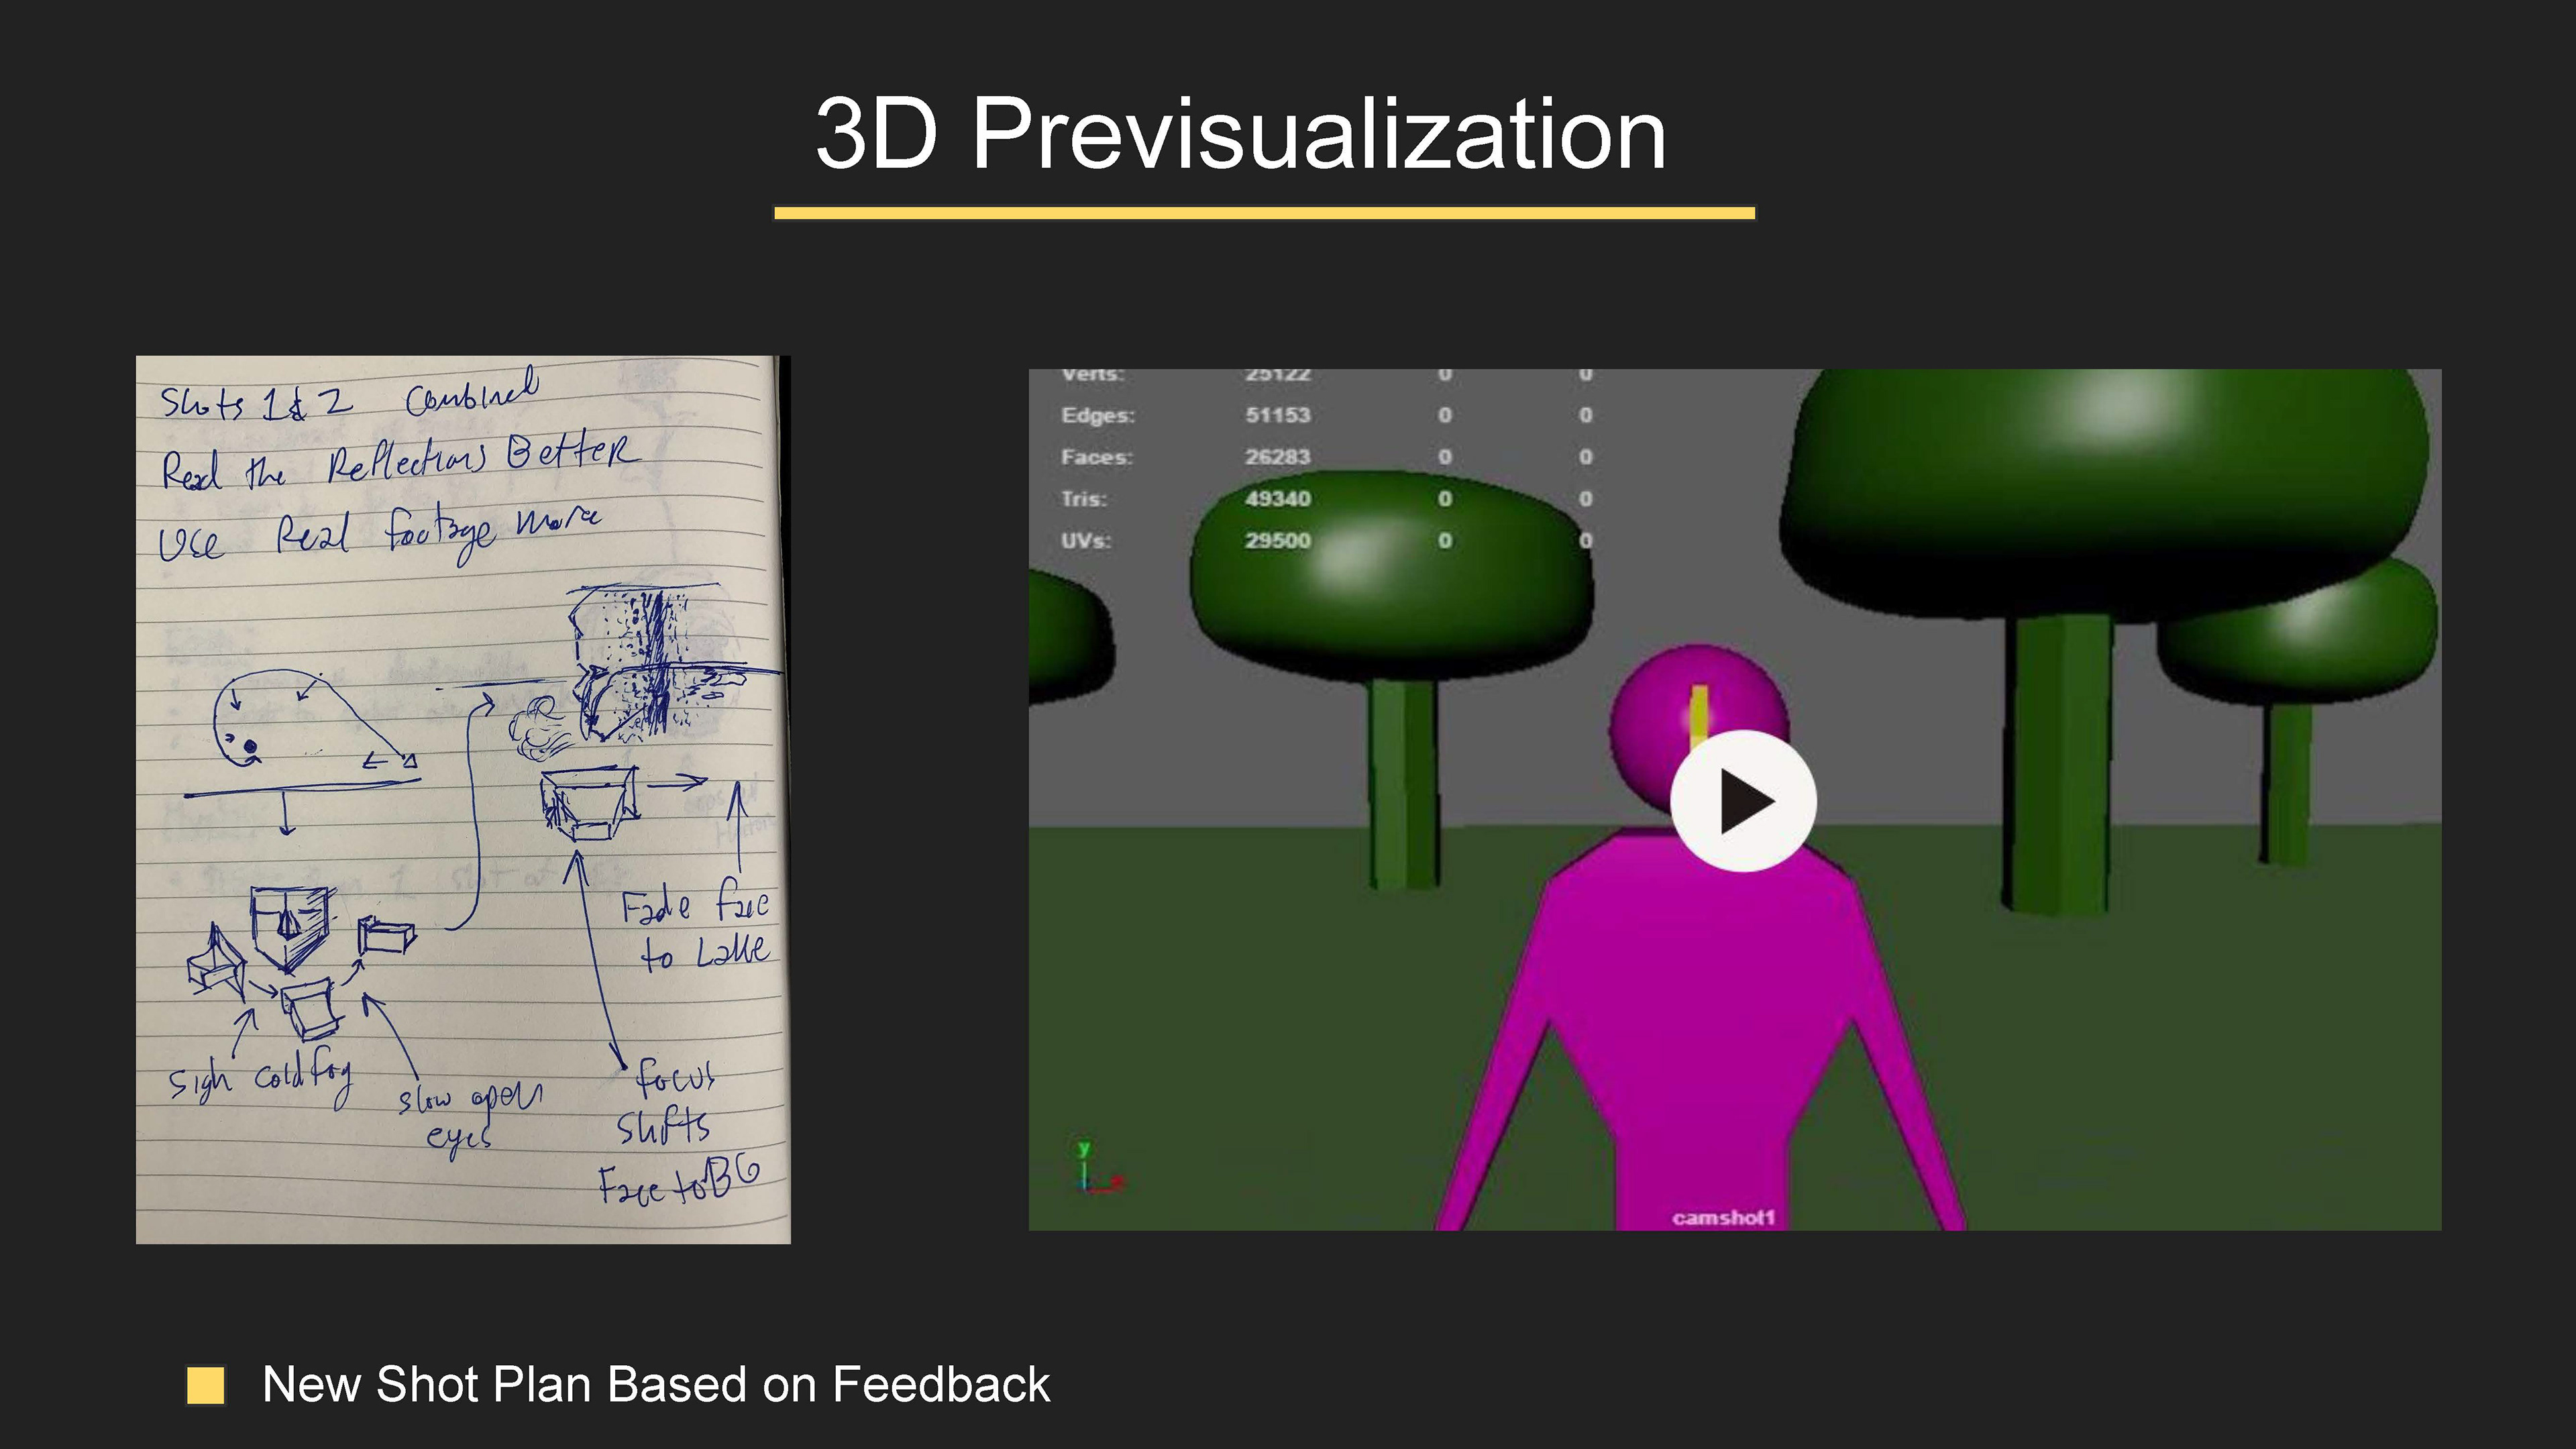
Based on that feedback, we went back to the drawing board.

Based on the feedback, I drew up some ideas to help the shots flow better together.
This included a combined shots 1 and 2 for a longer, continuous fly-in with the drone and a stronger visual representation of the ice spreading outward from our actress.
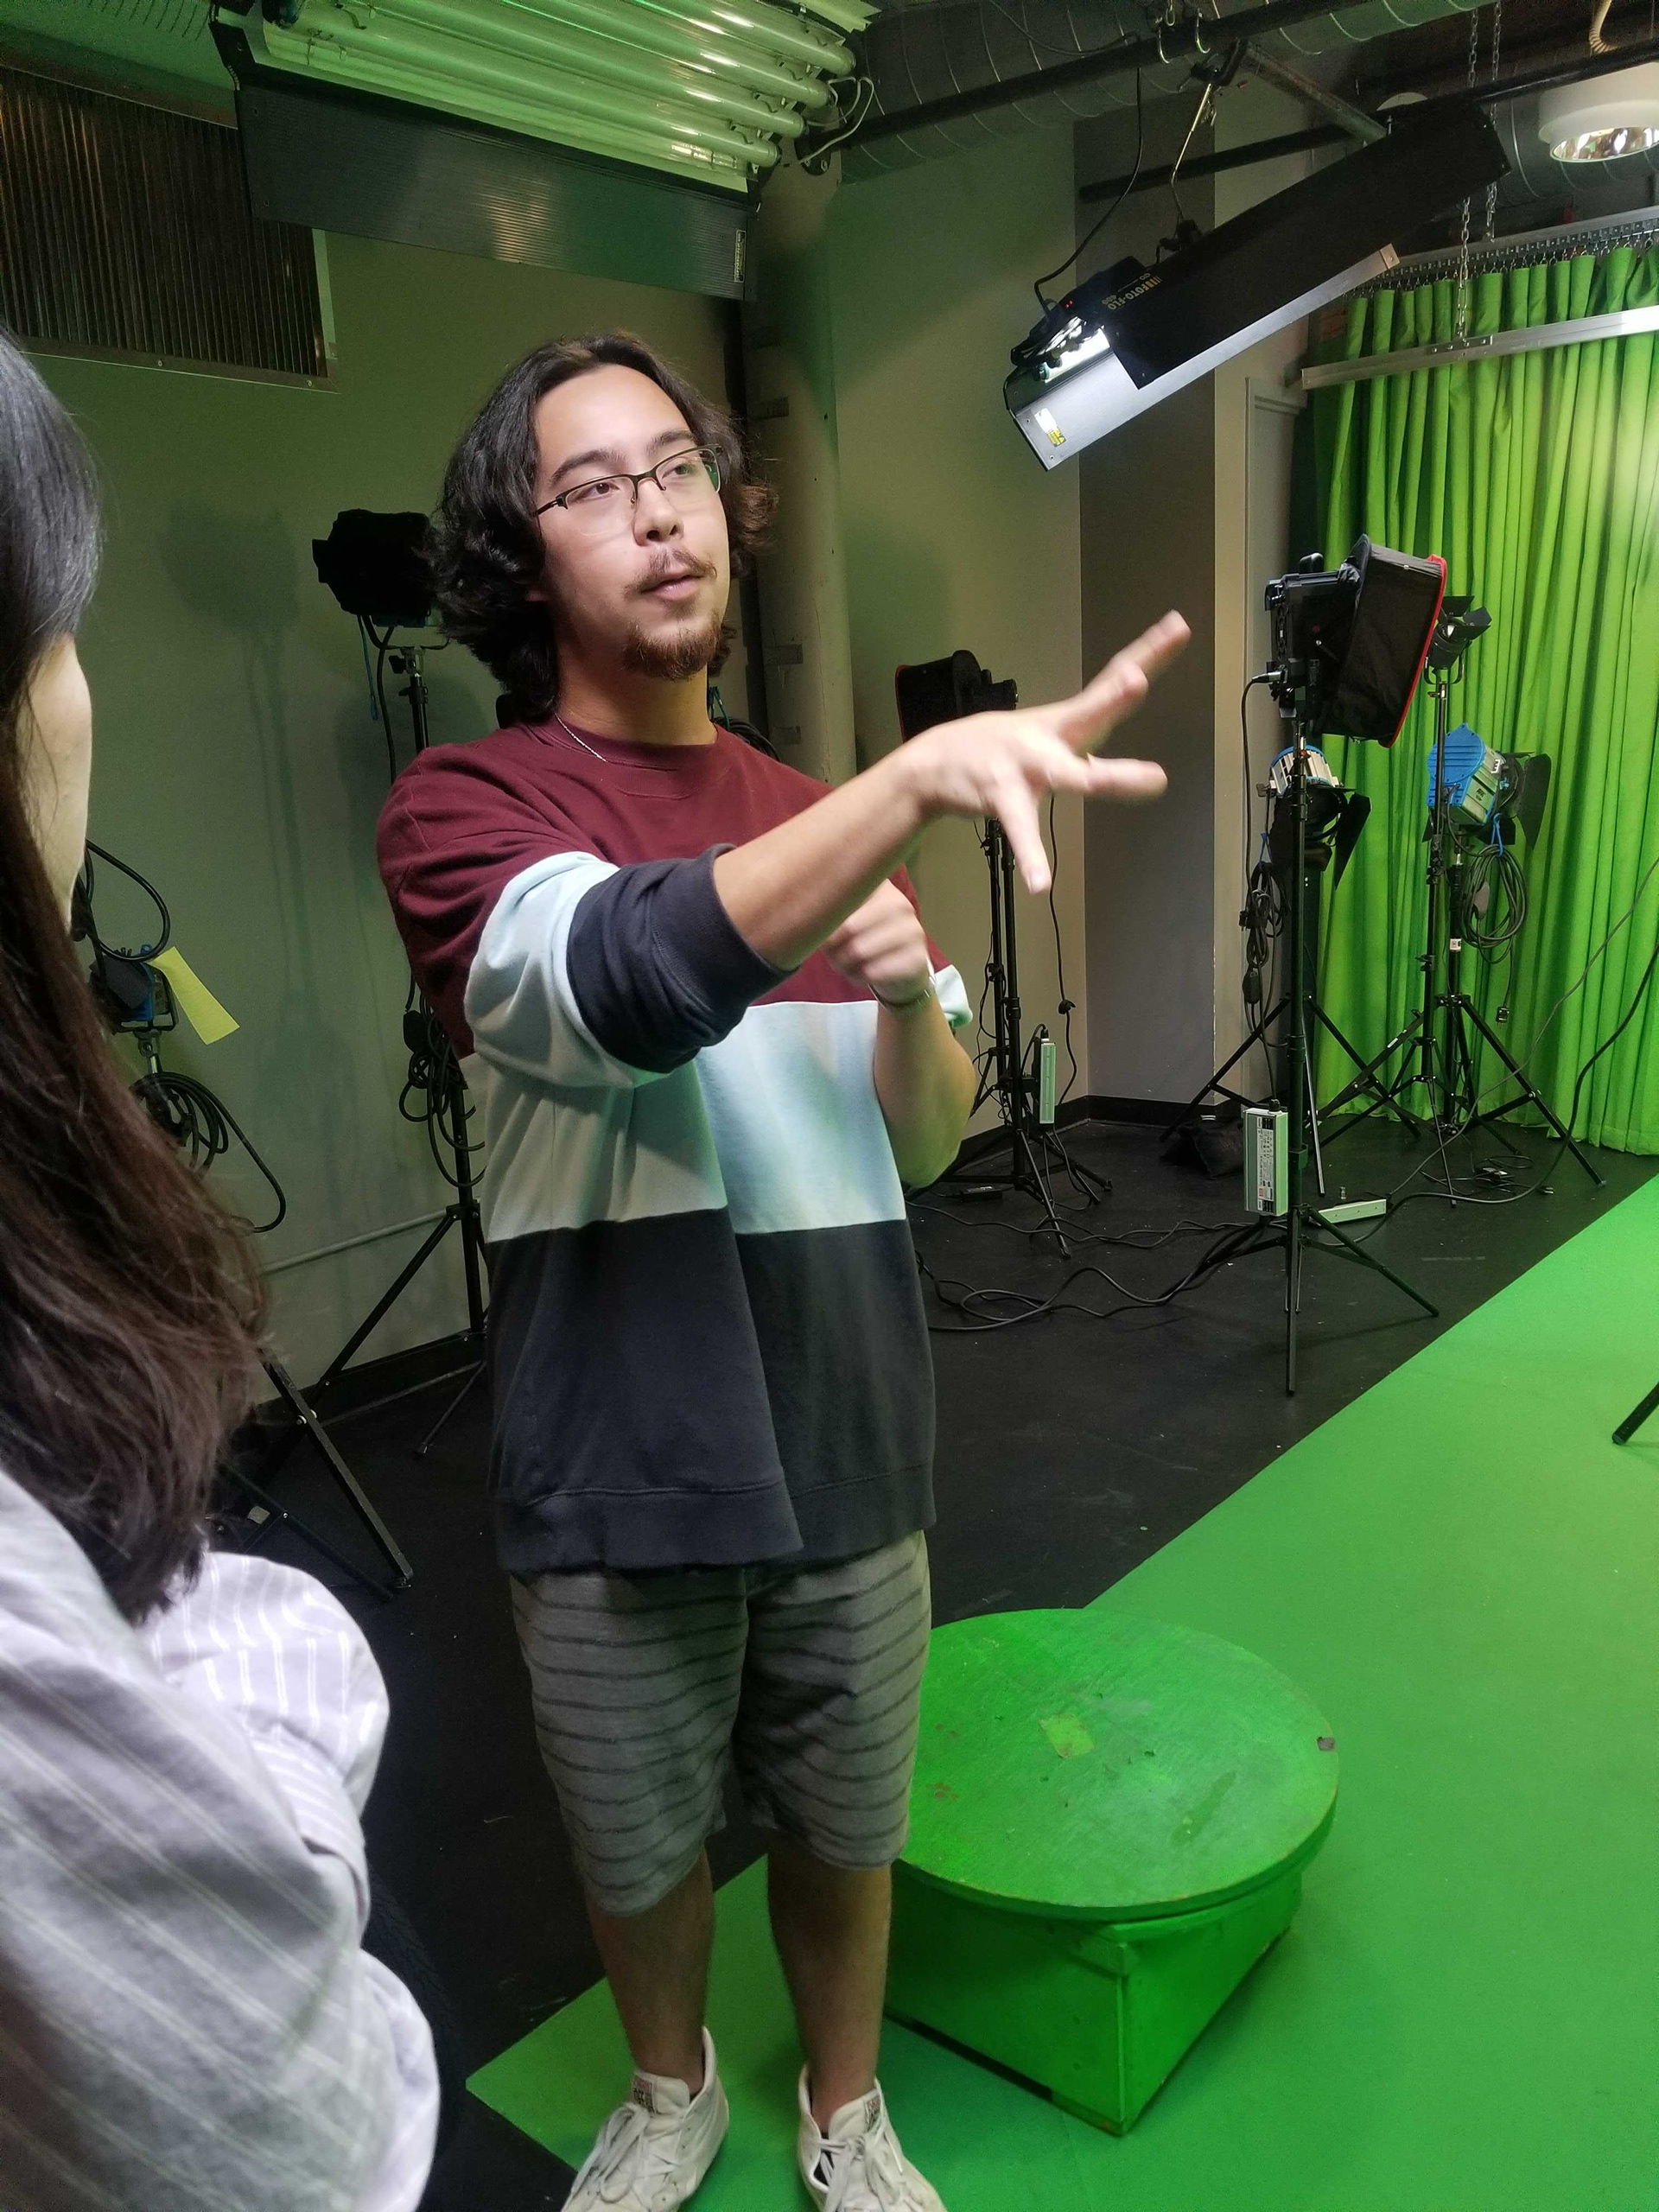
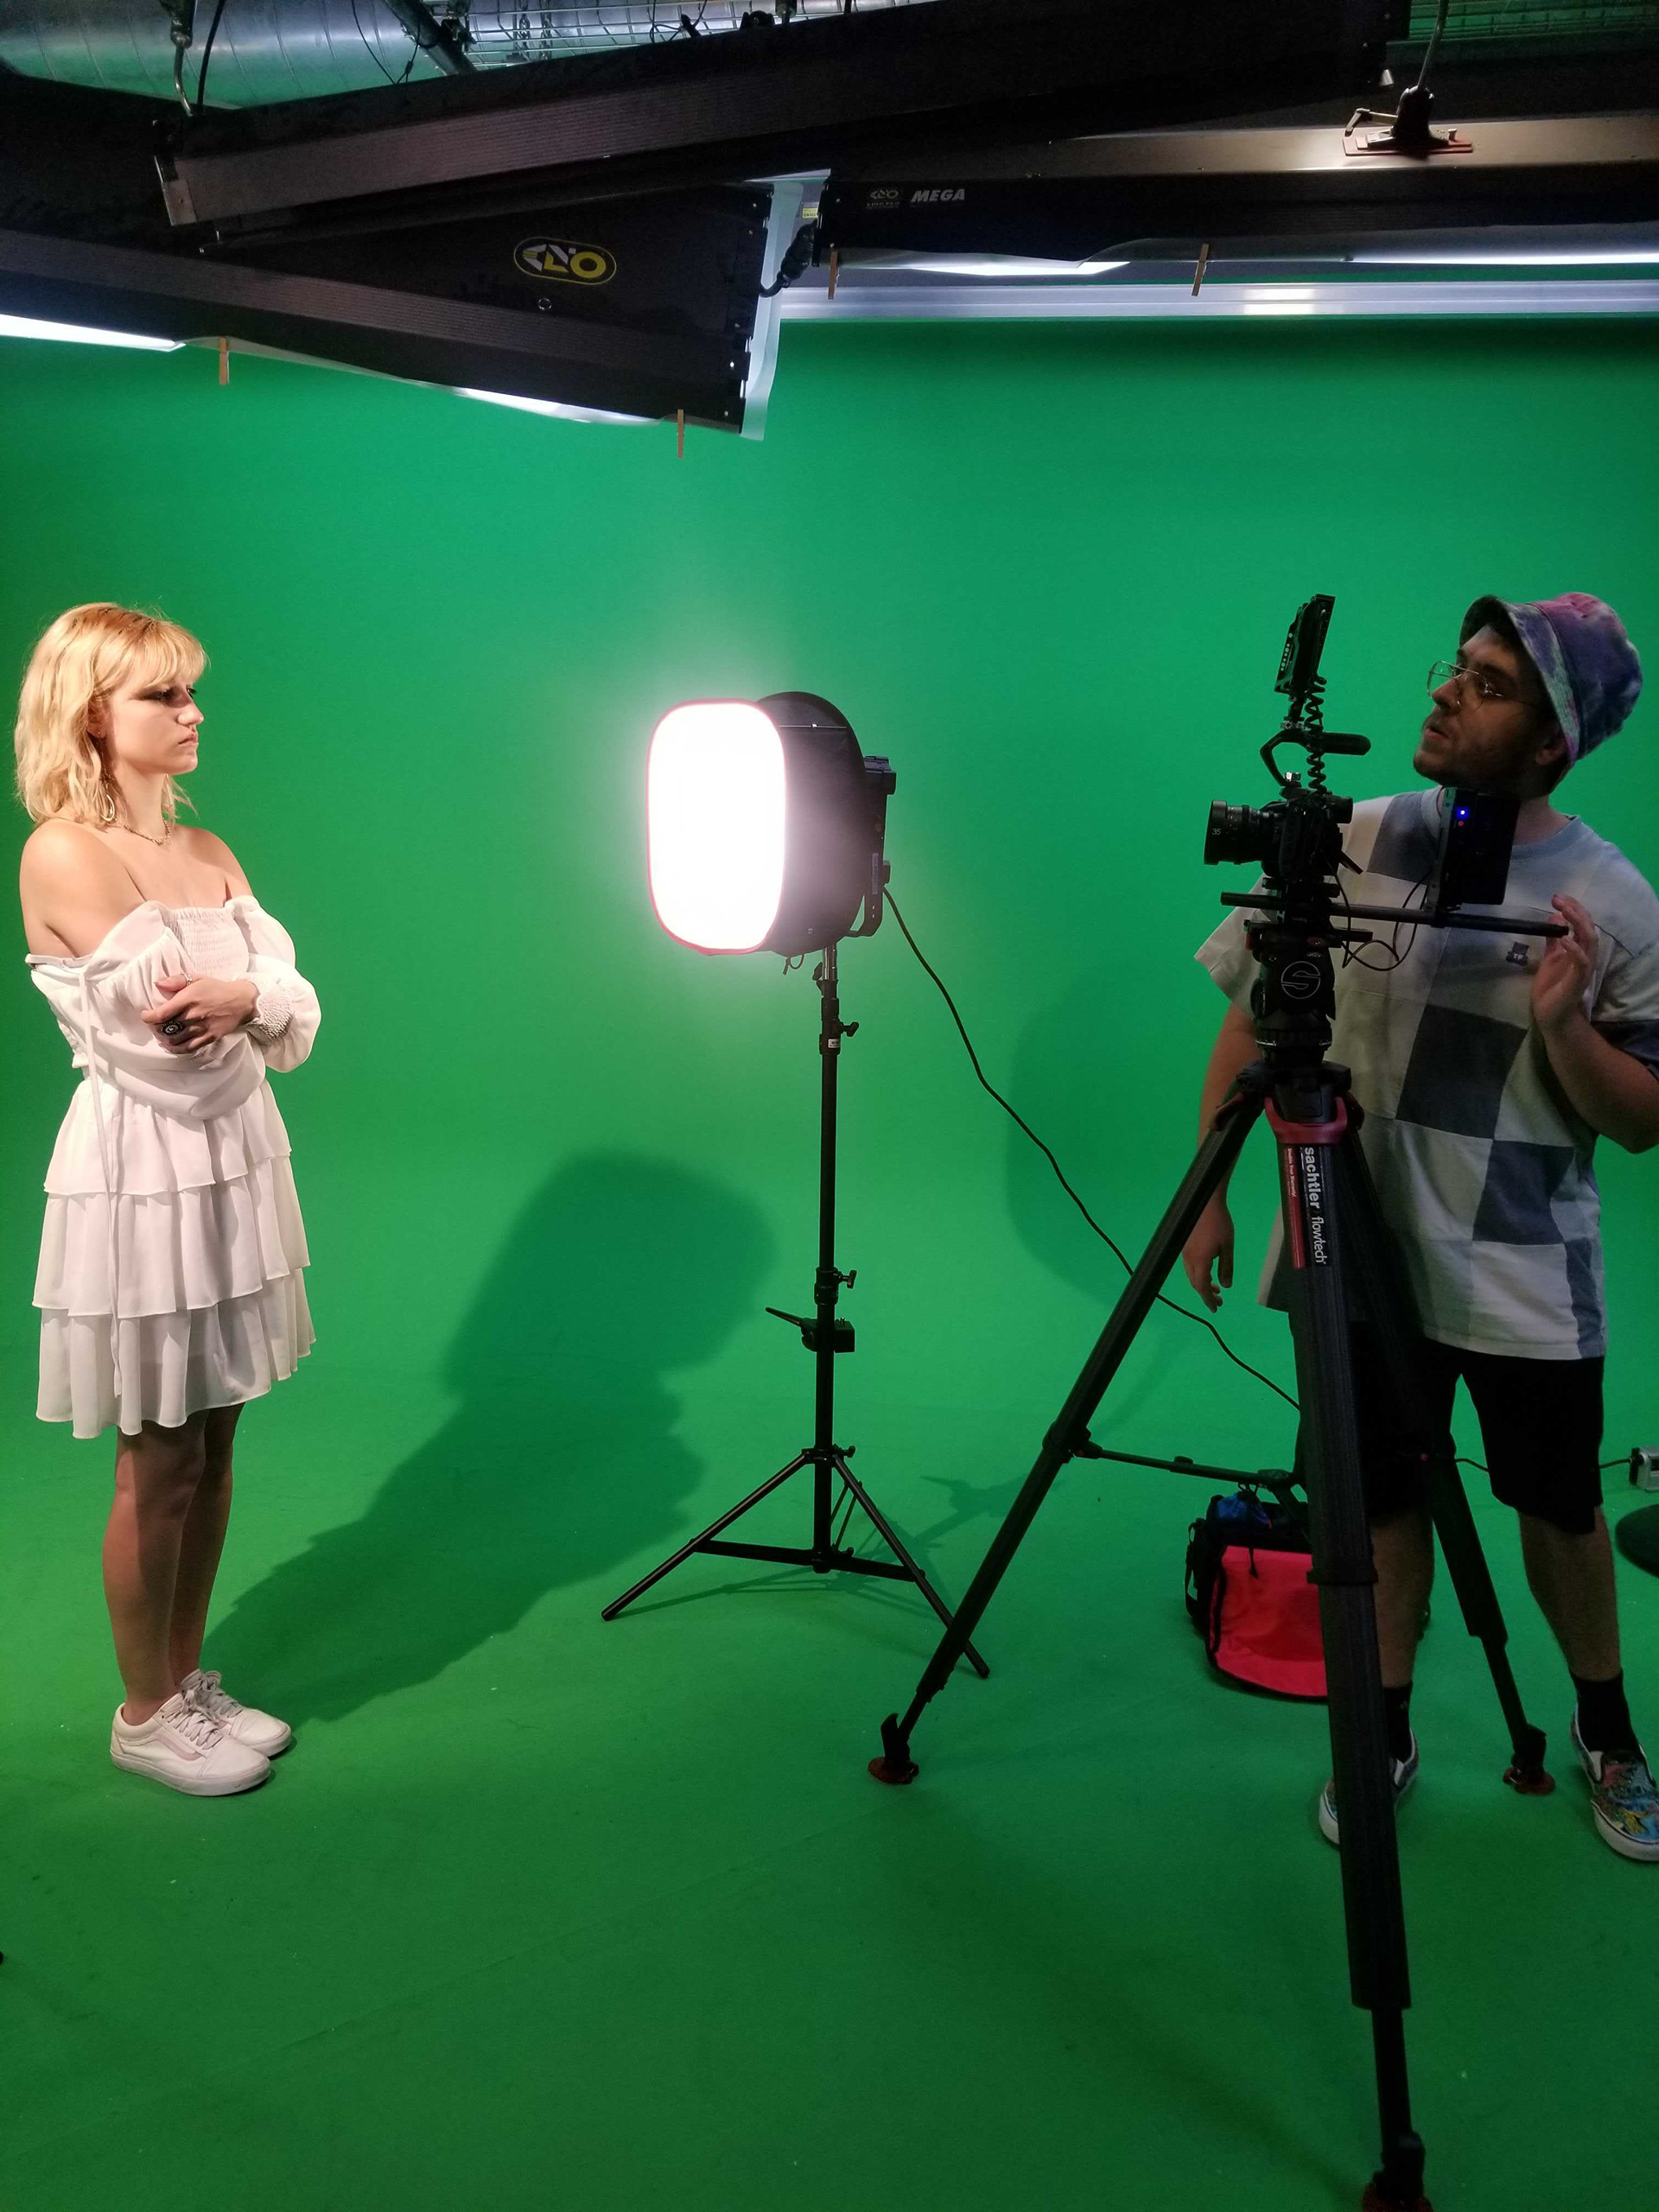
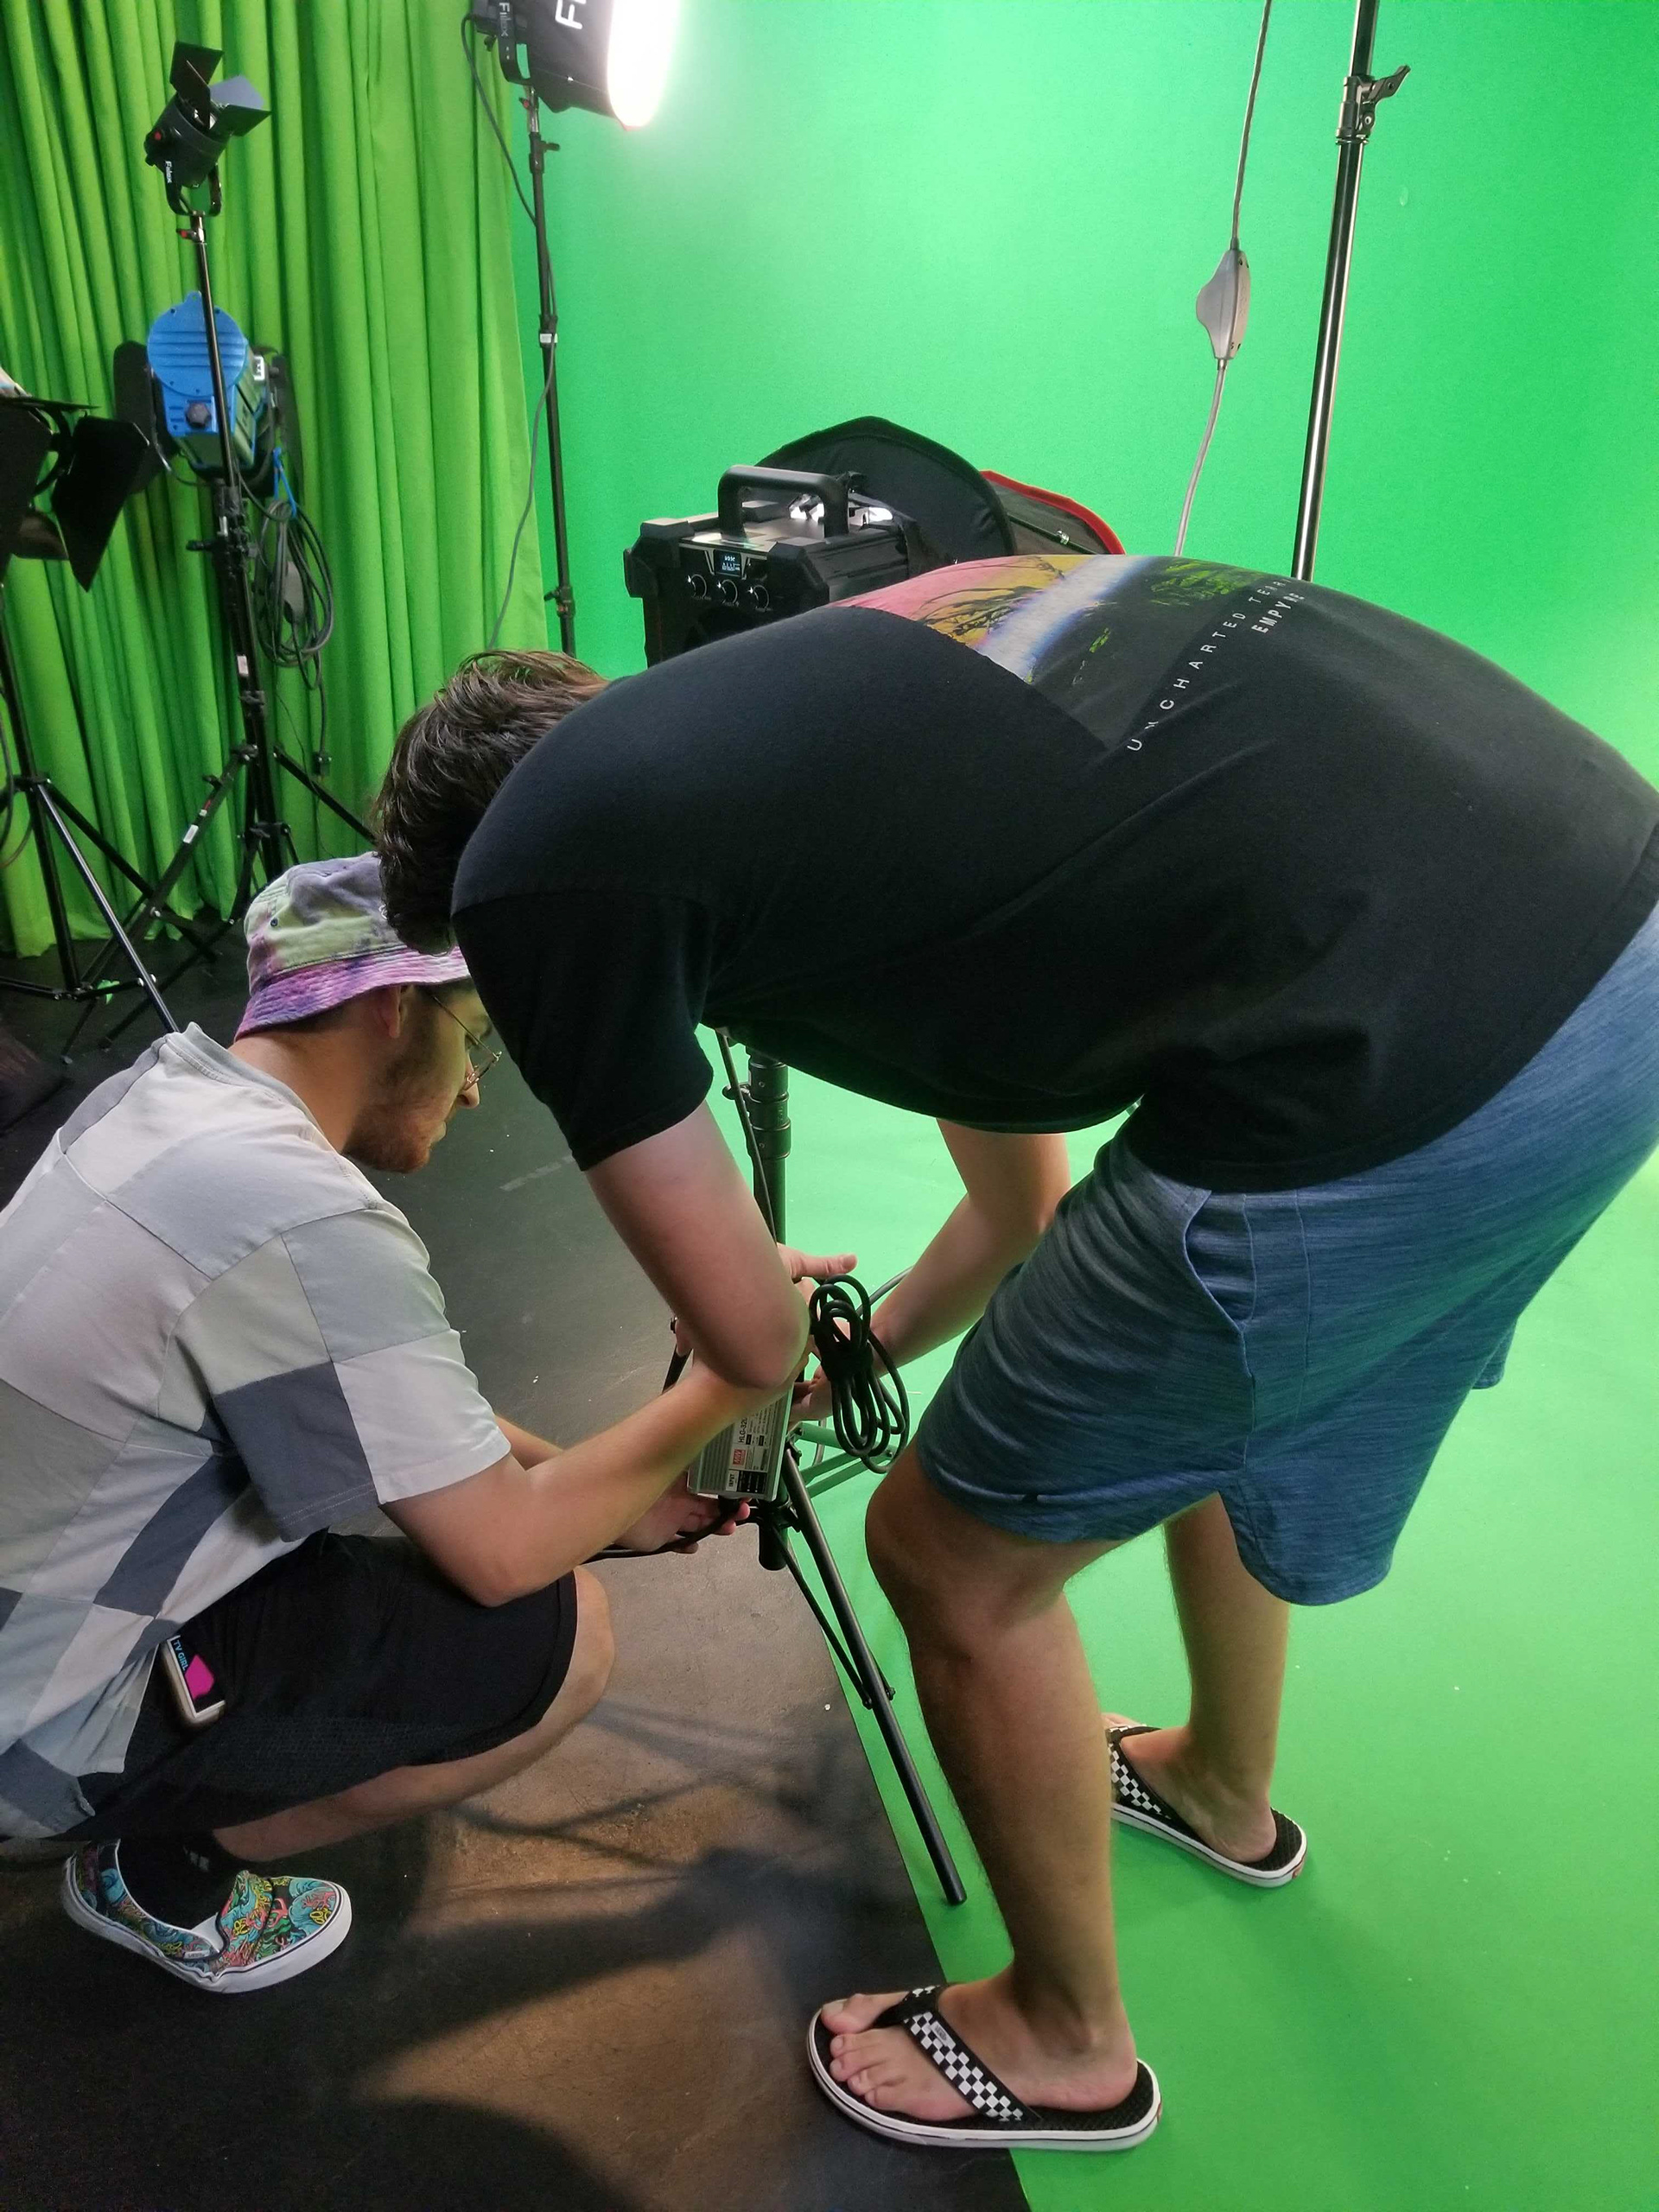
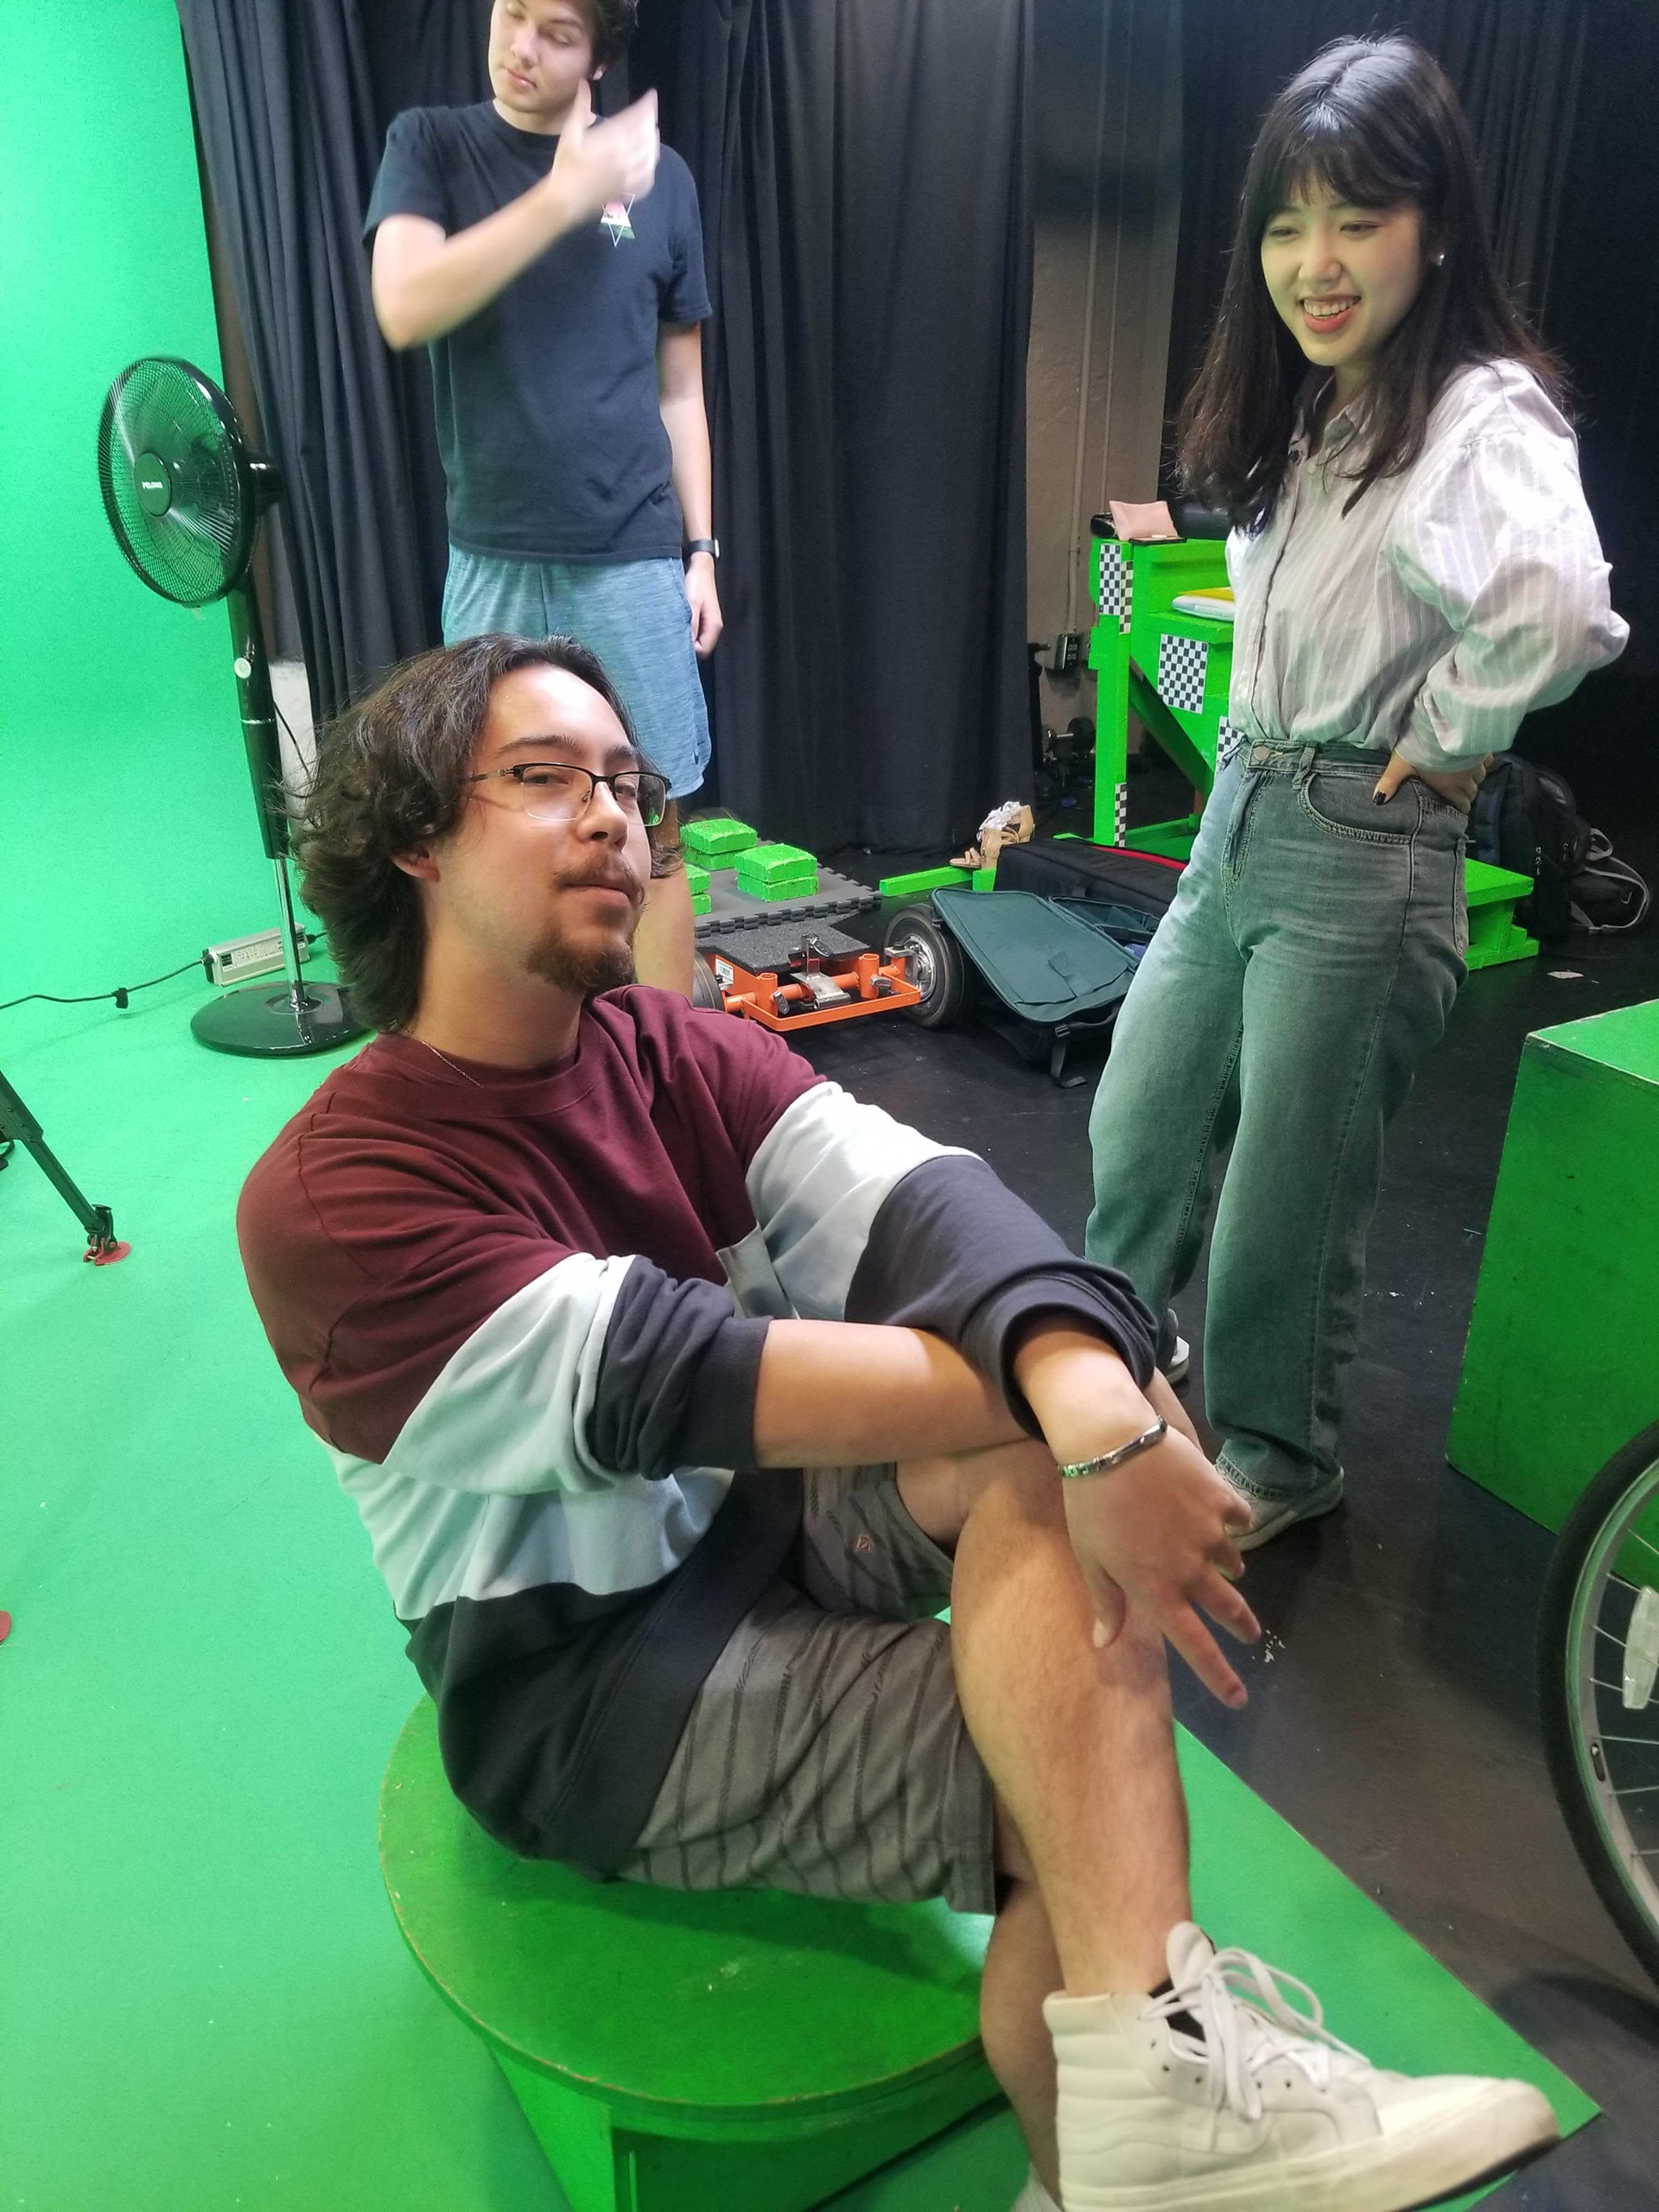
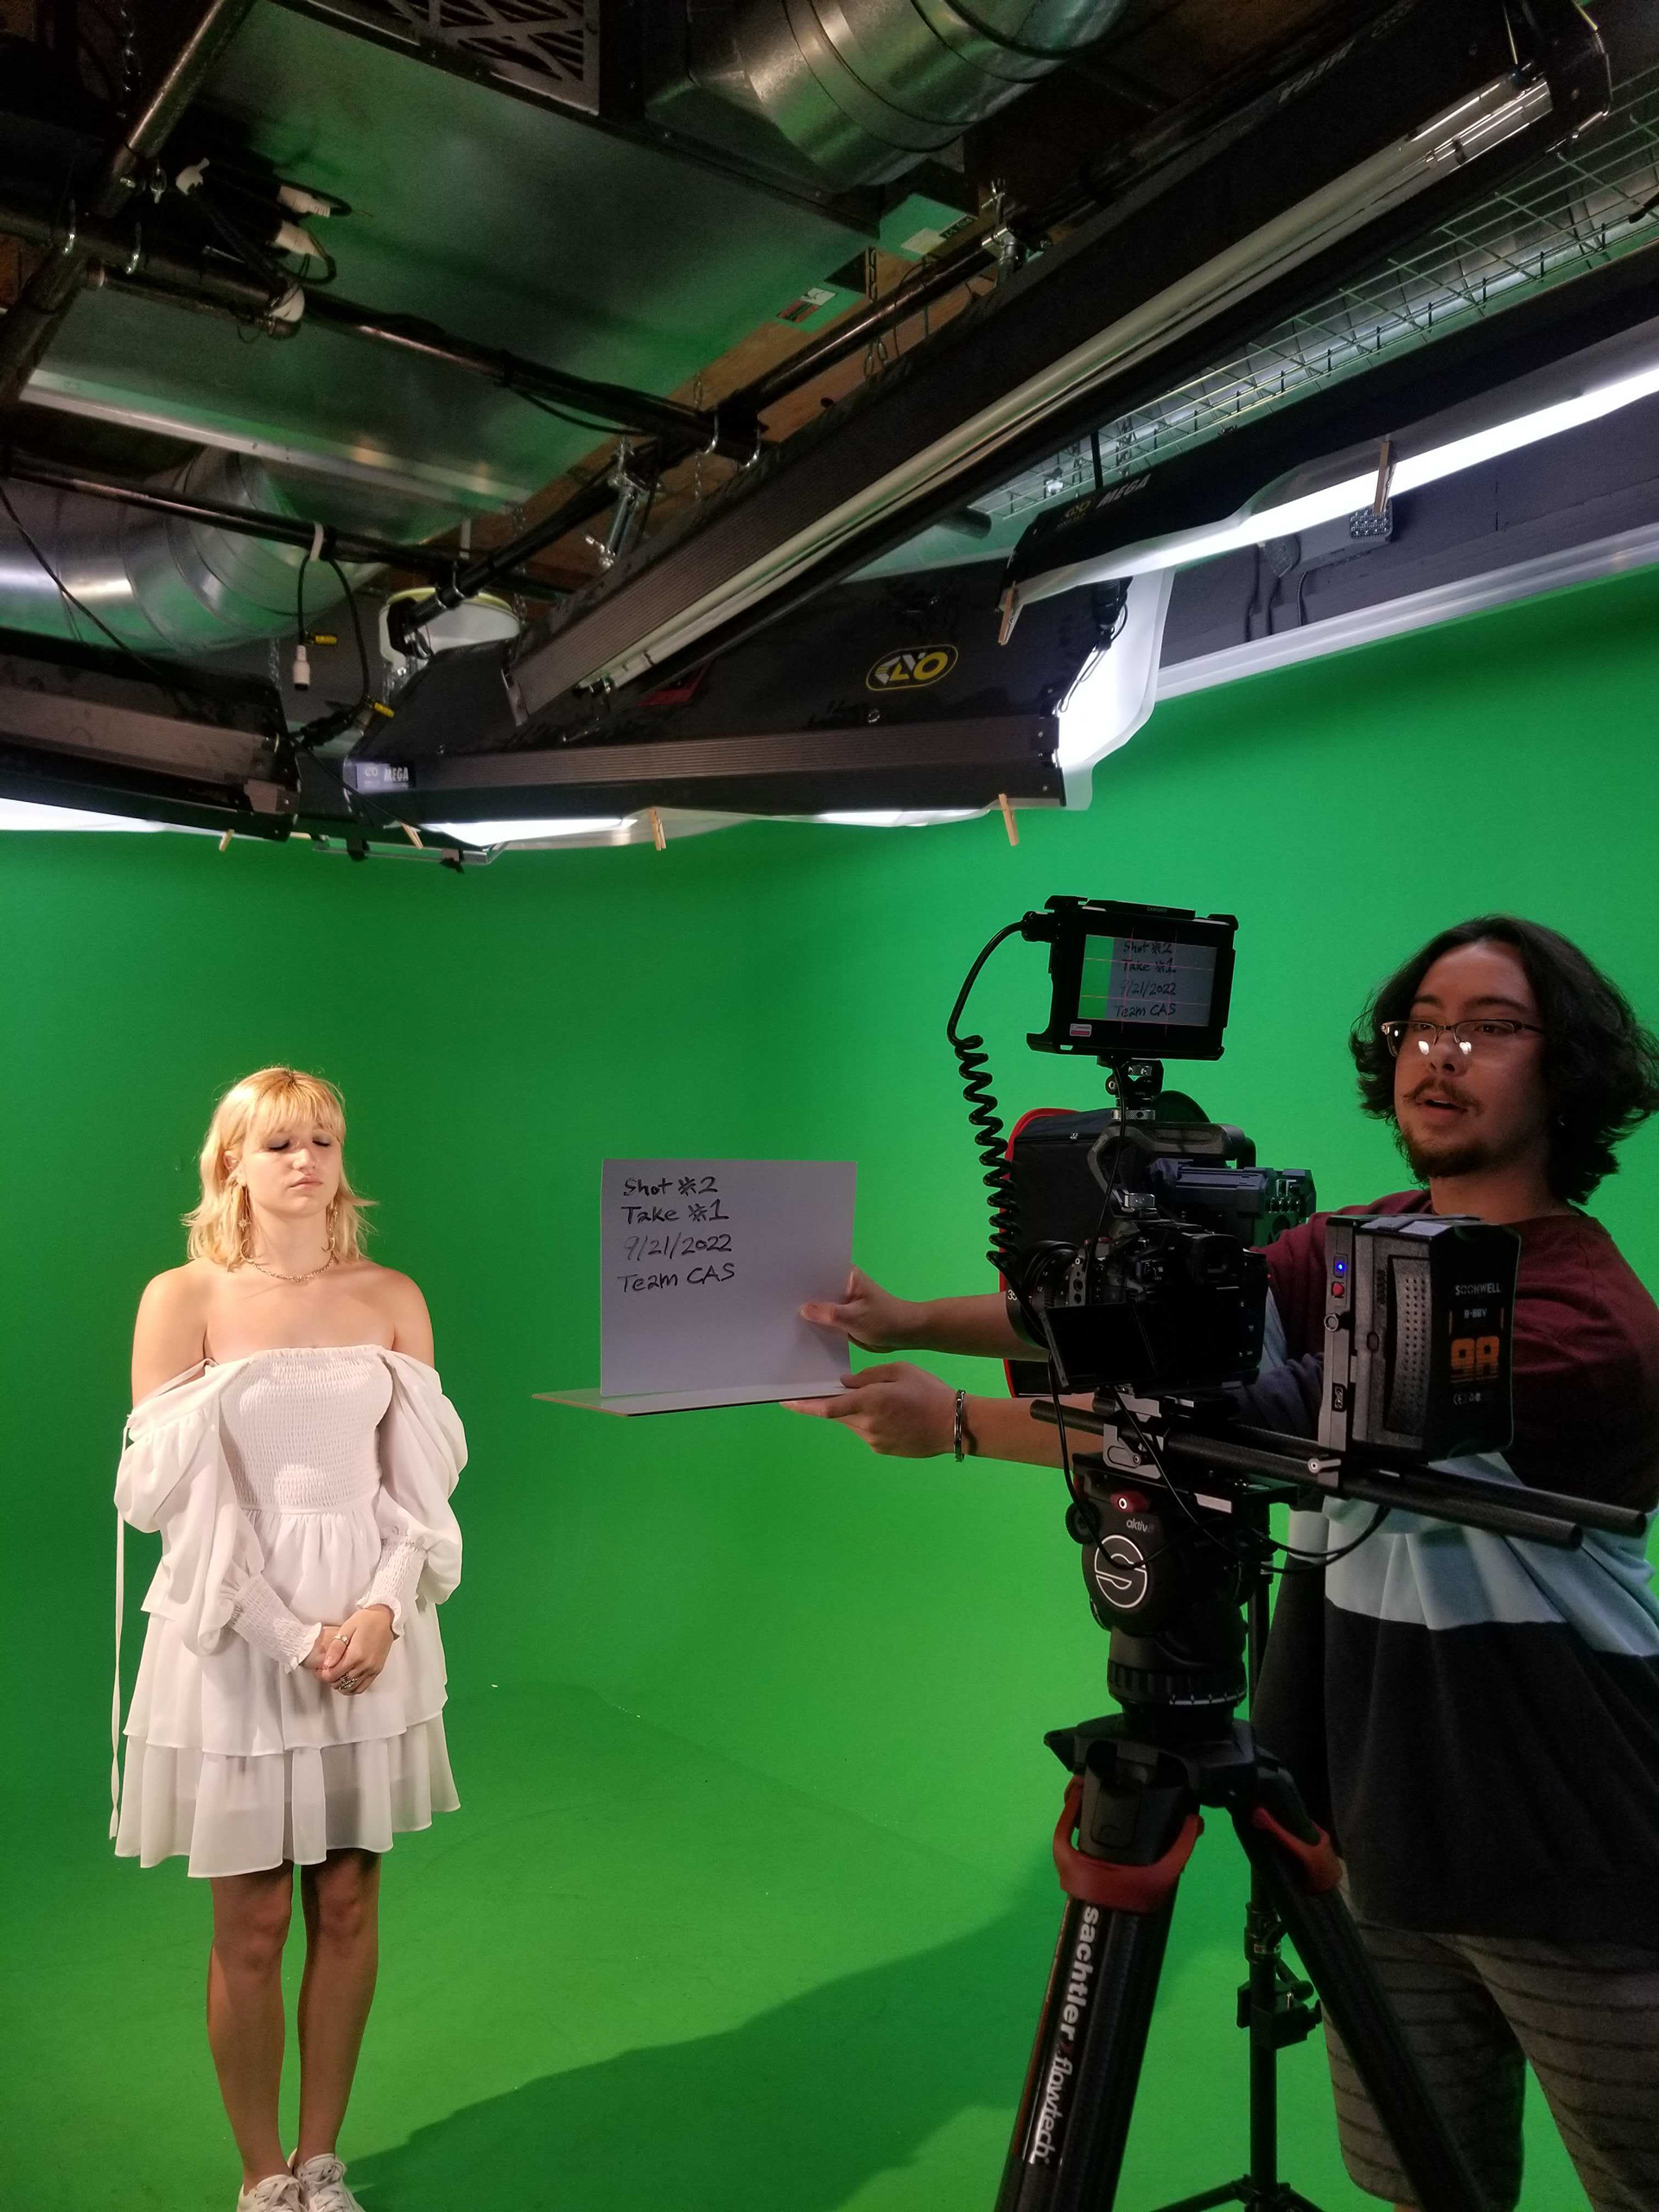
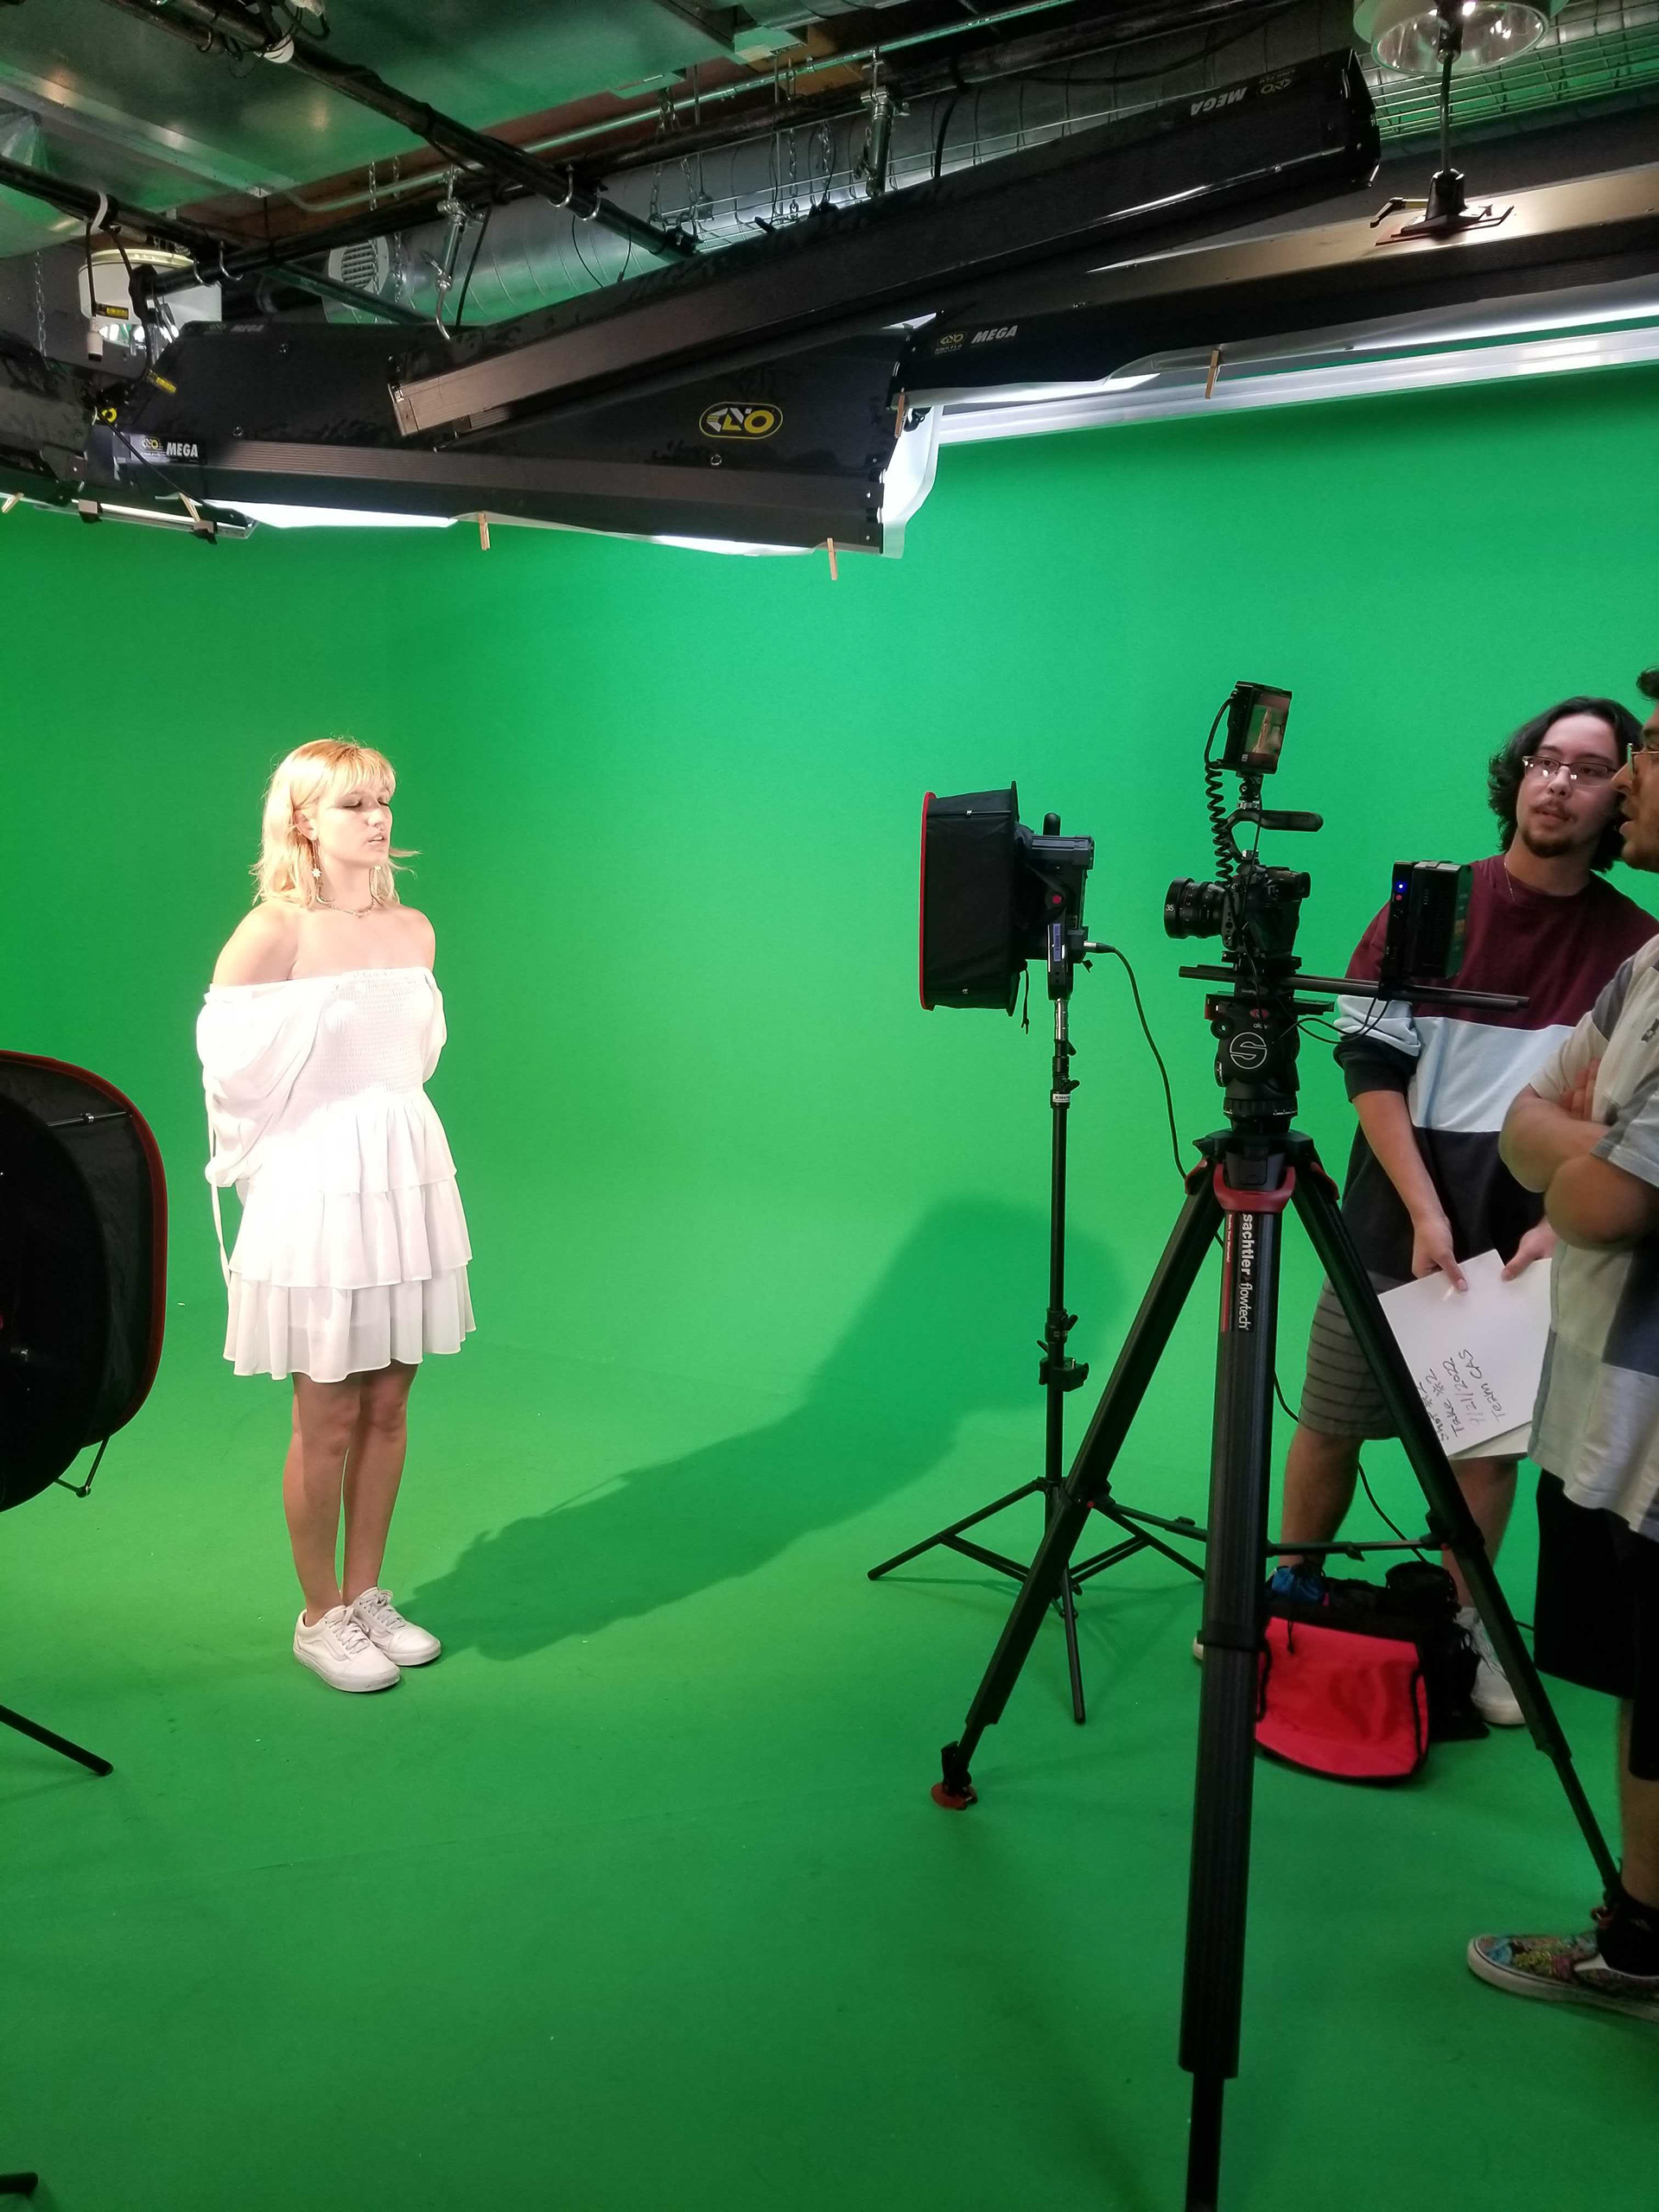
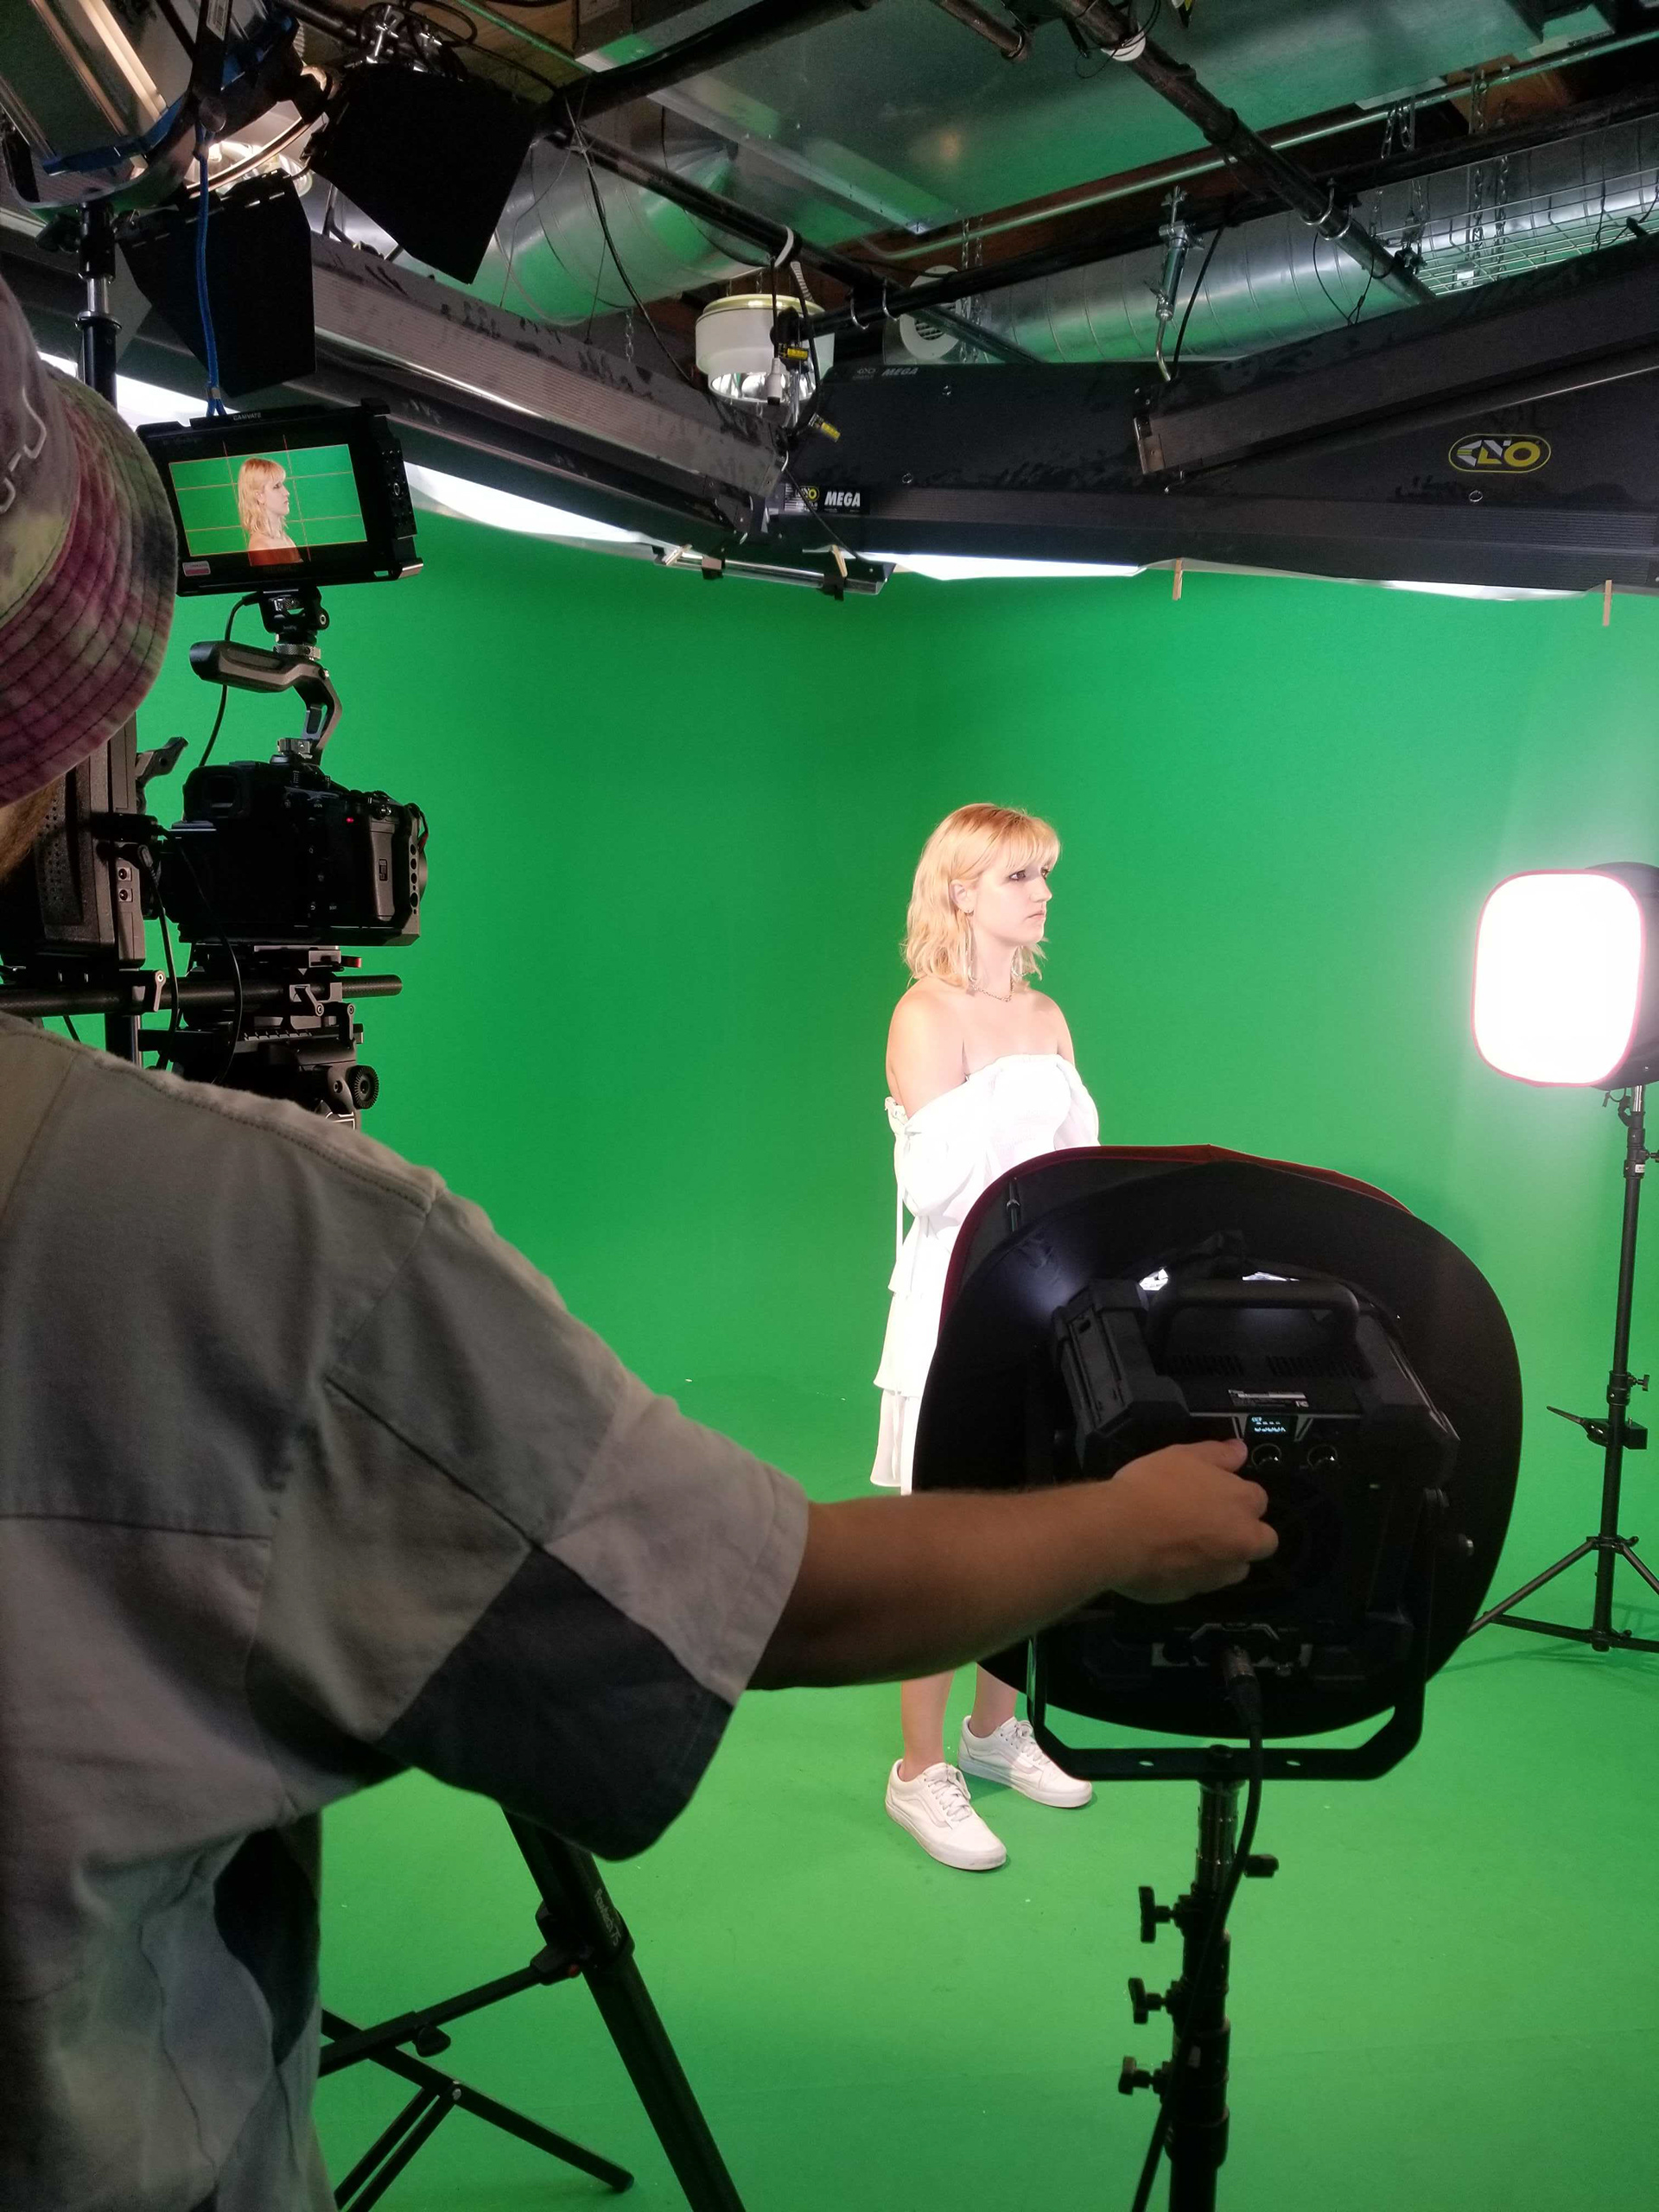
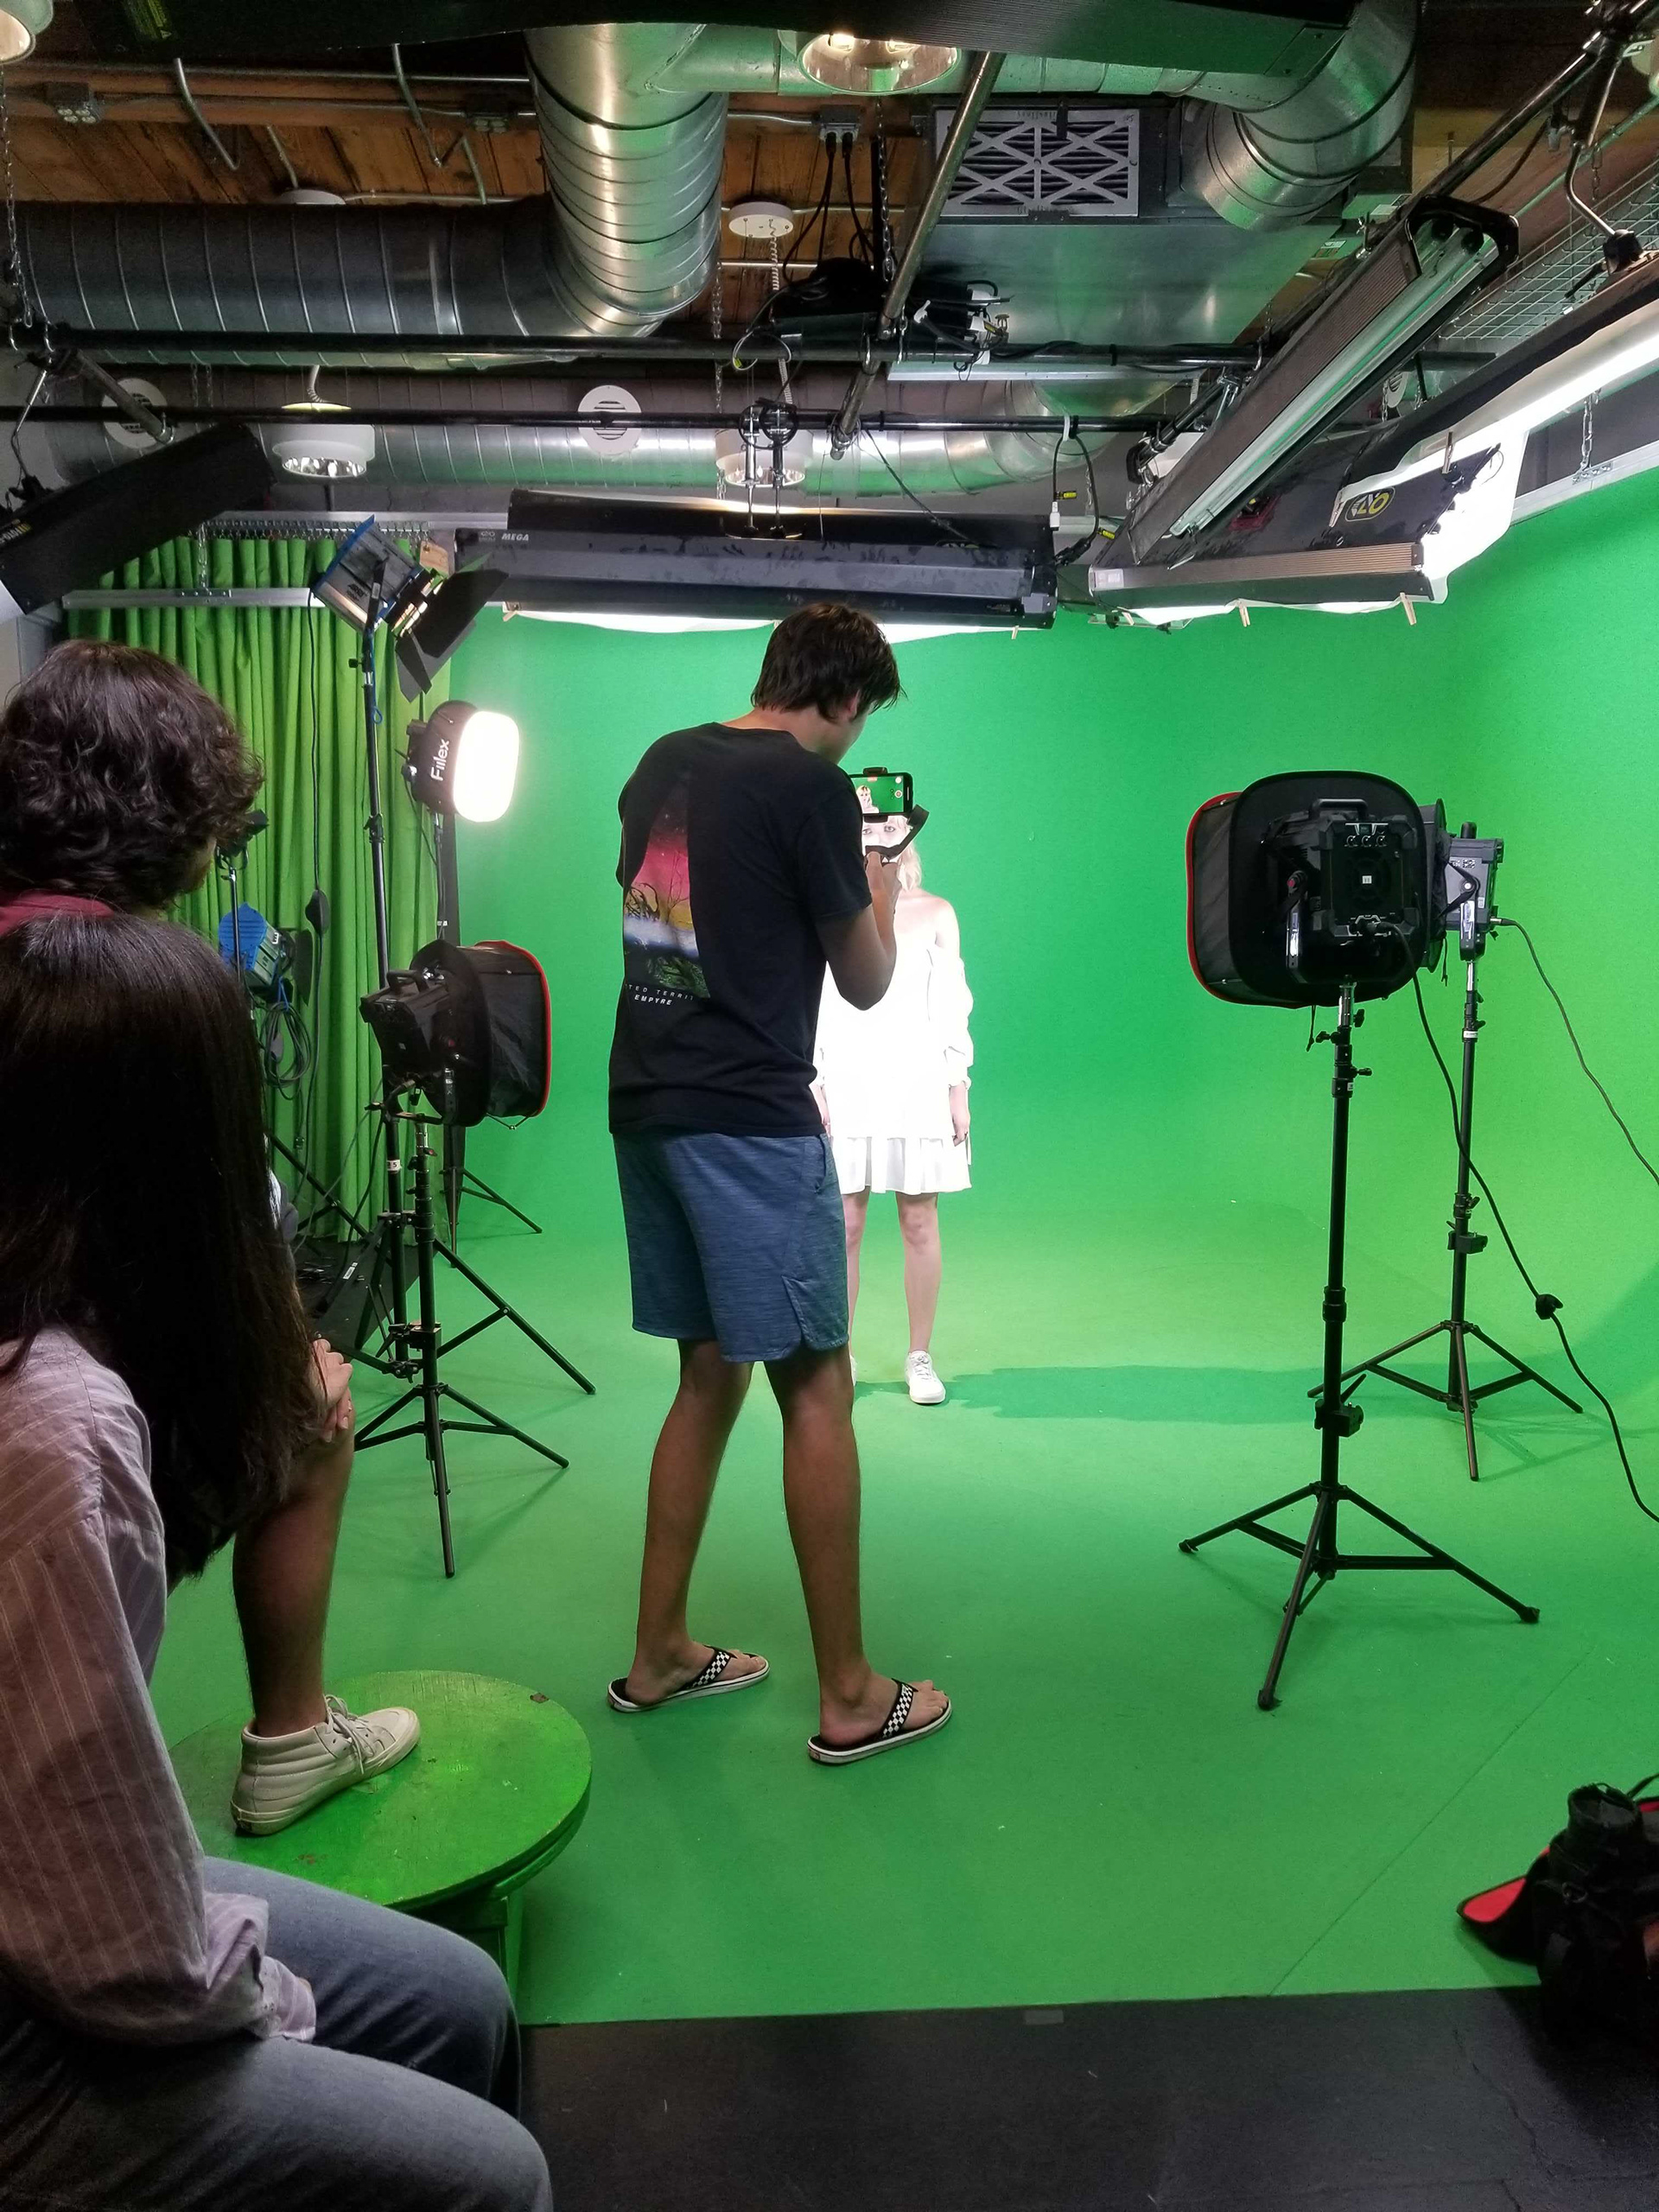
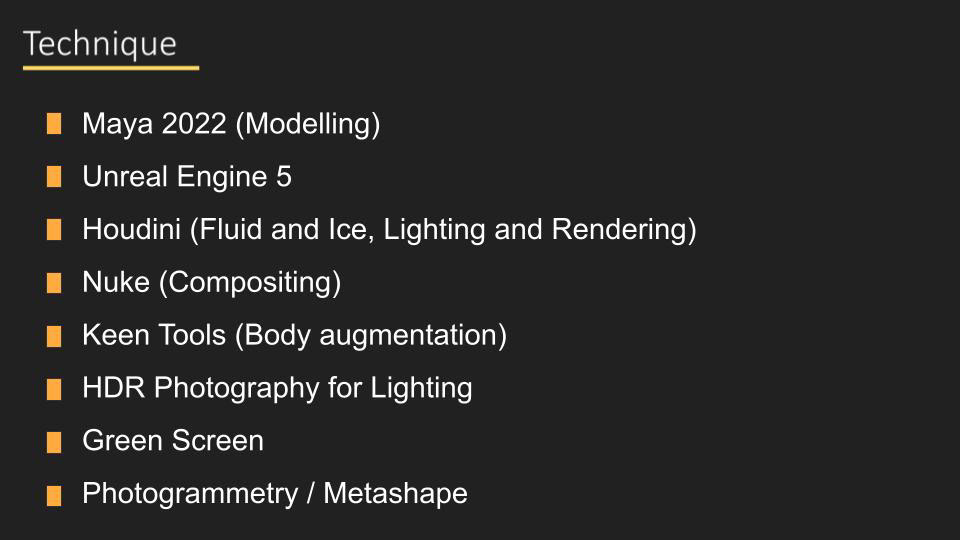
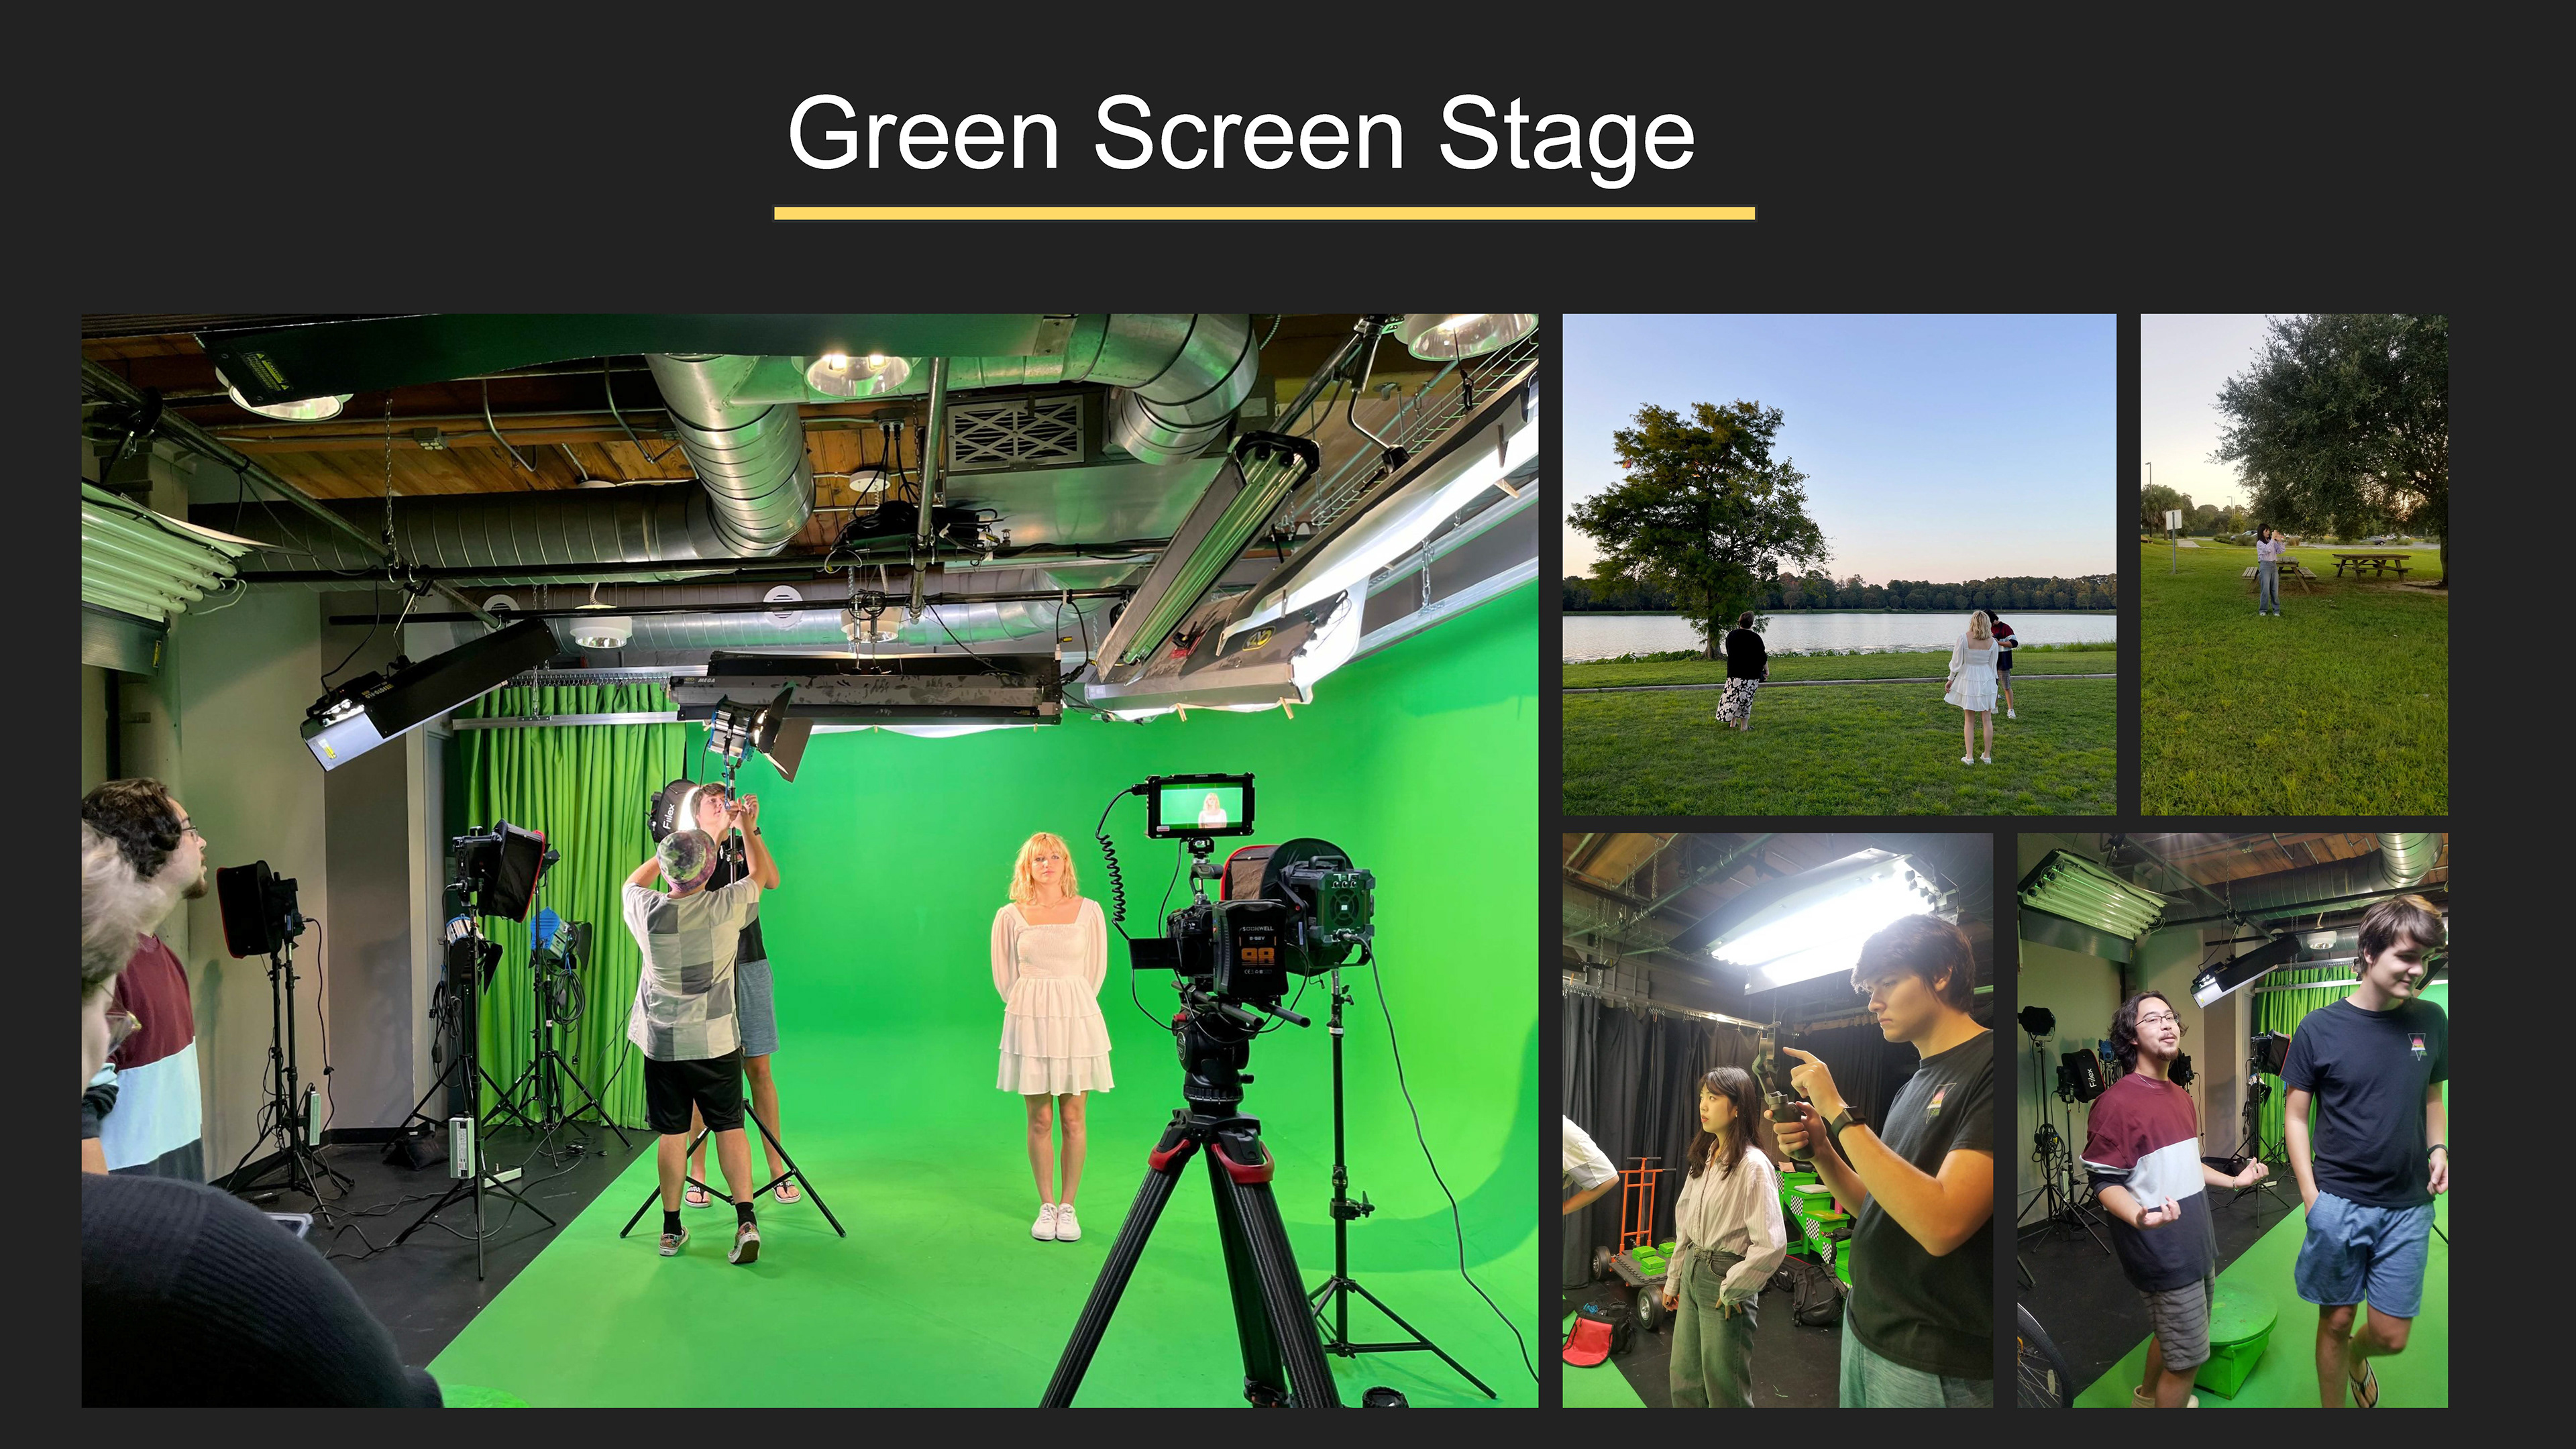
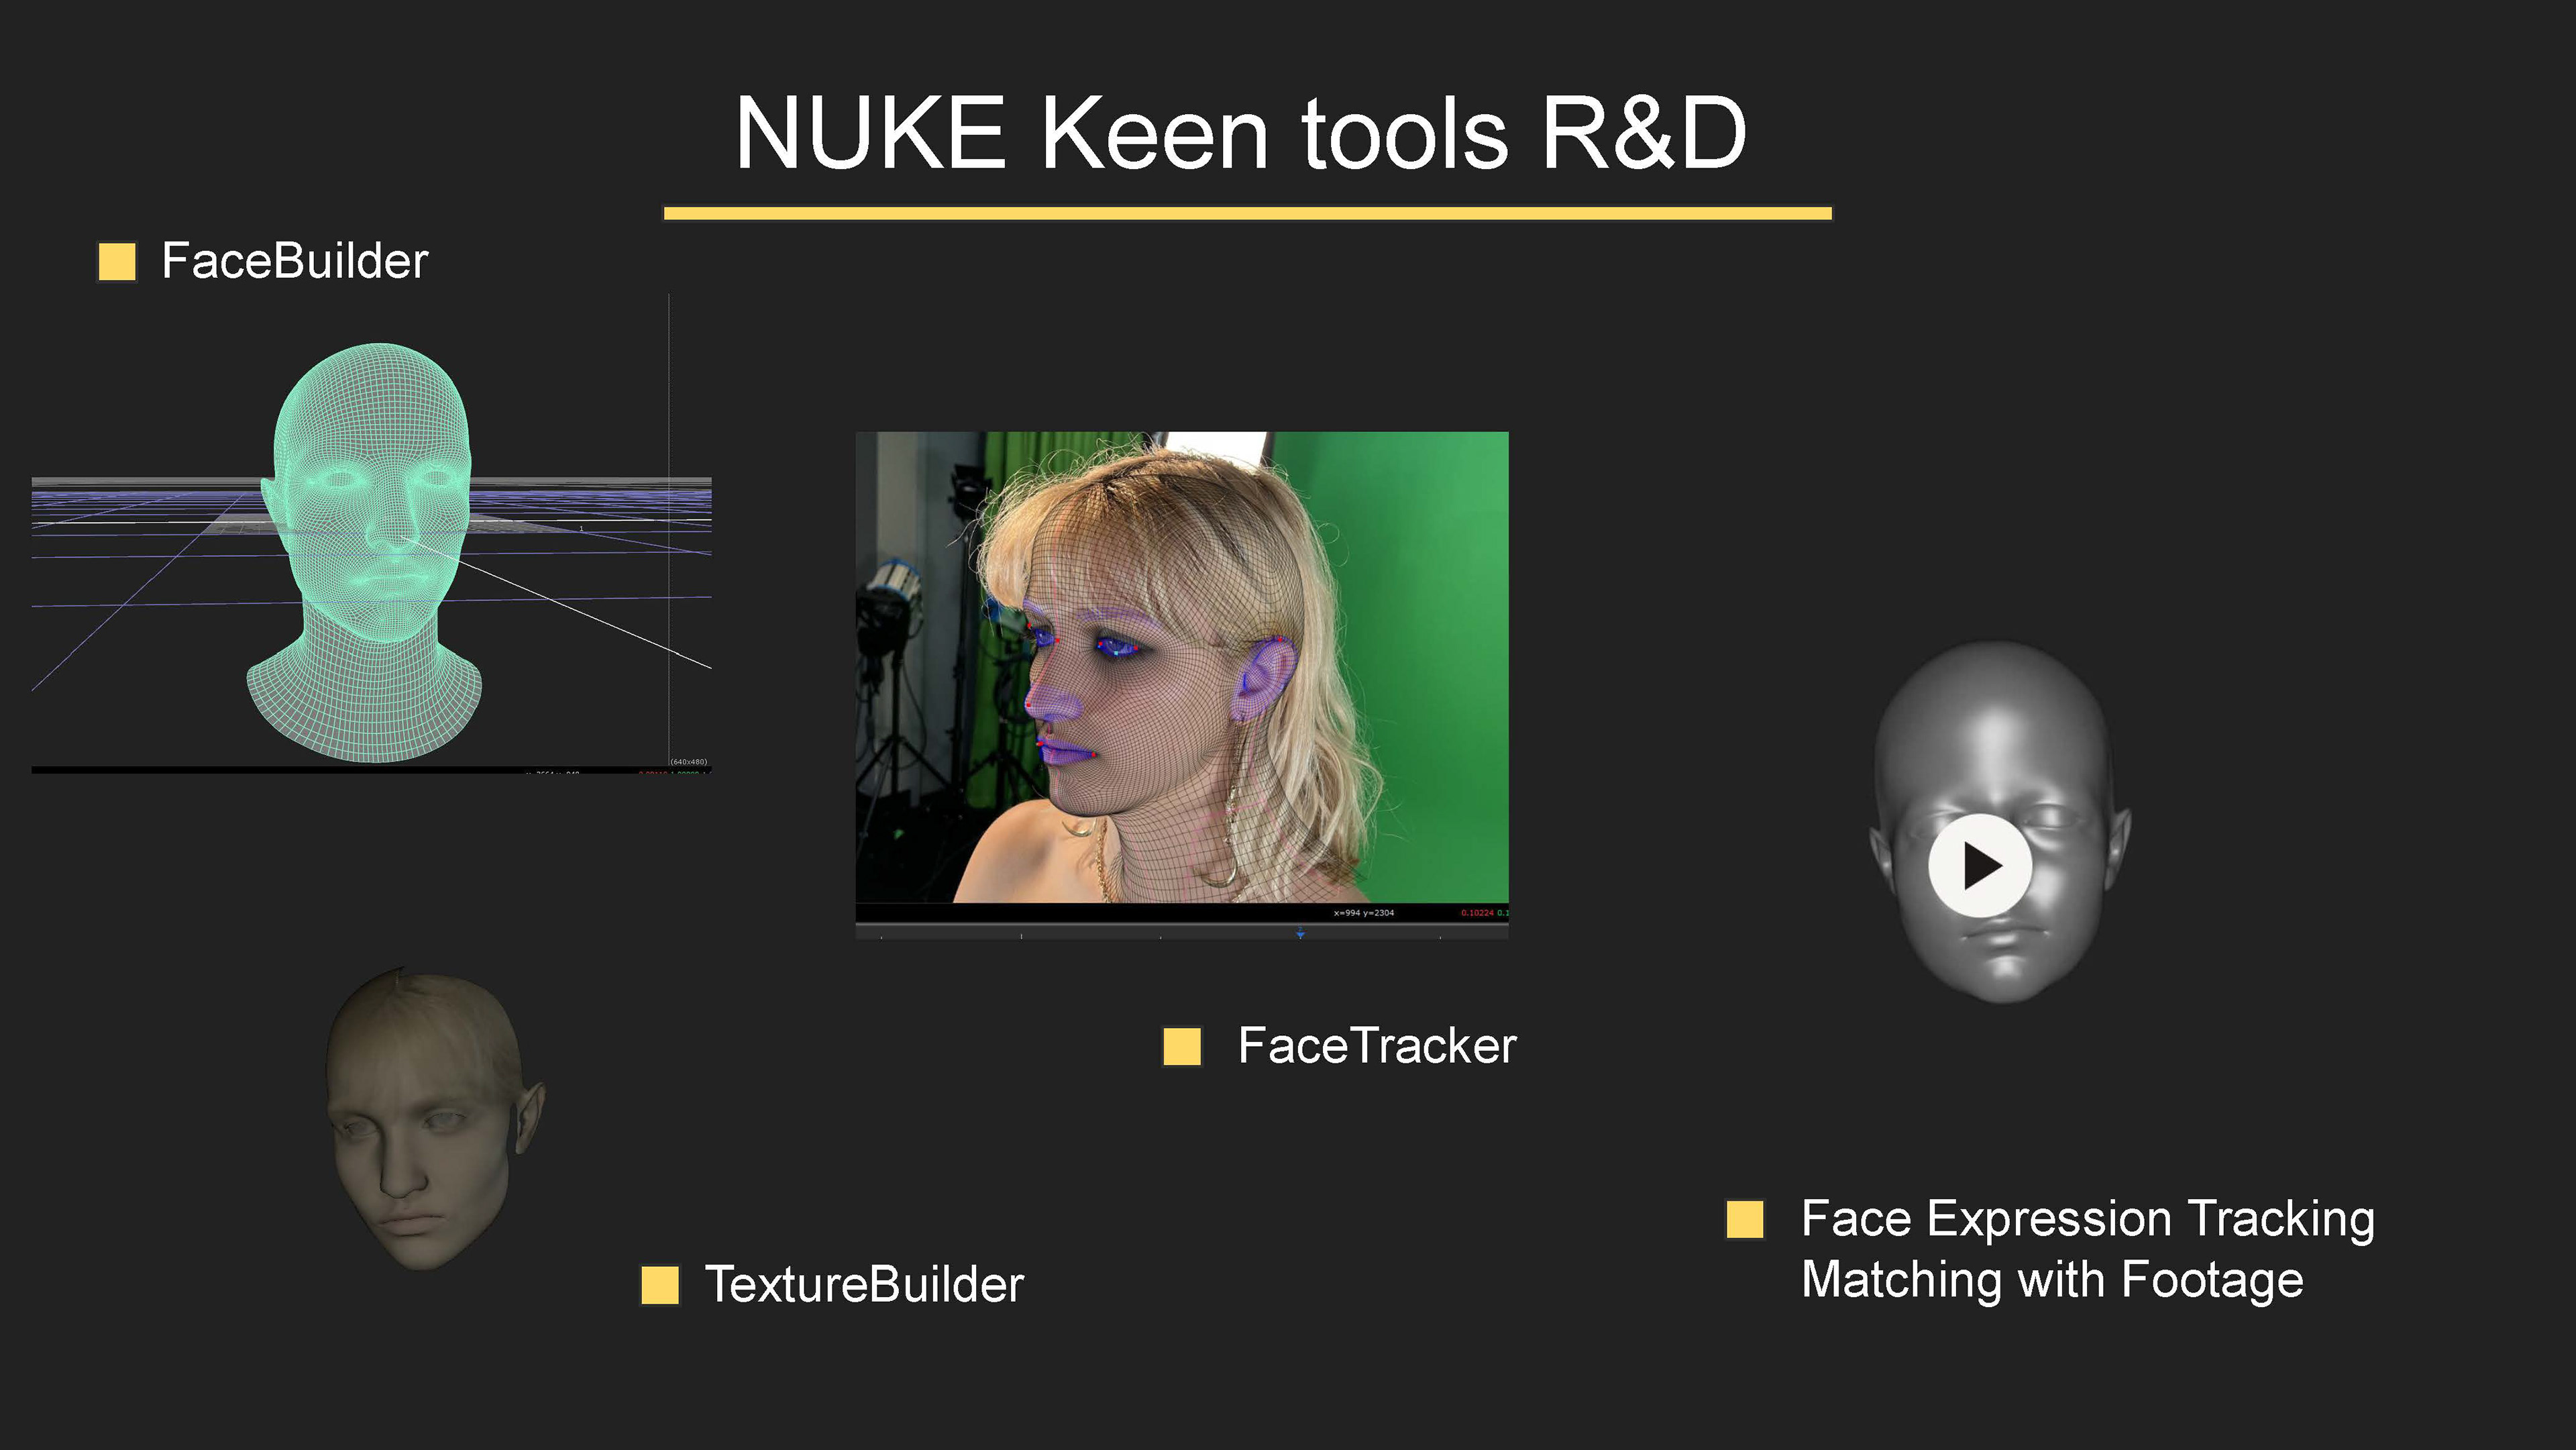
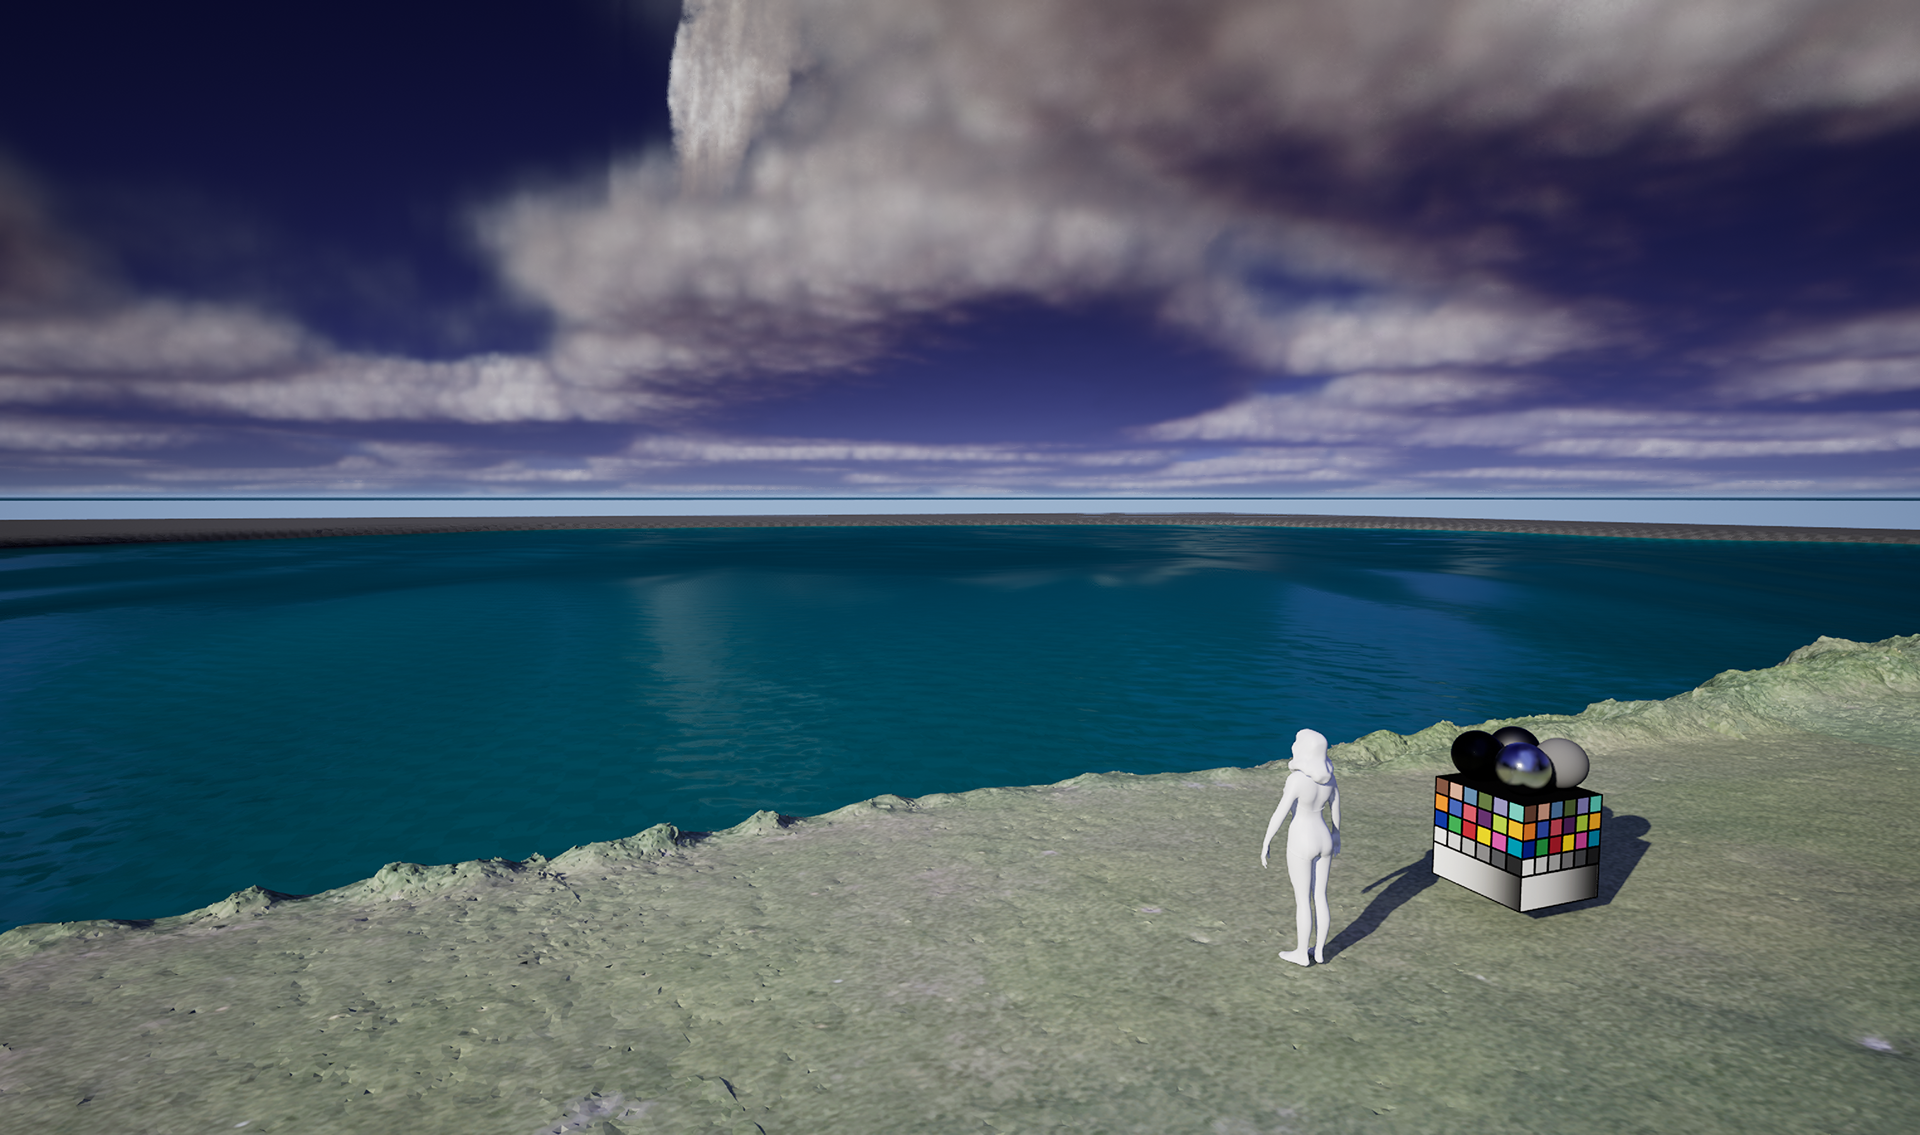
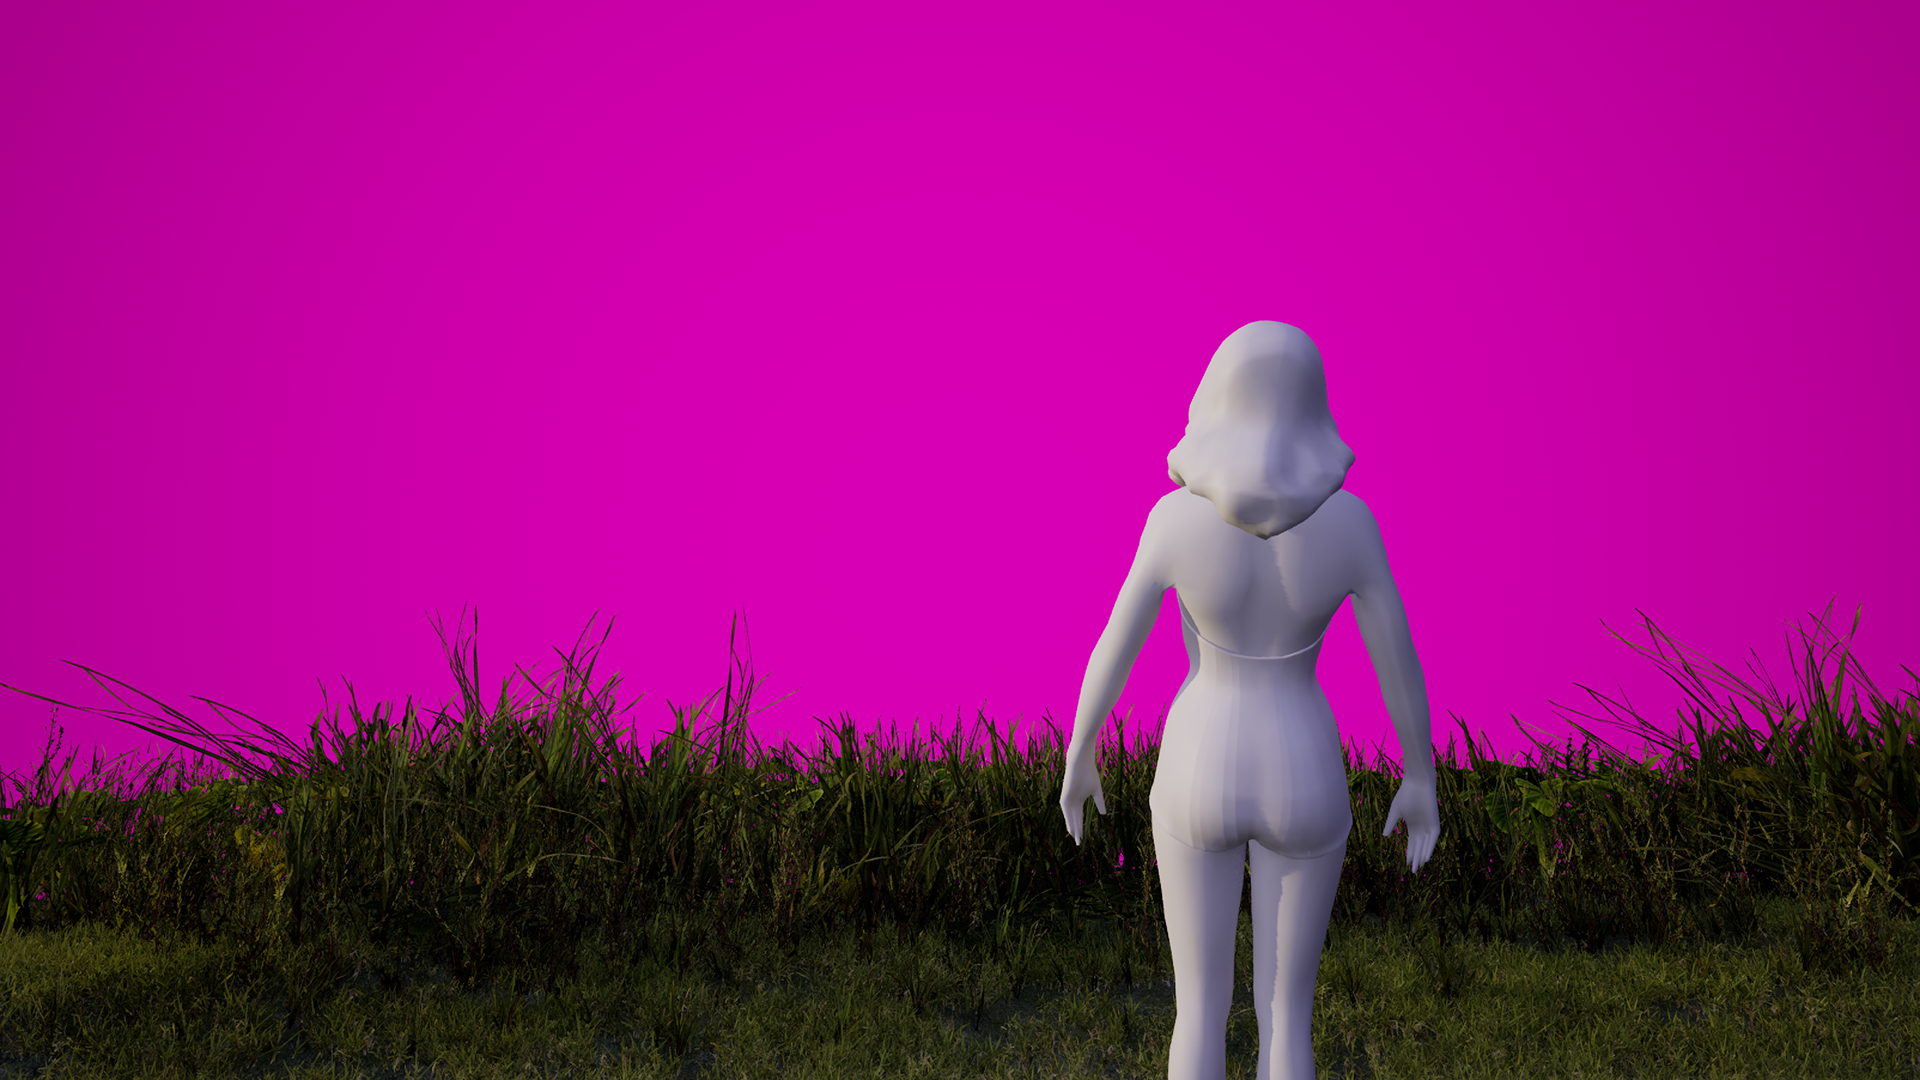
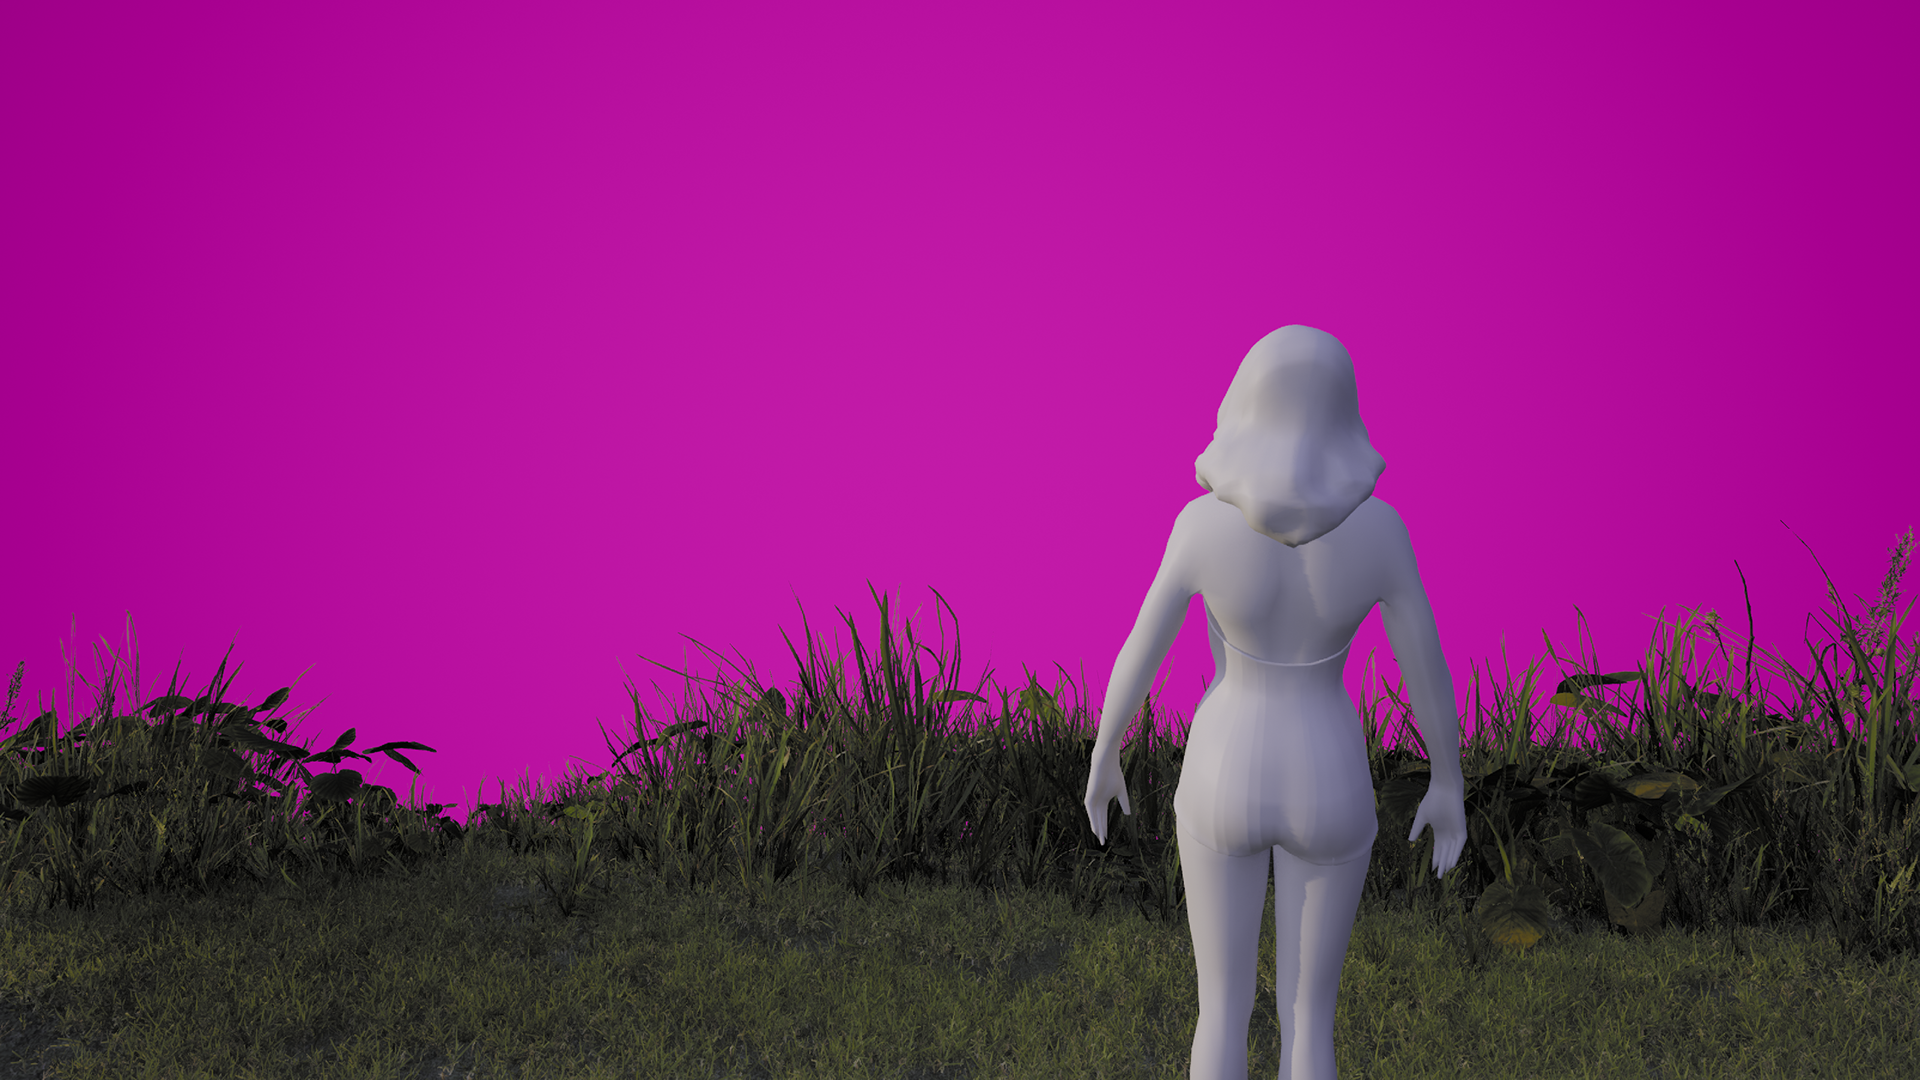
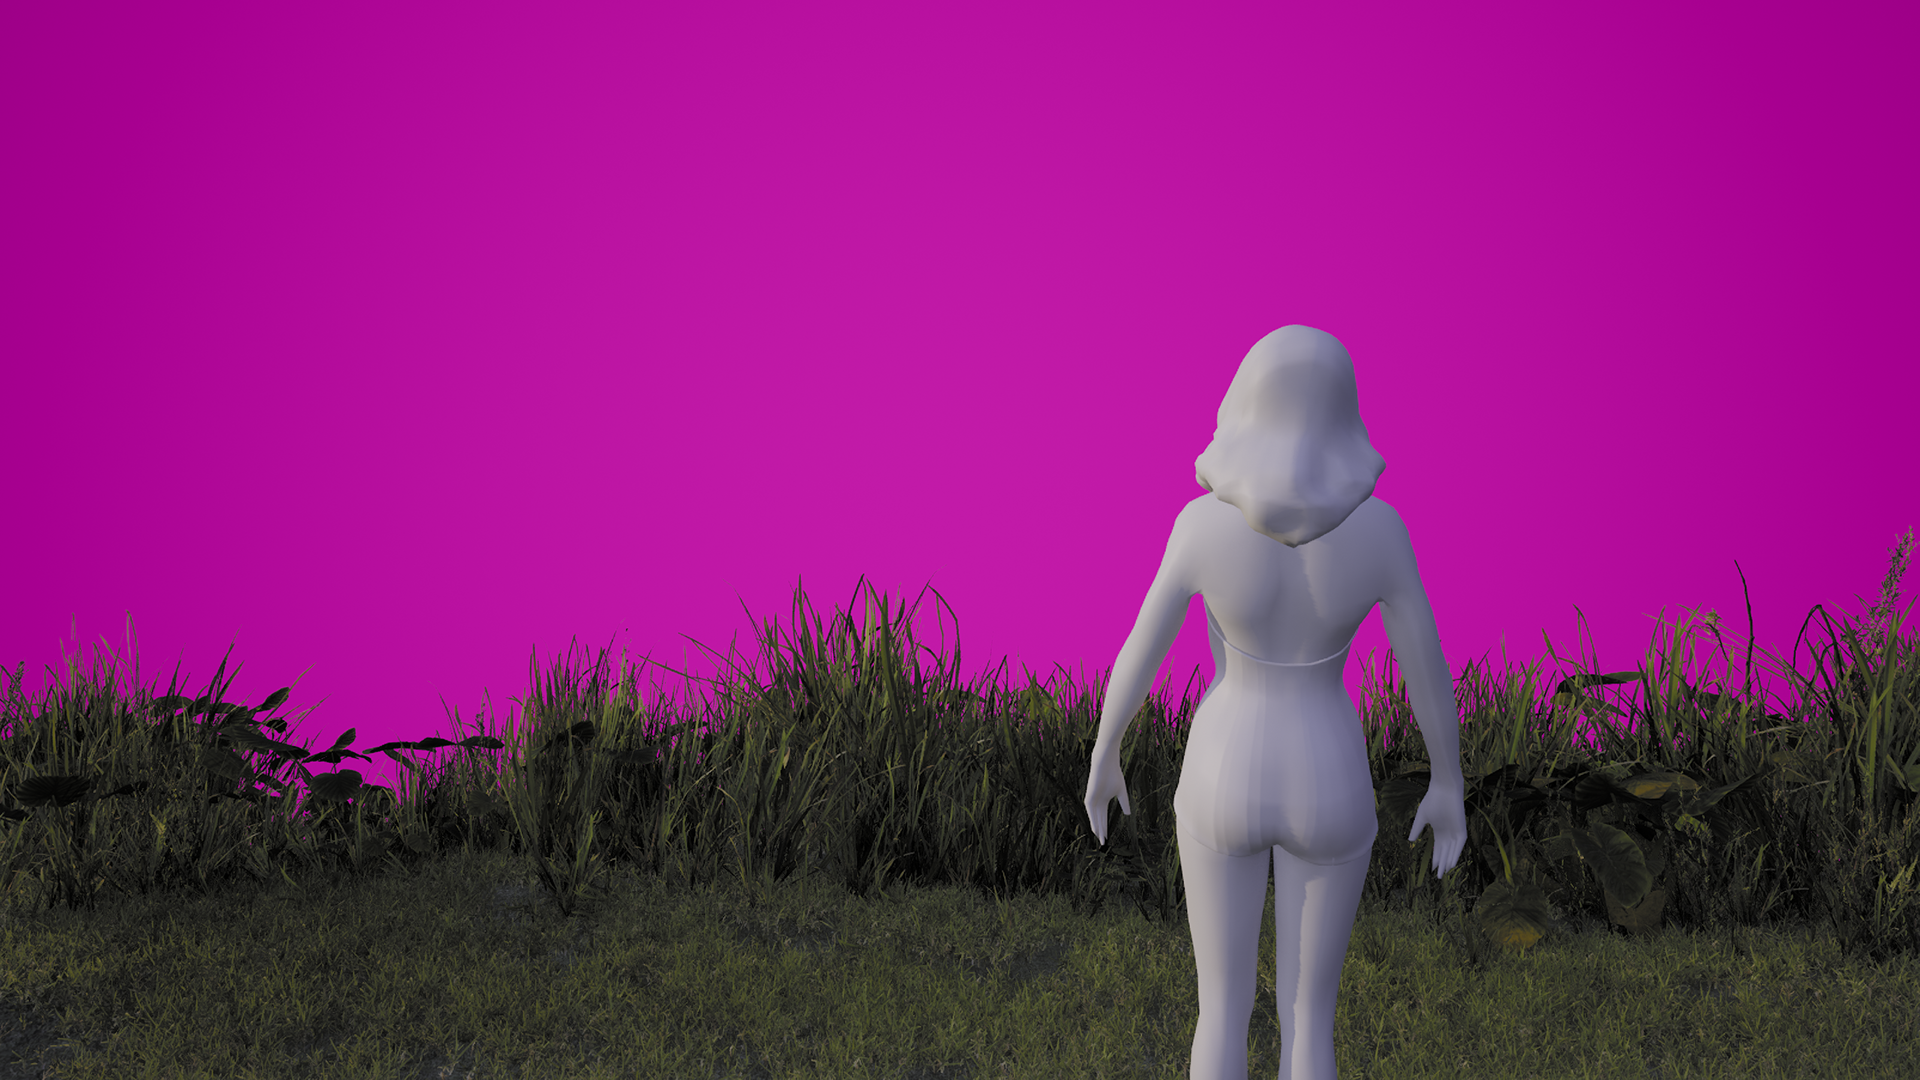
The following day, we met up with our actress and began filming on the Greenscreen Stage. We captured several iterations of our shots, changing lighting, orientation, and camera position between. We also used this time to capture images of our actress' face for use with Keen Tools.
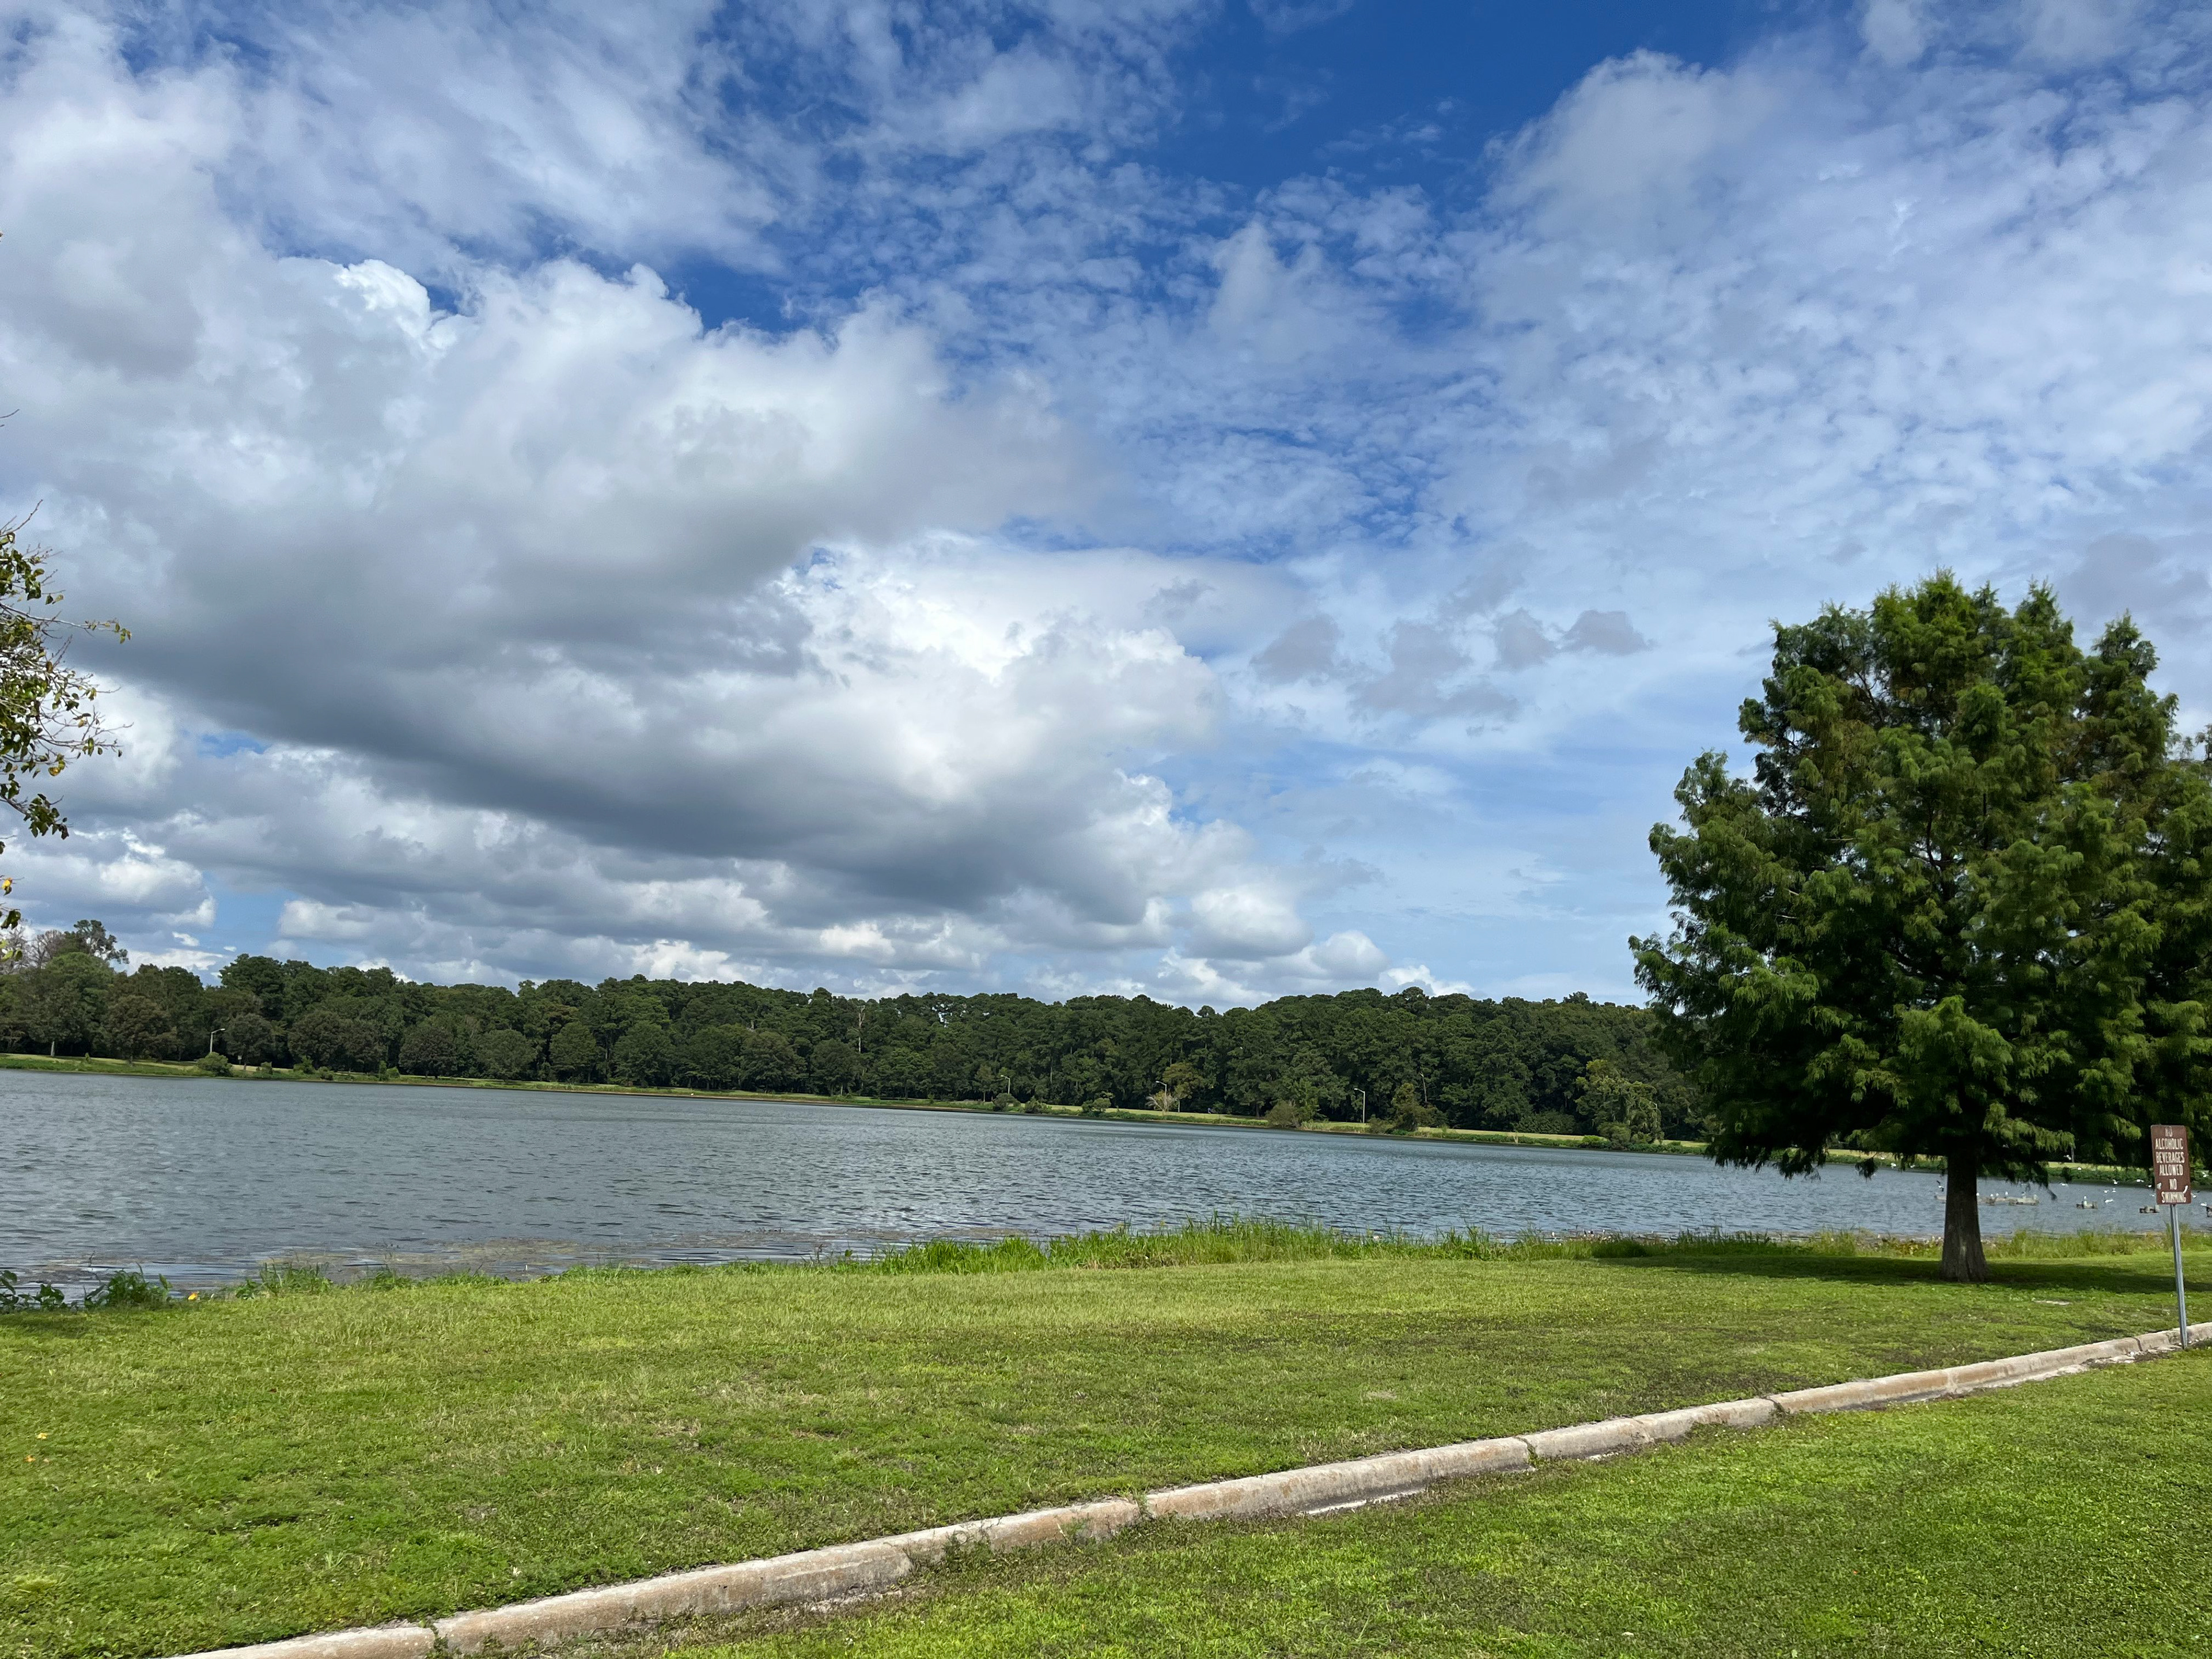
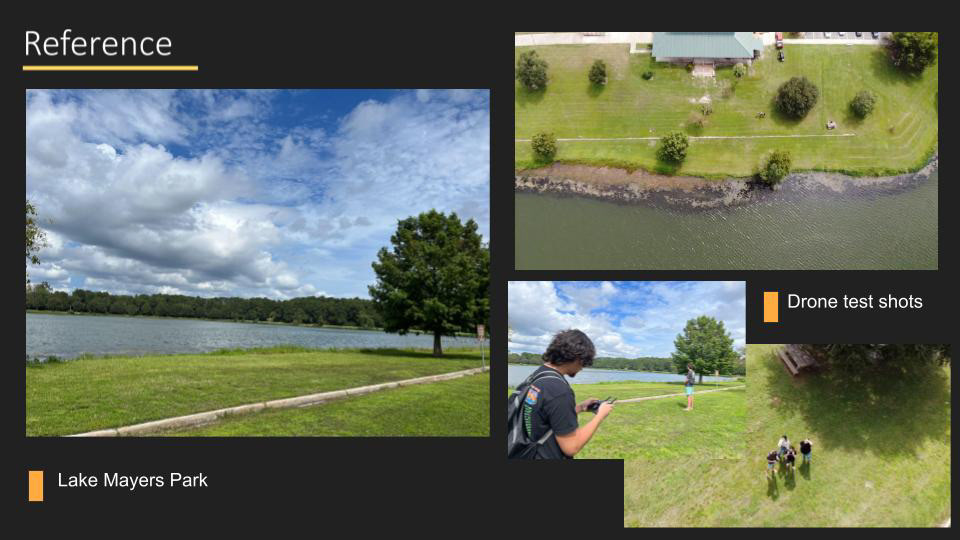
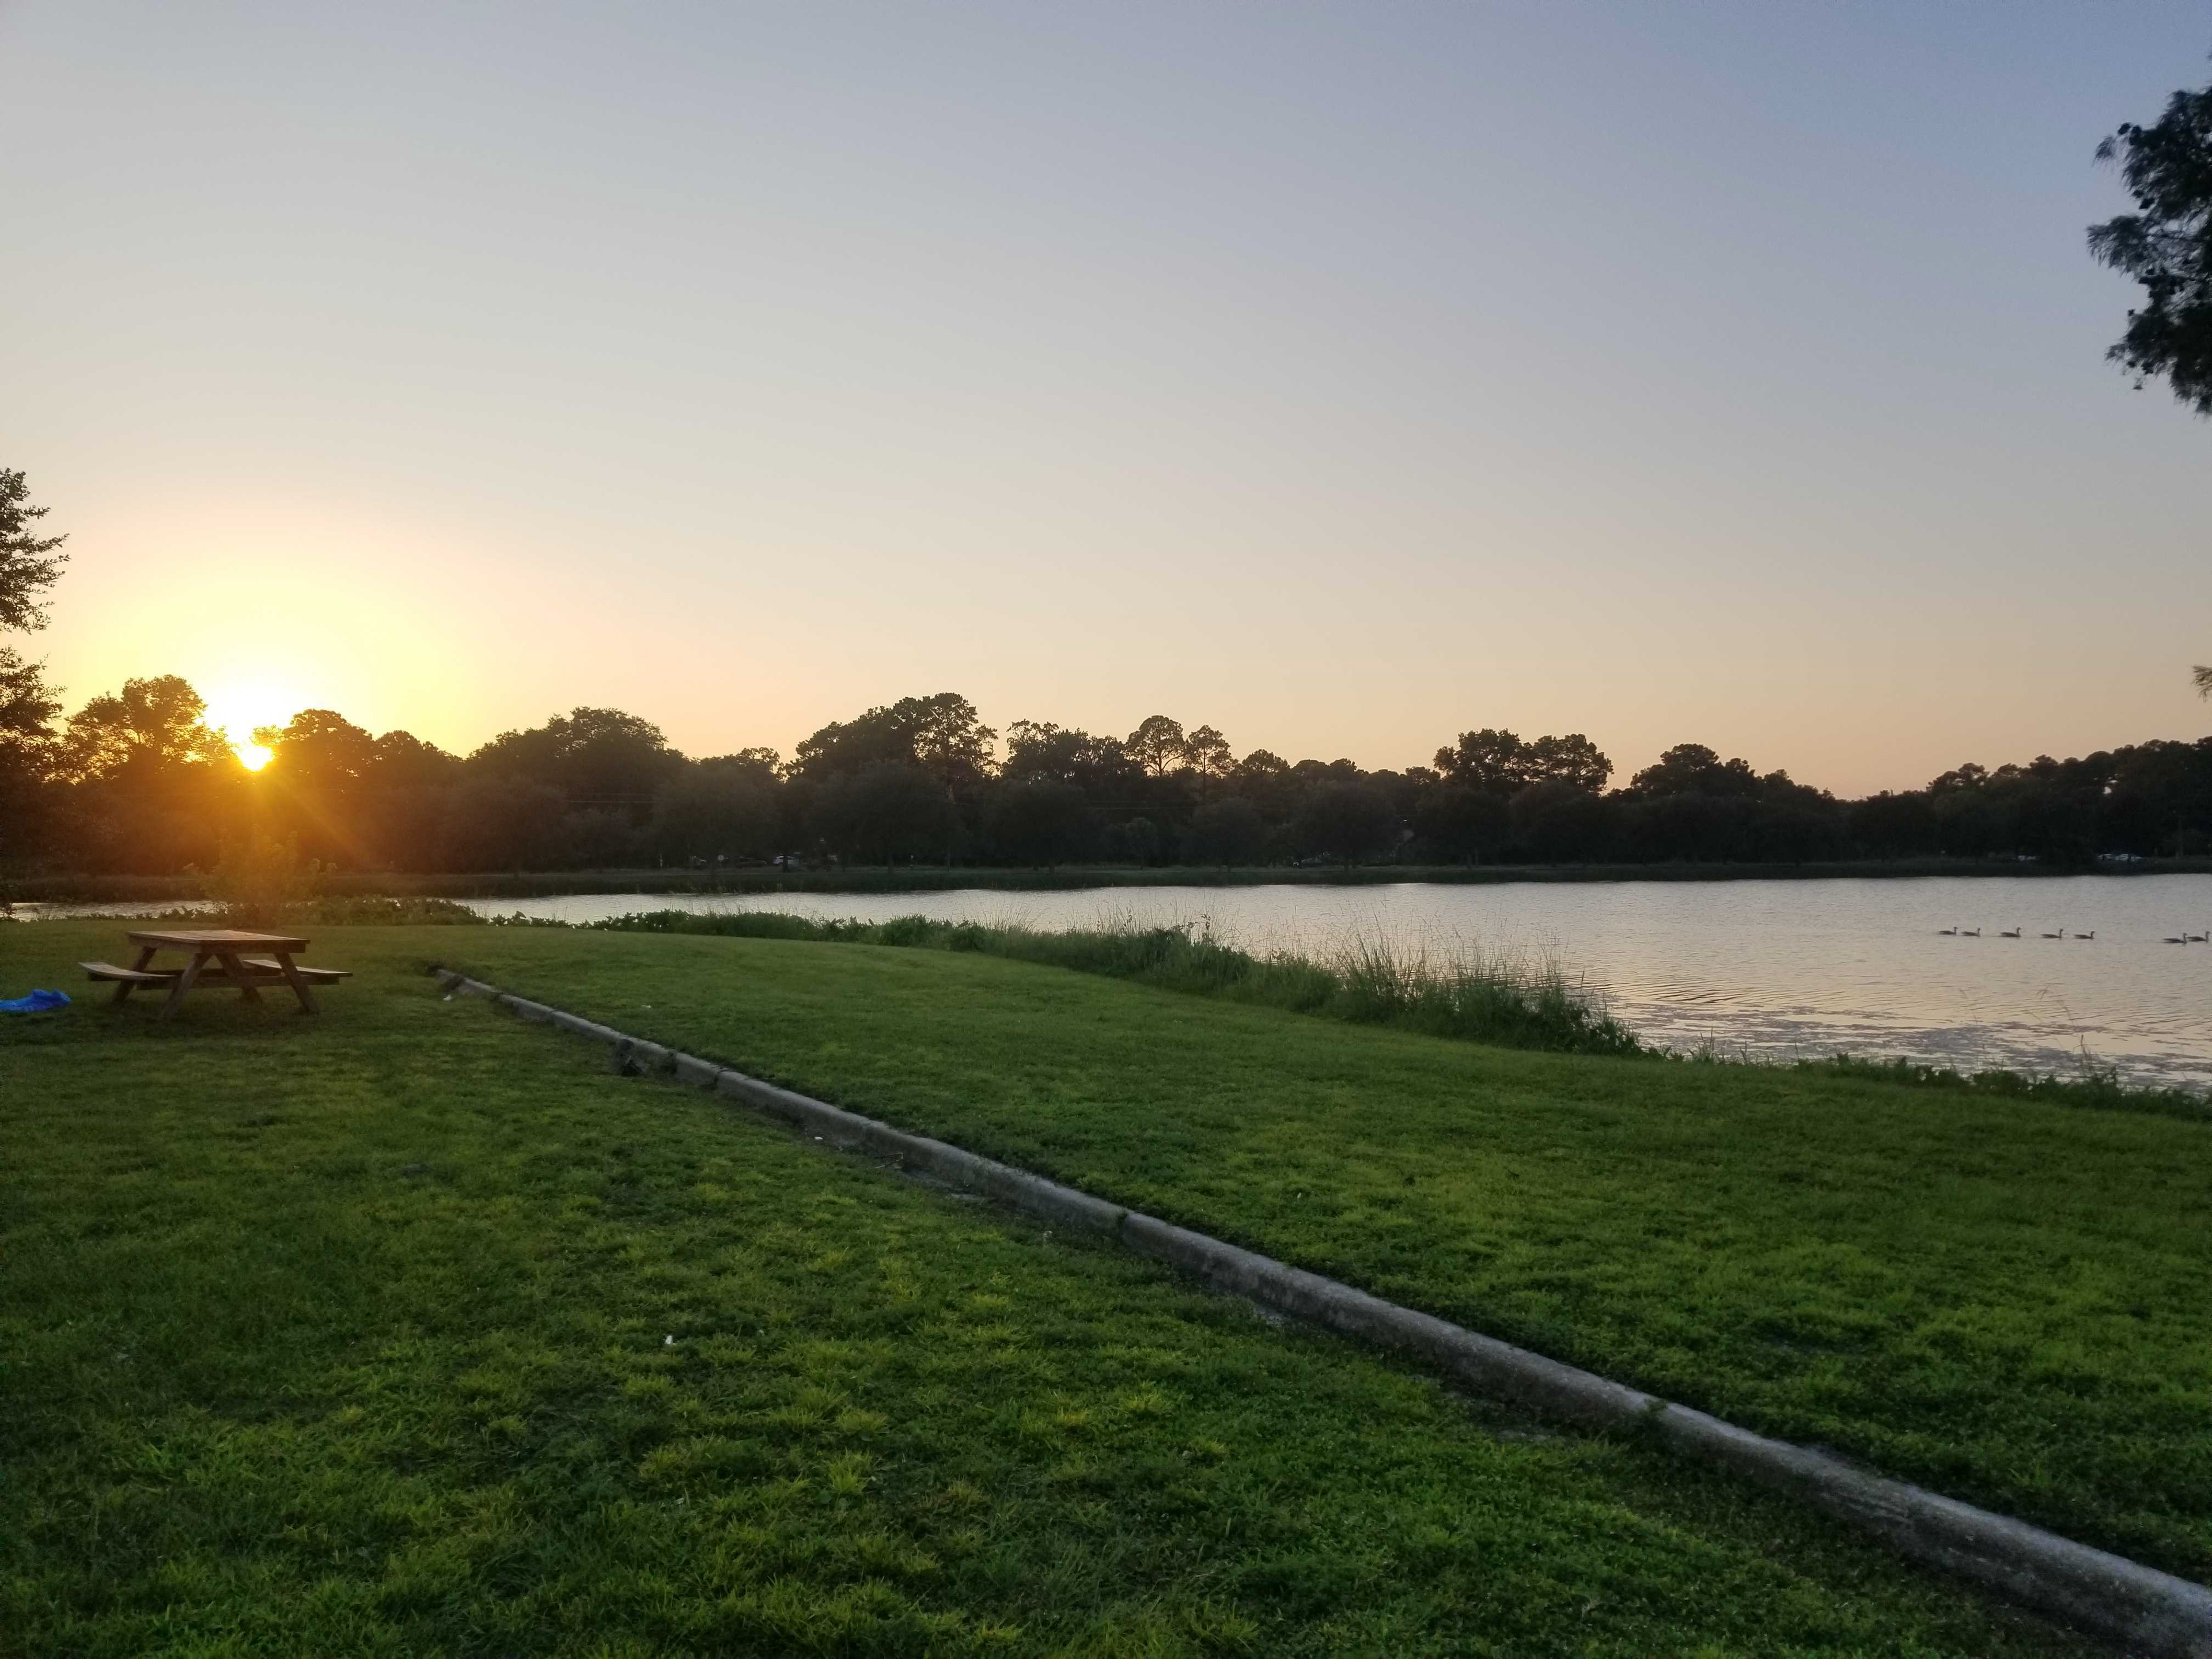
When we had captured an adequate amount of footage, we went on site to the lake and captured some test footage of our actress and practiced some potential camera moves.
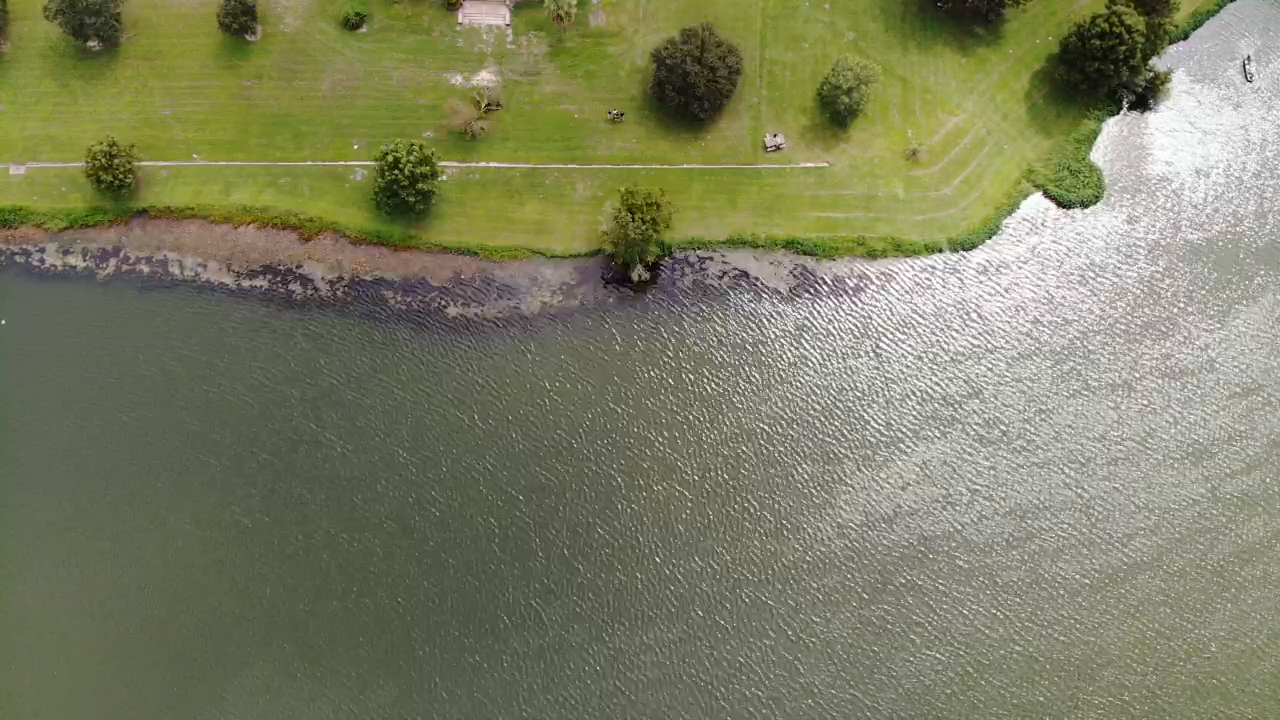
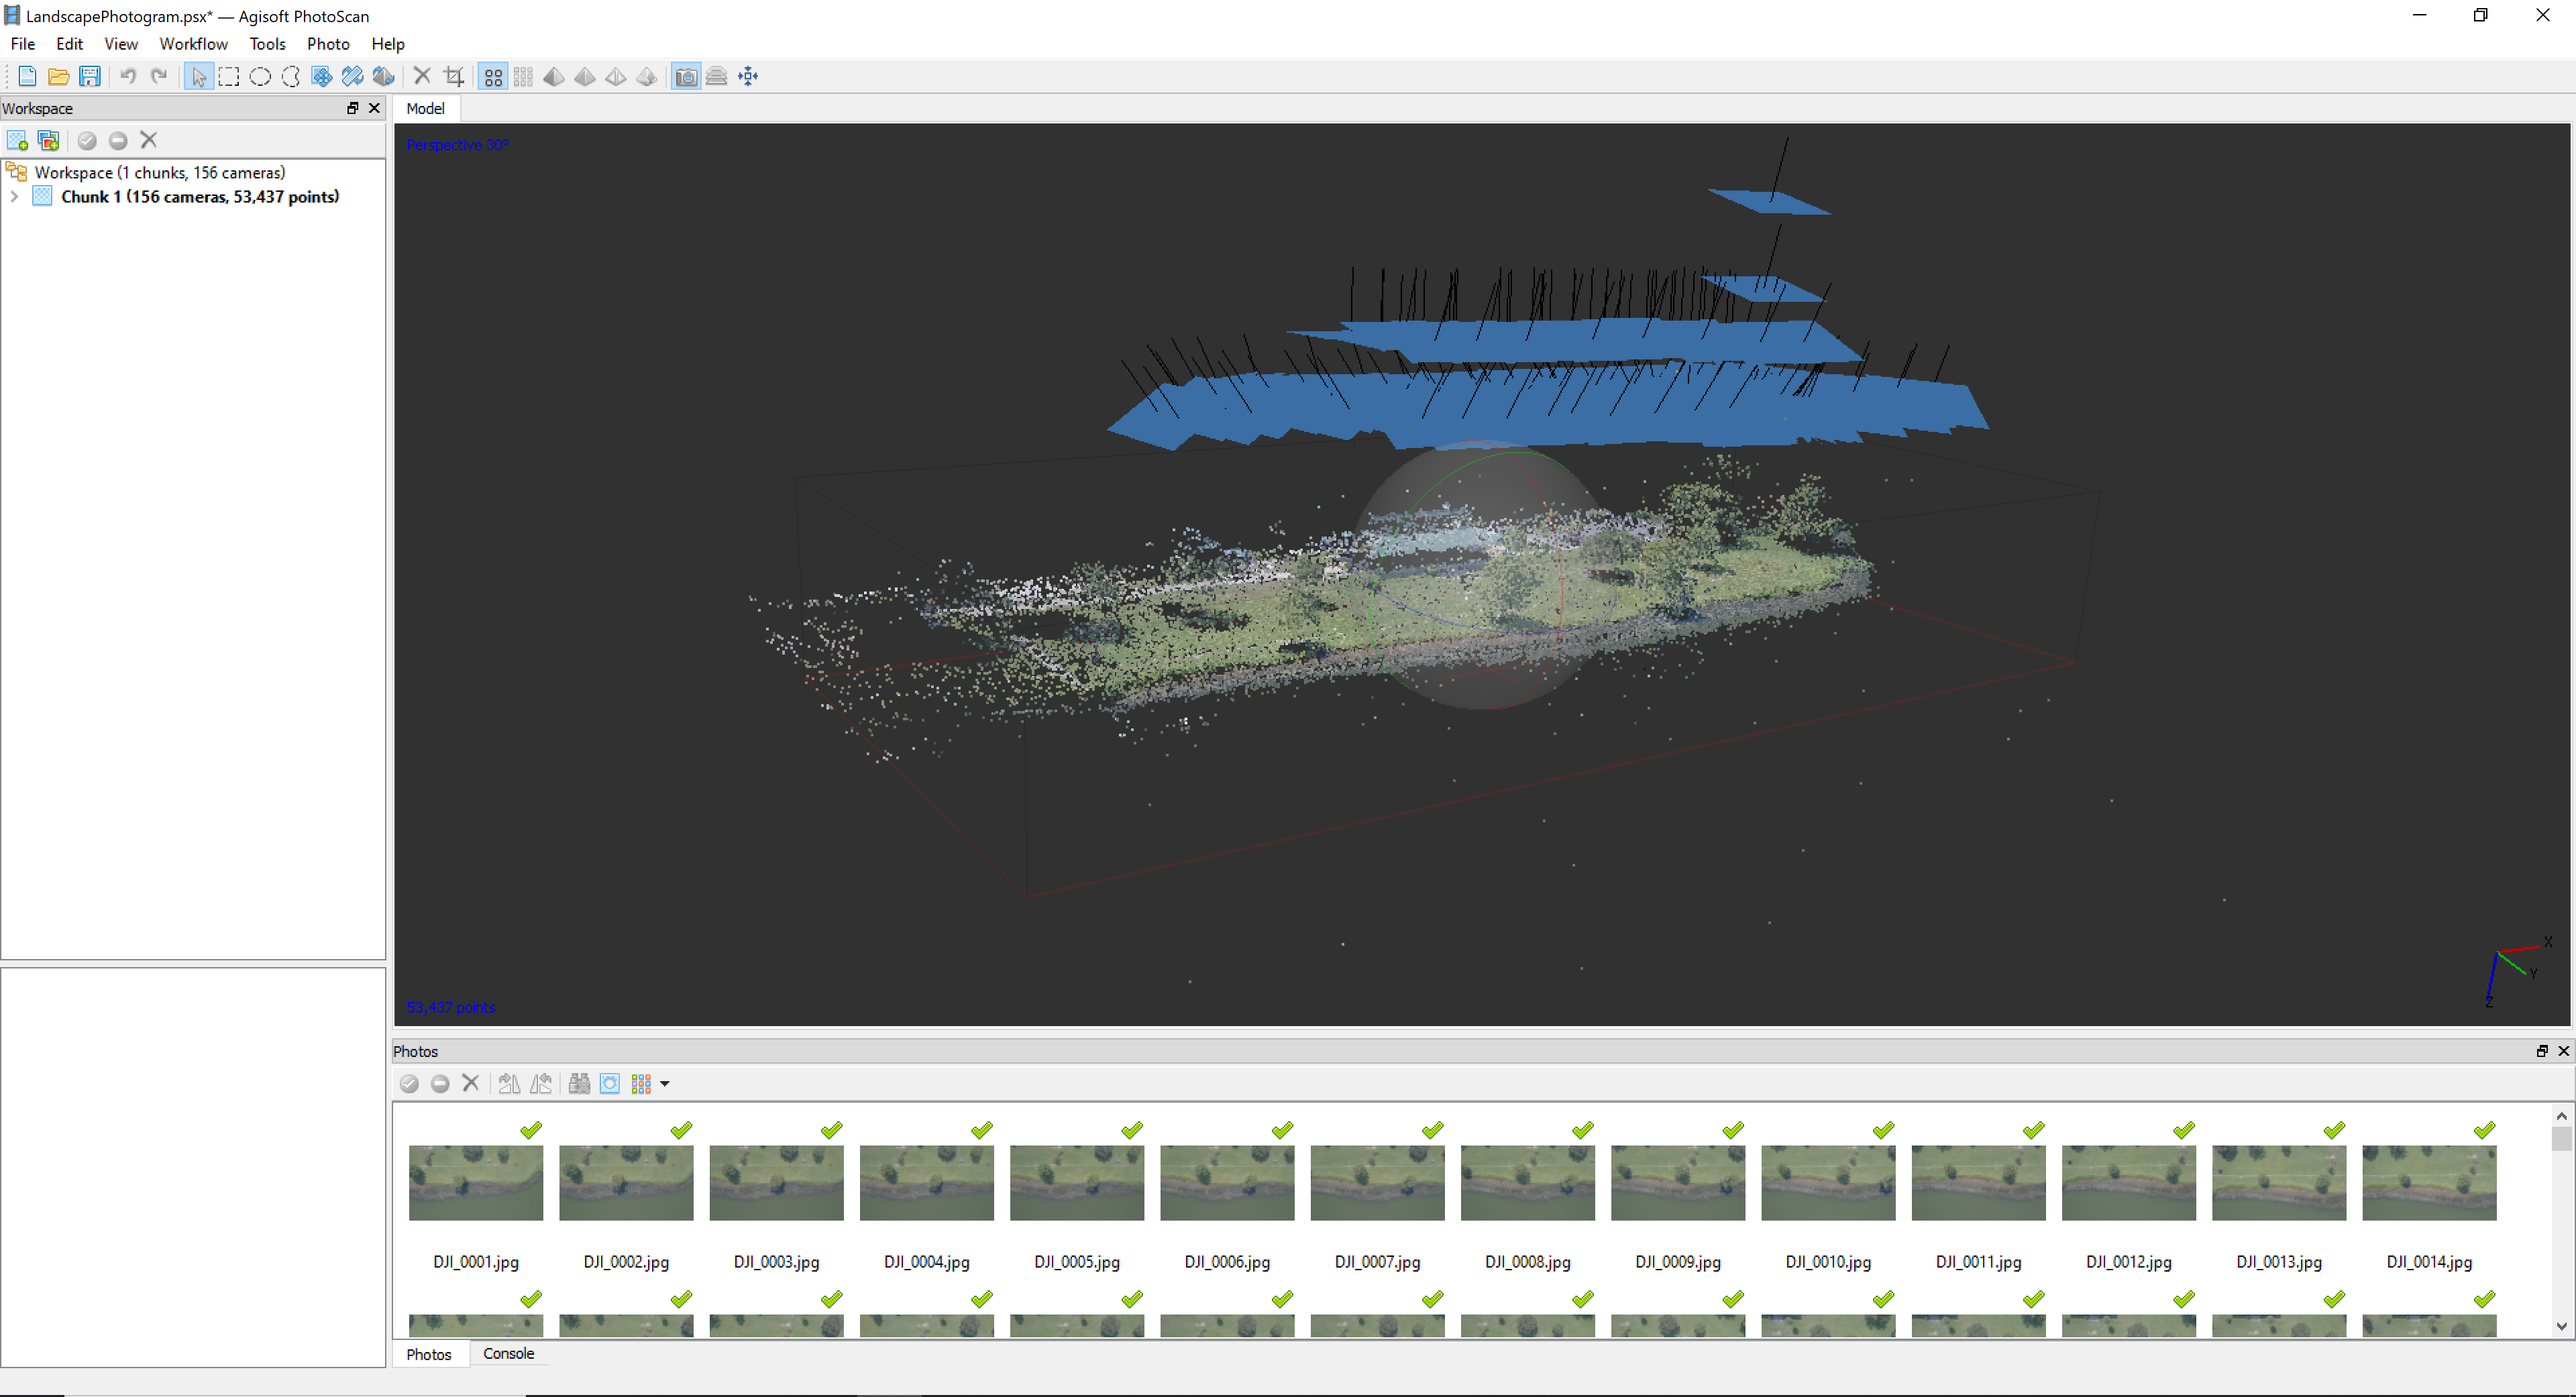
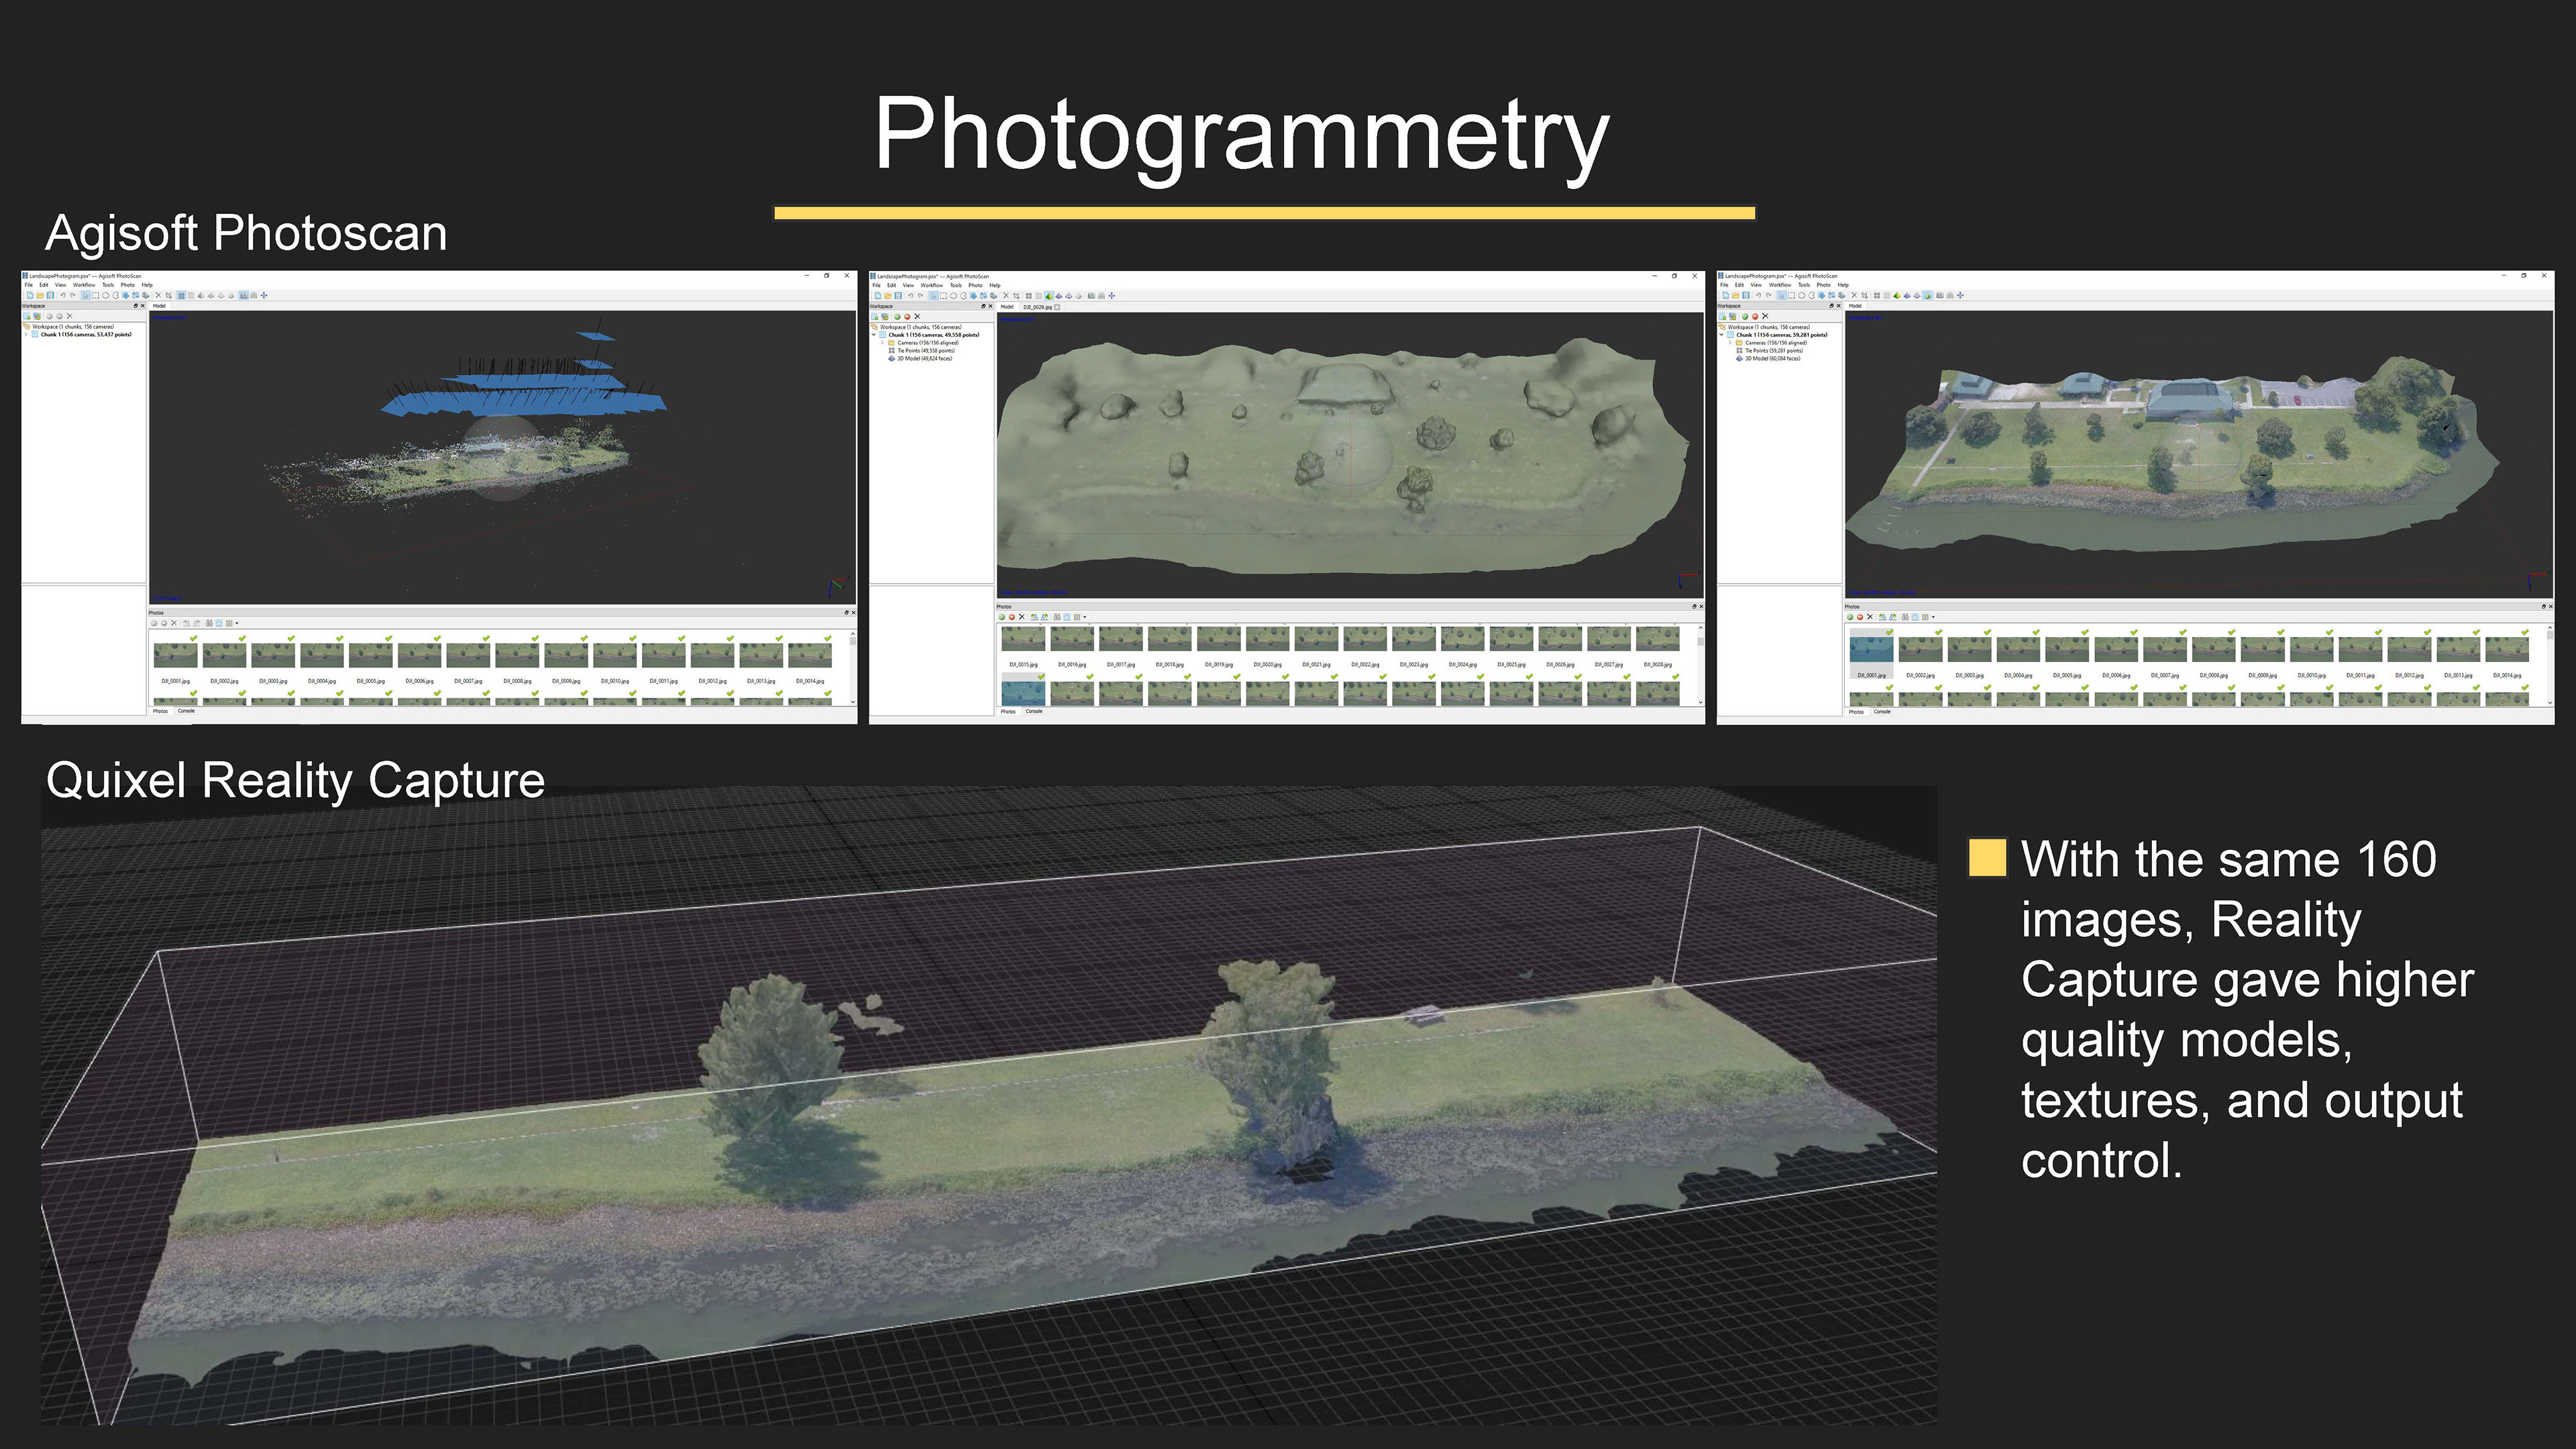
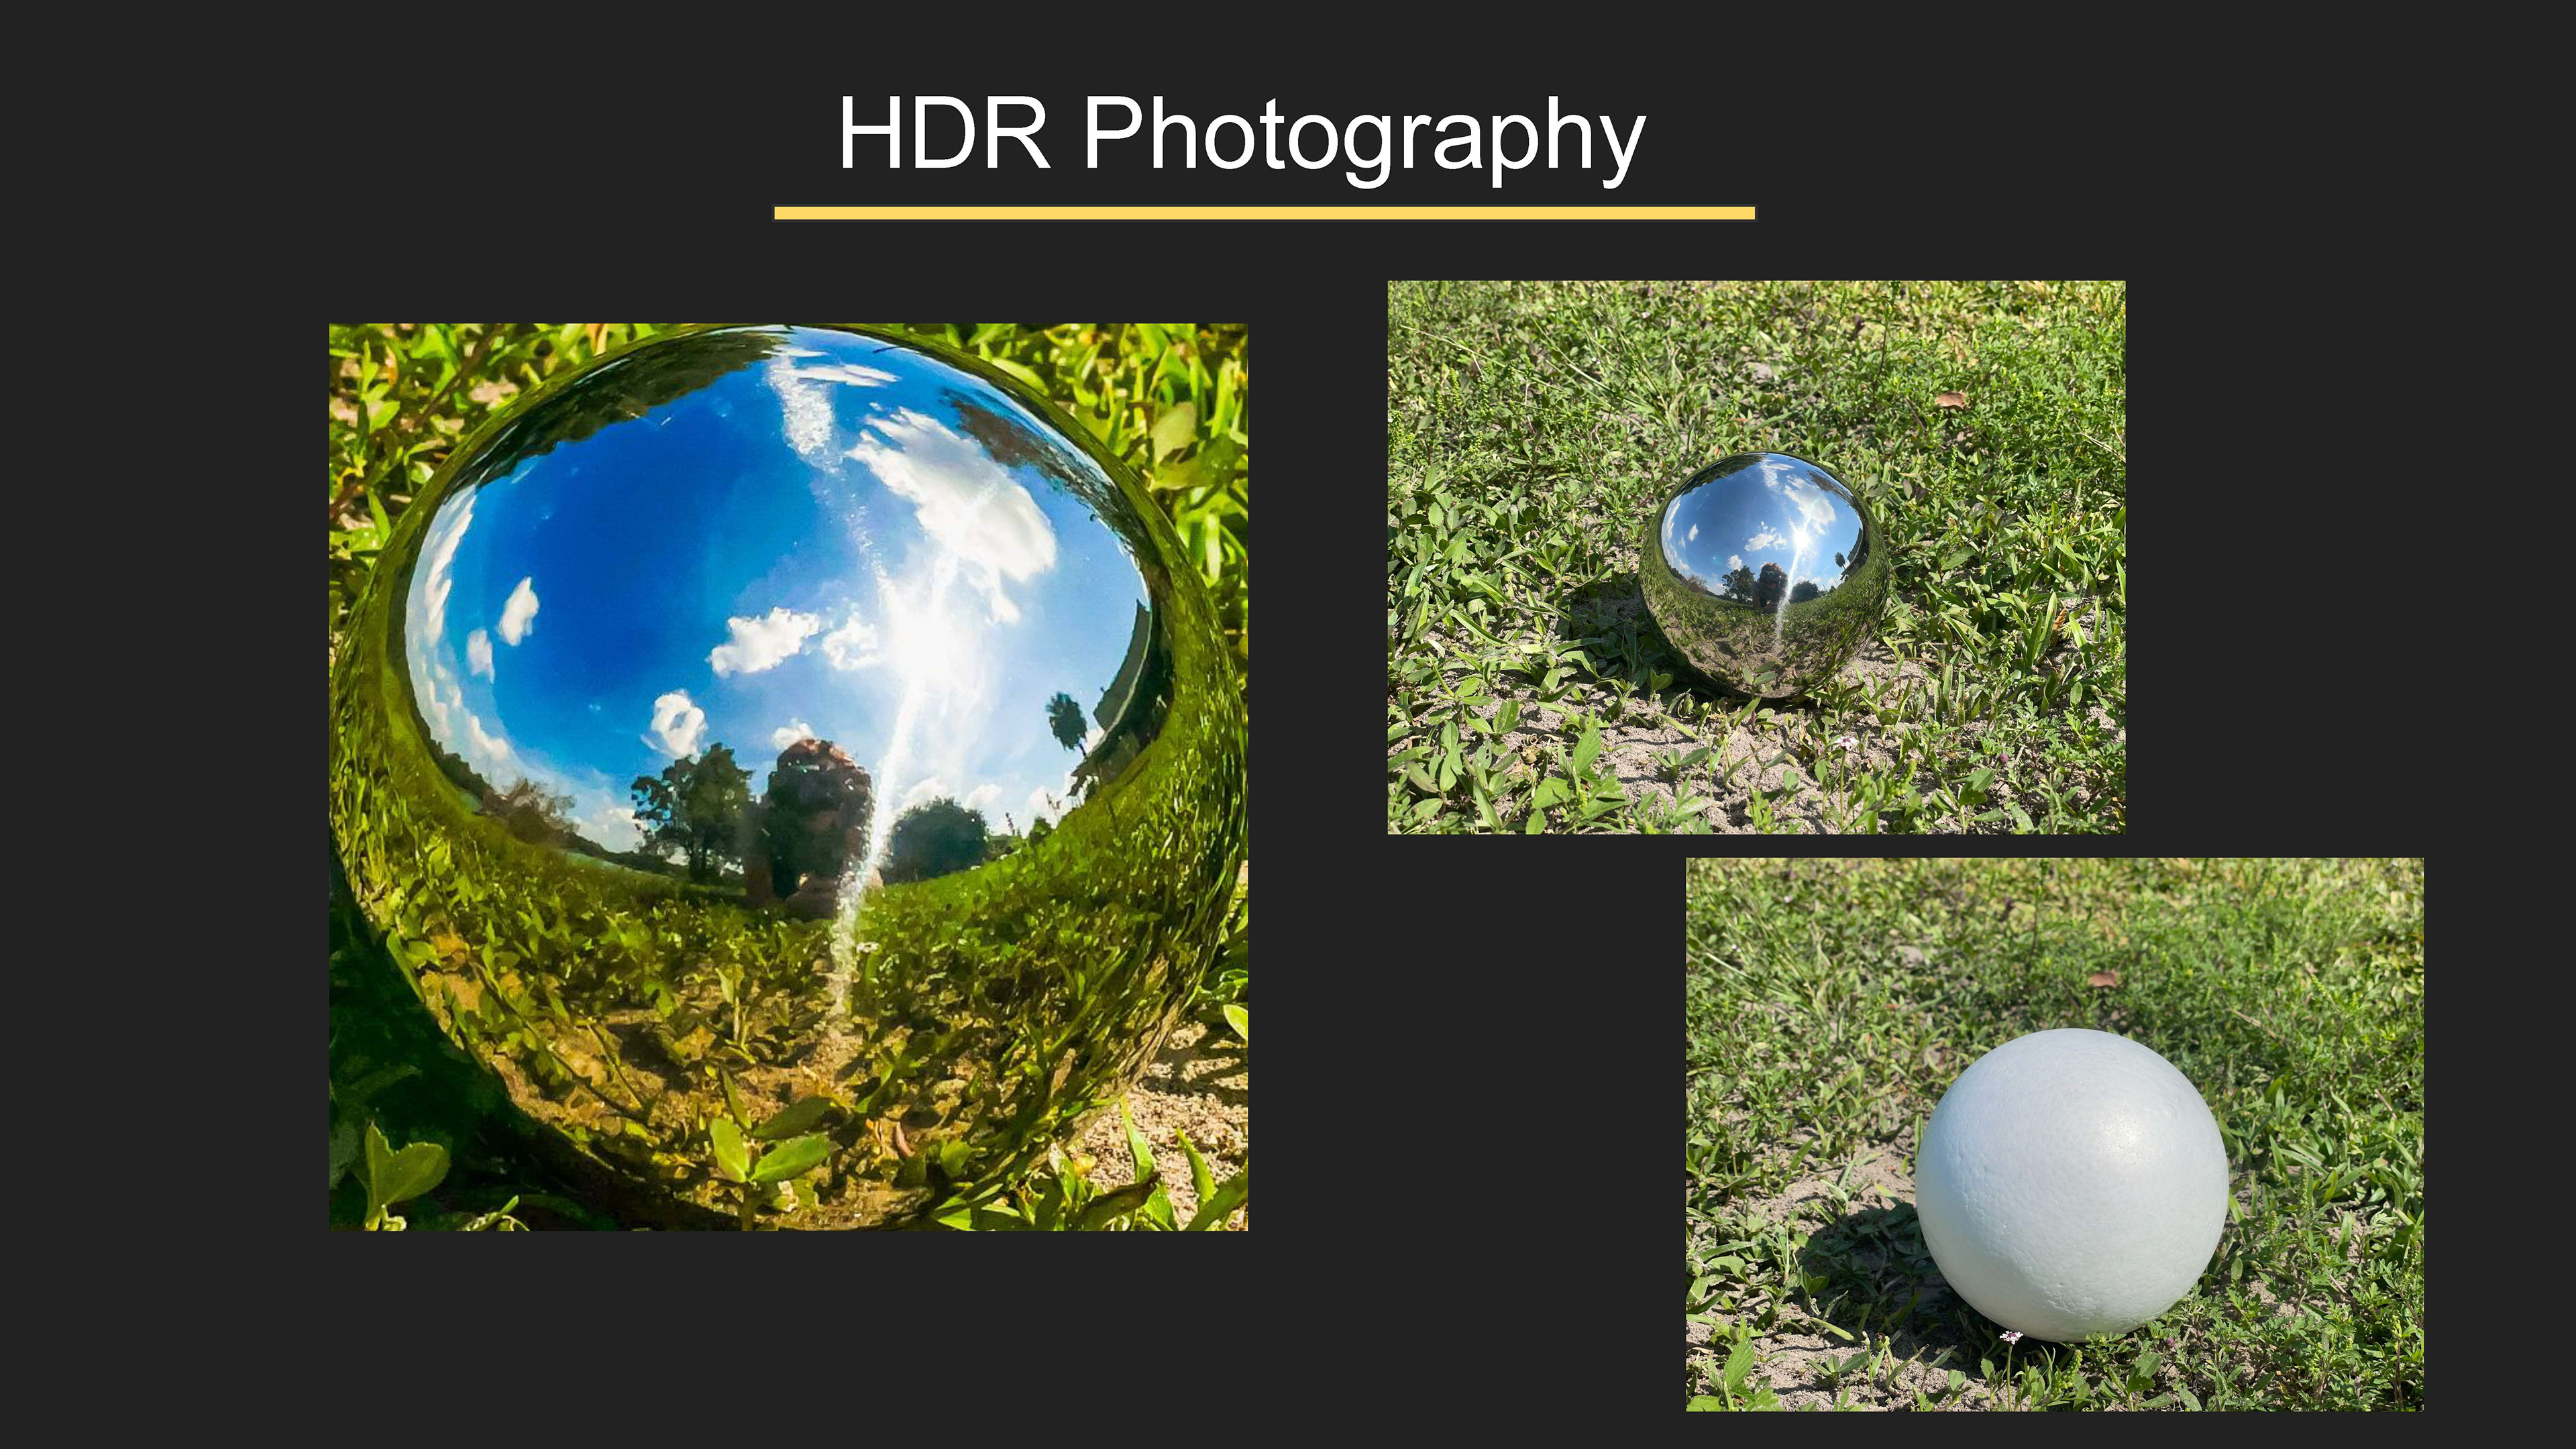
The following morning, I went back to Lake Mayer to try and capture enough images of the lake front to build a mesh using Agisoft Photoscan. I finished the session with about 160 images of the shore with variations in height, angle, and direction to help give the program enough data to build an accurate model.
Later, I filtered the image set through Lightroom and tried to eliminate as many highlights and hard shadows as possible for improved accuracy.
As Agisoft Photoscans crunched through the data, my teammates were working on our 3D Previs, Fluid and Ice Simulations, and our Keen Tools face rig.
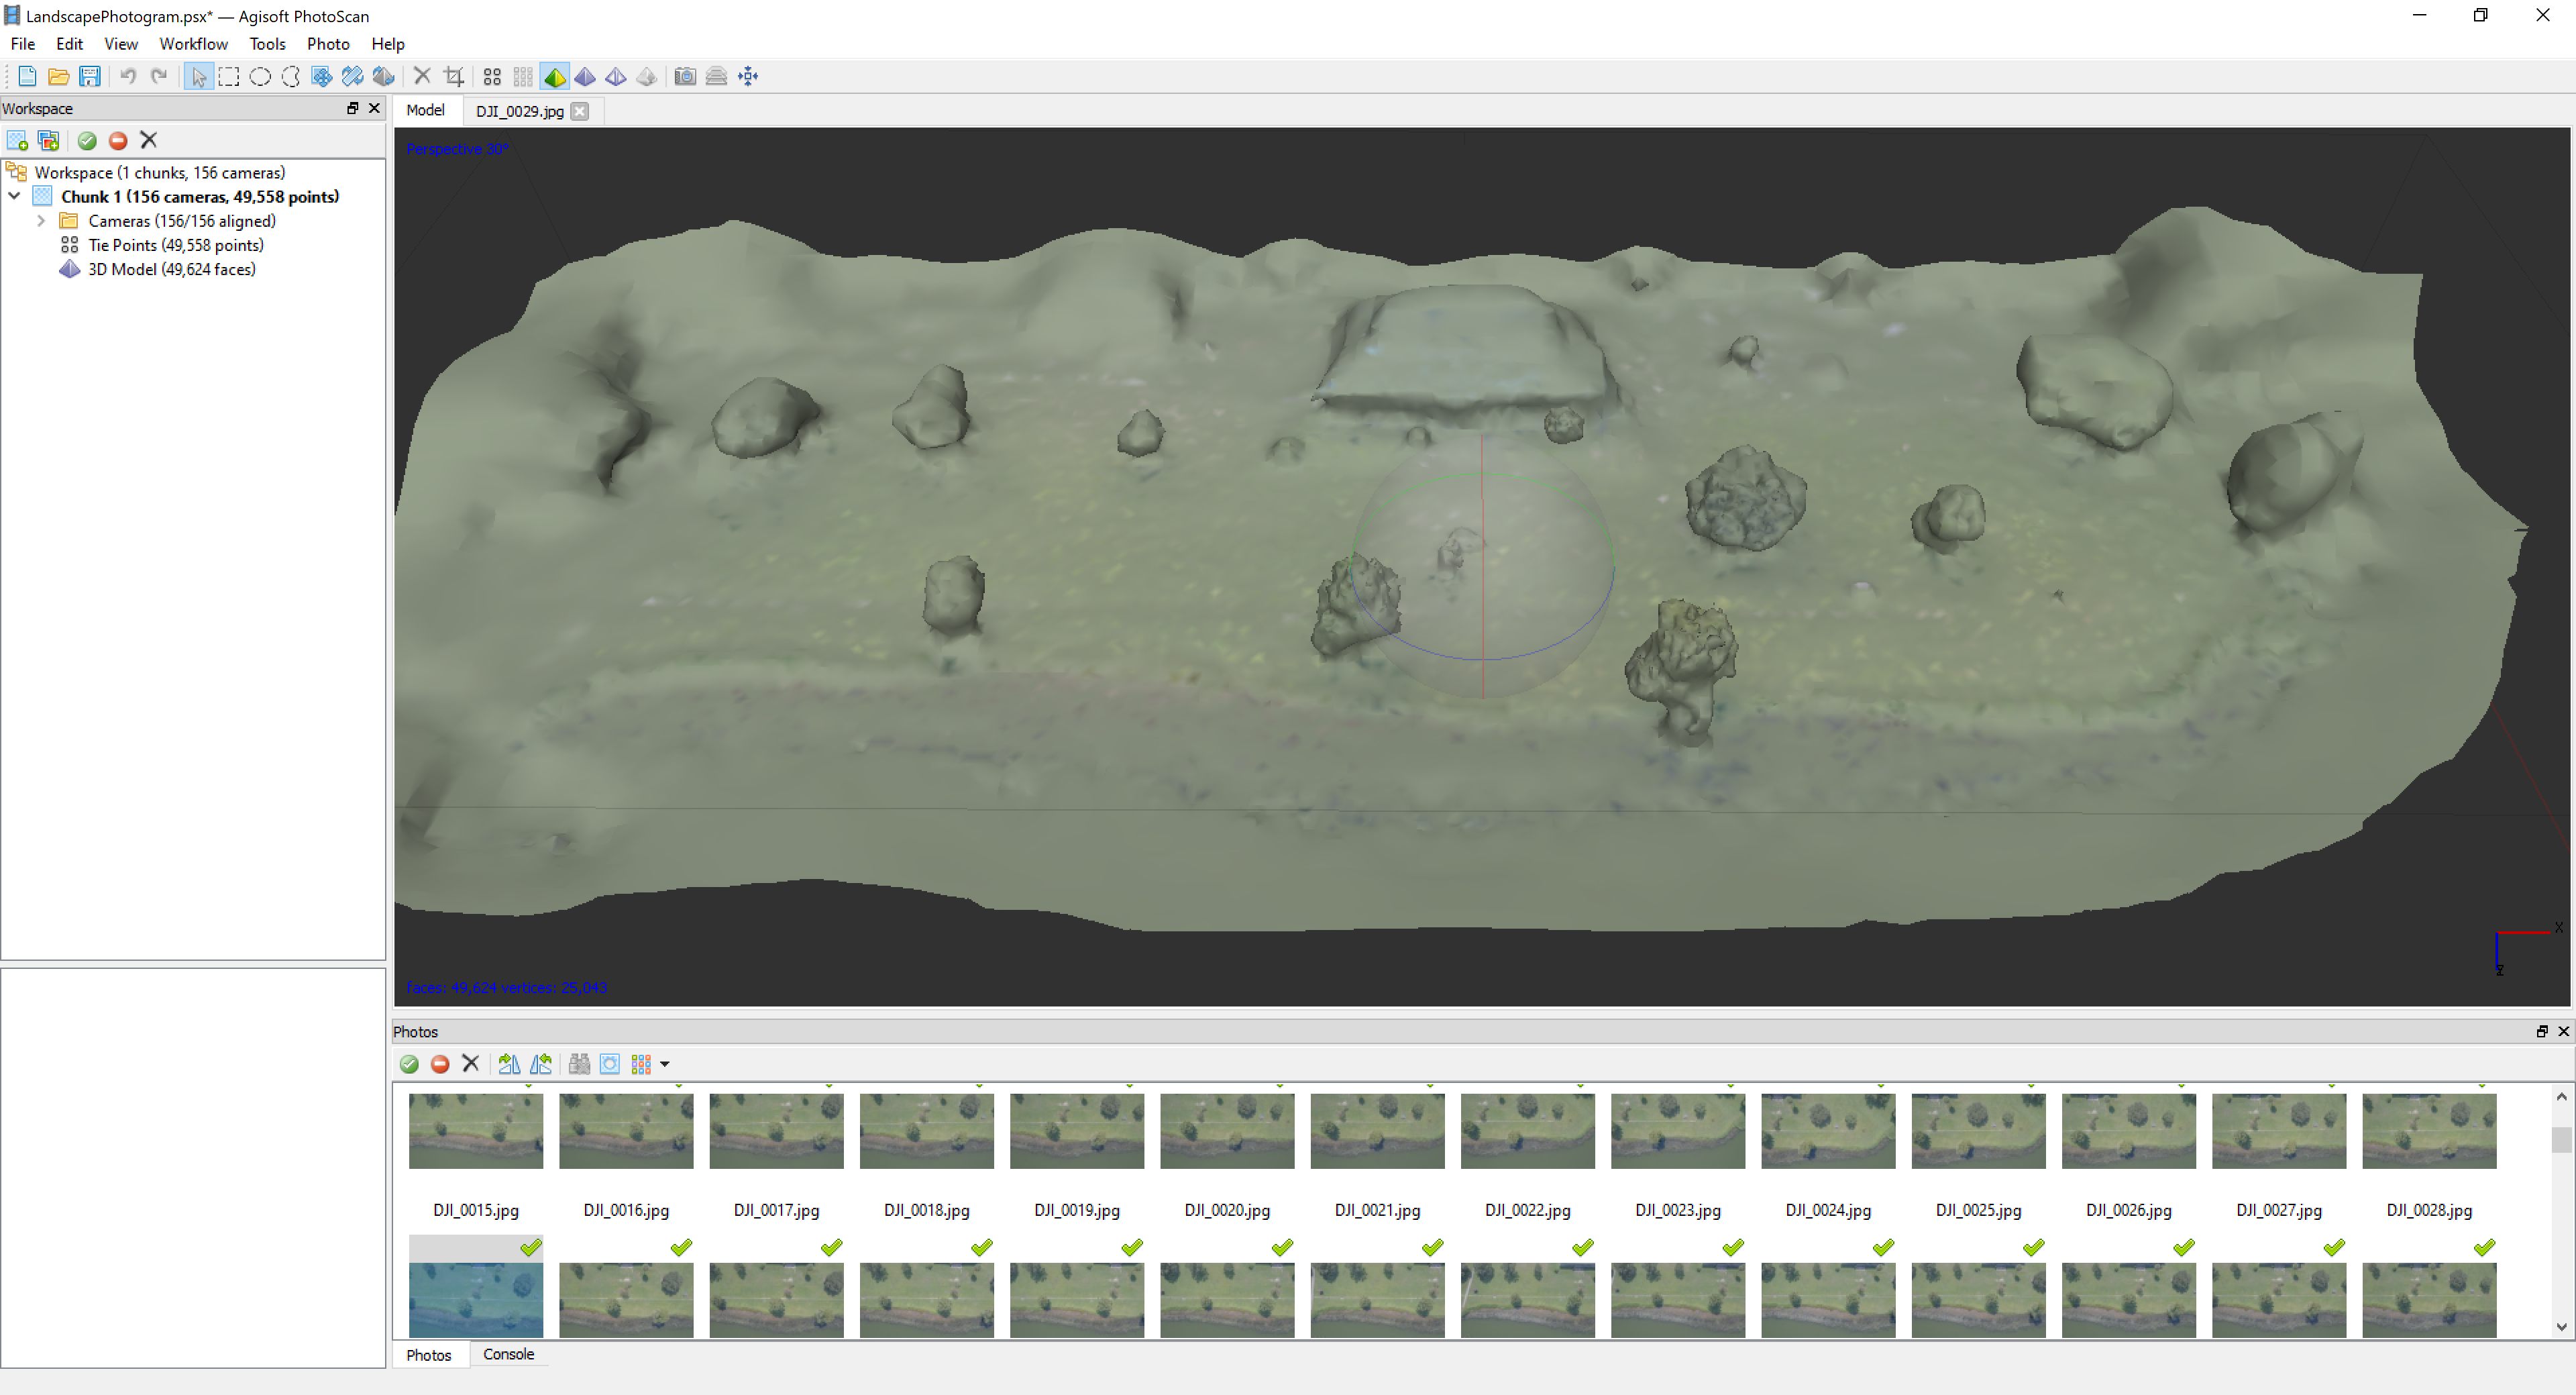
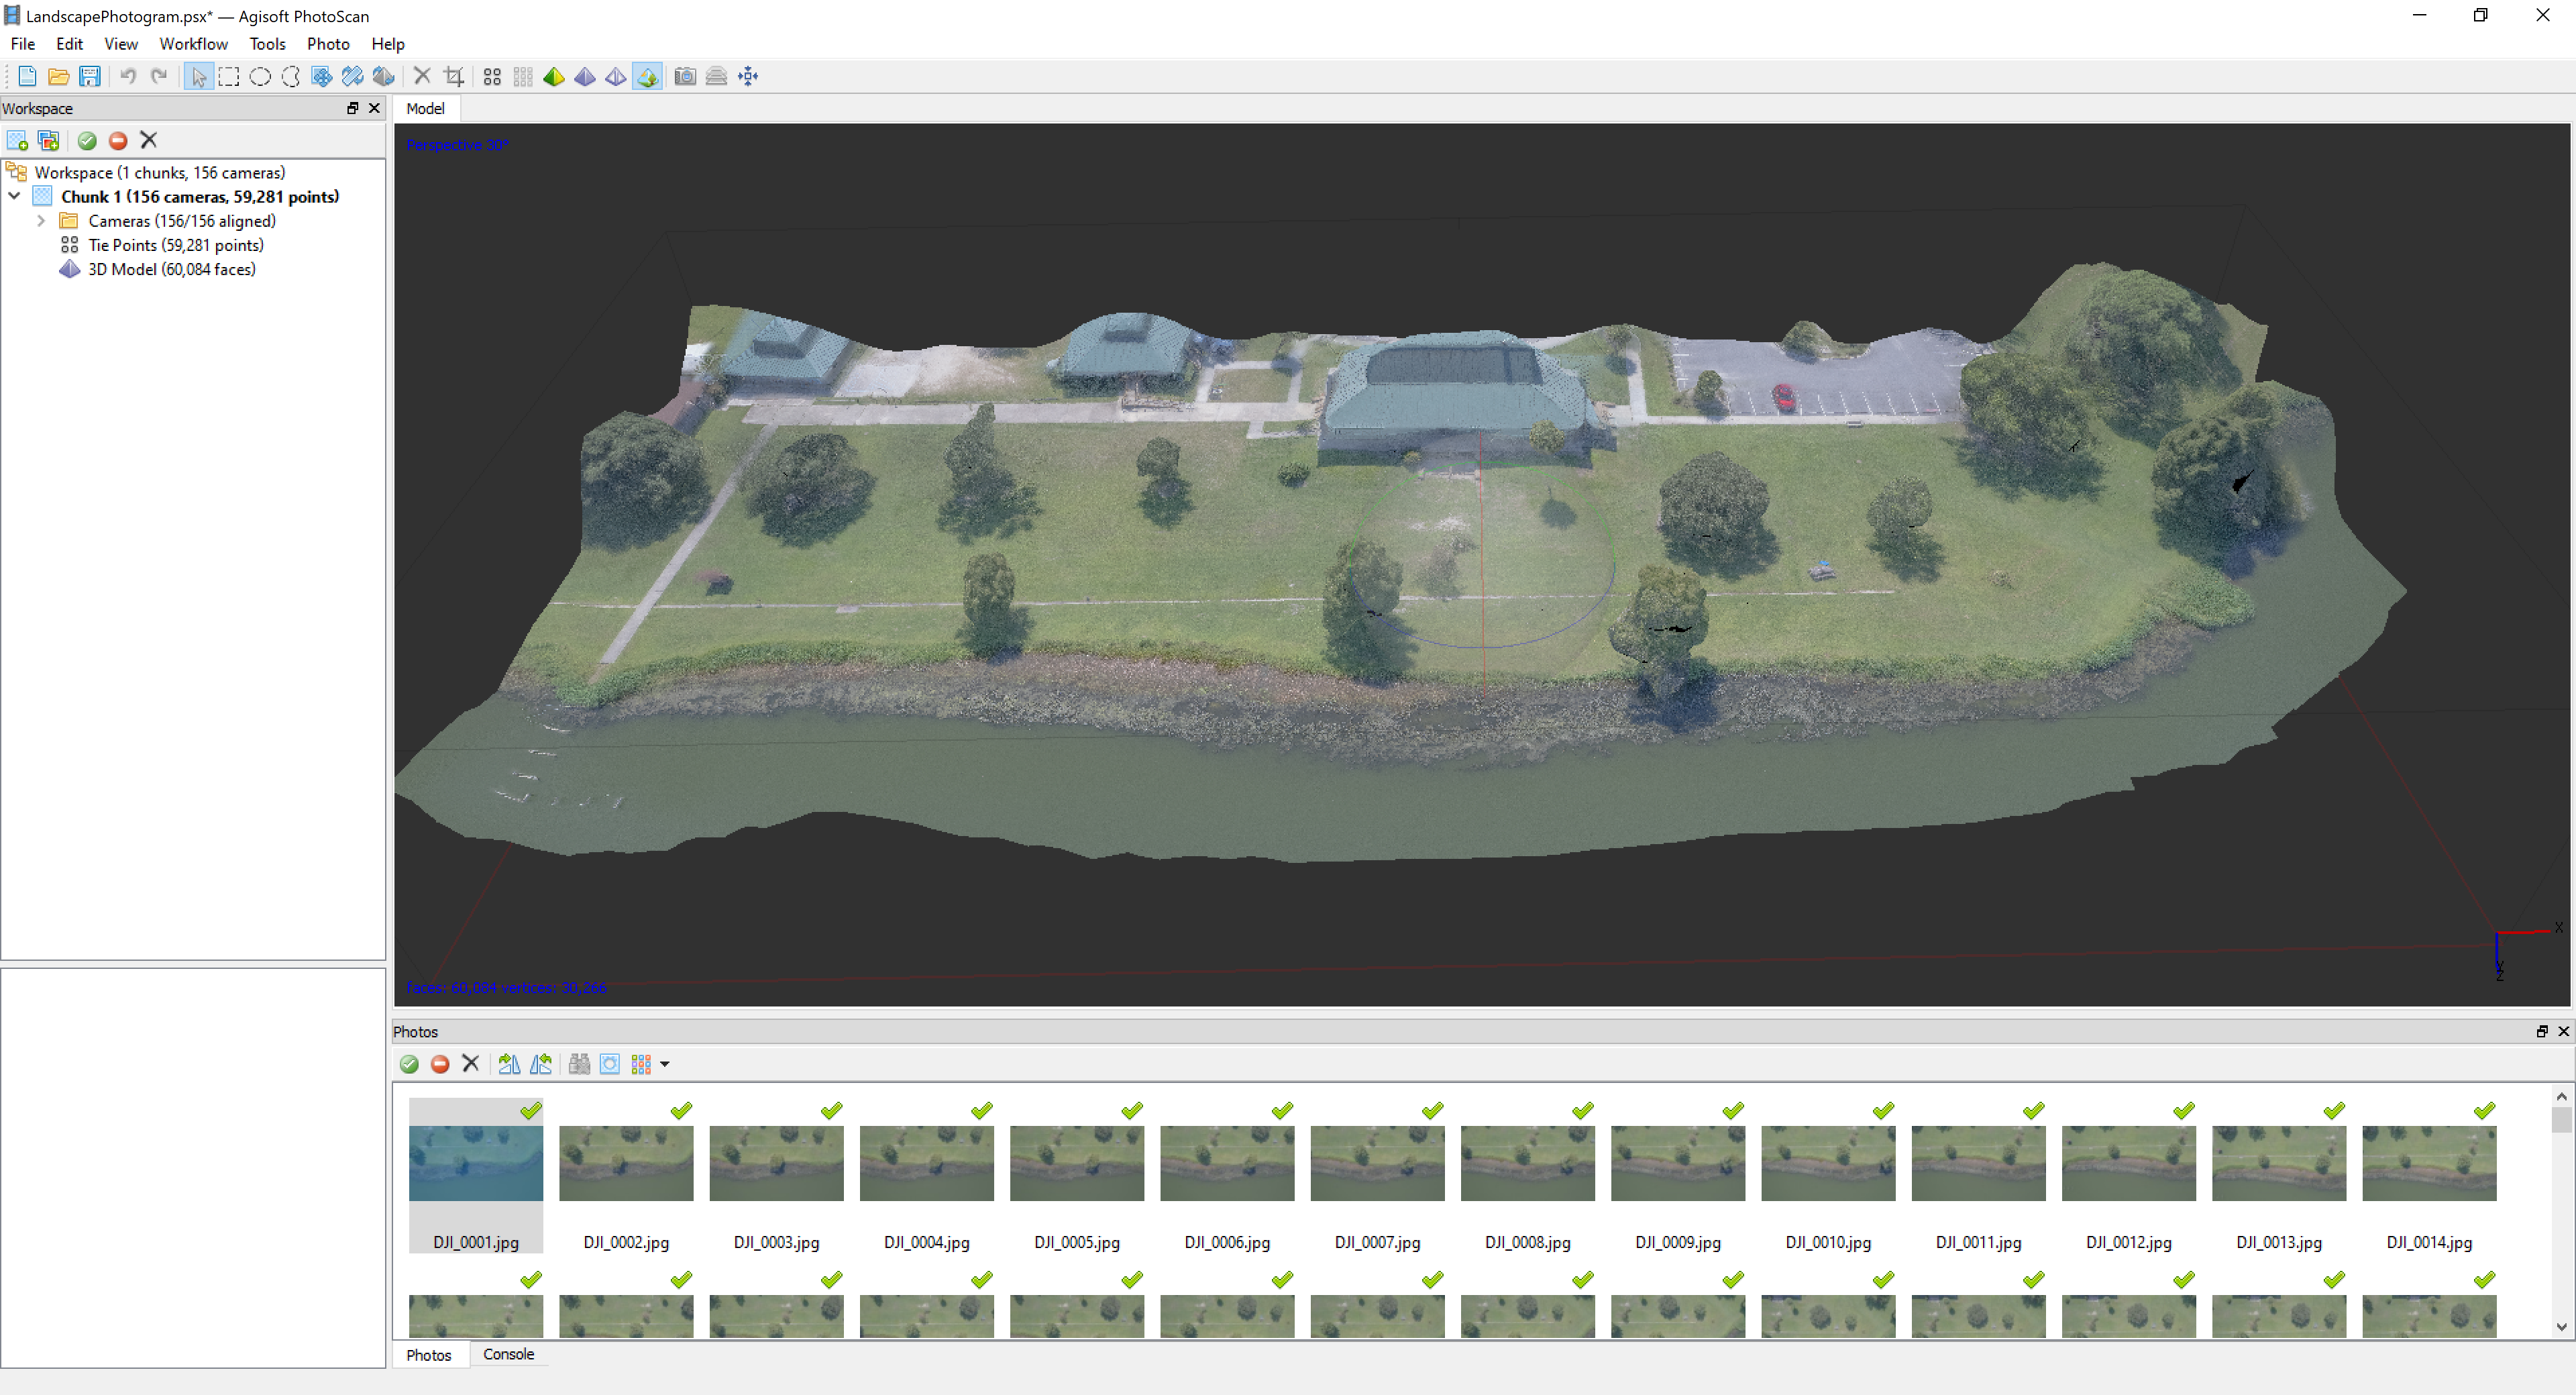
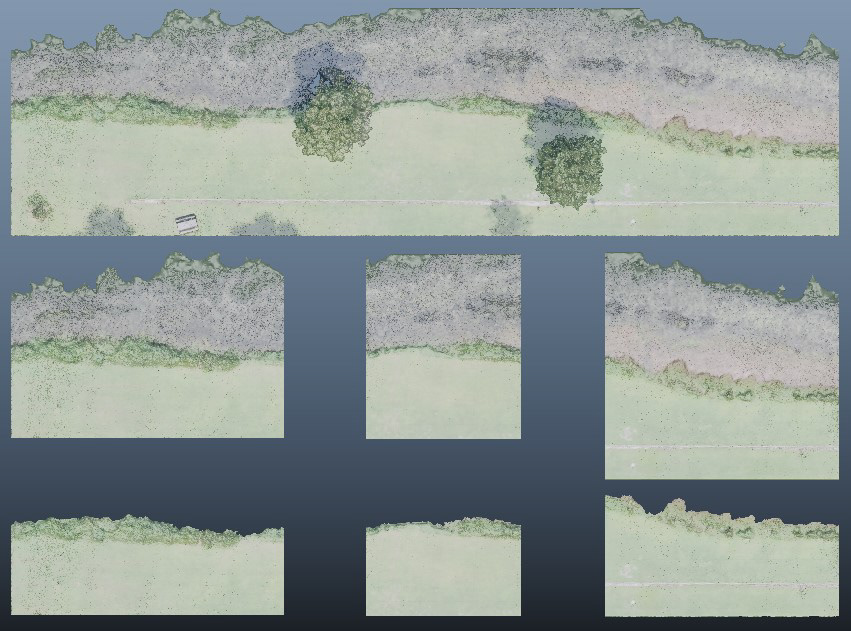
I was unsatisfied with the resulting mesh from Agisoft Photoscan so I recieved permission from Professor Gaynor to use Quixel's Reality Capture software using the Pay-Per-Instance or PPI Liscence.
The control and fidelity that Reality Capture gave me was signifigant. Using the same images, the resulting mesh contained much more detail and could be contained to specified areas.

Week 3: Pitch Revisited
For week 3, we had our new footage, research, and photogrammetry assets to present to Powerhouse.
With the new footage, we were able to put together a new Pre-vis video to better illustrate our intent. This new video and our R&D was compiled into a presentation that we re-pitched to Powerhouse on Tuesday.


Week 4: Development
That weekend, much of our progress was stalled by preparations and temporary closures made for Hurricane Ian.
When we returned I began separating our photogrammetry assets into smaller, more modular pieces.
We also discussed the use of Megascans Trees in early access with the European Black Alder set given their unique quality and reactive seasonal features.
Later the next day, we went back to the lake to gather more footage.
Week 5: Into Unreal
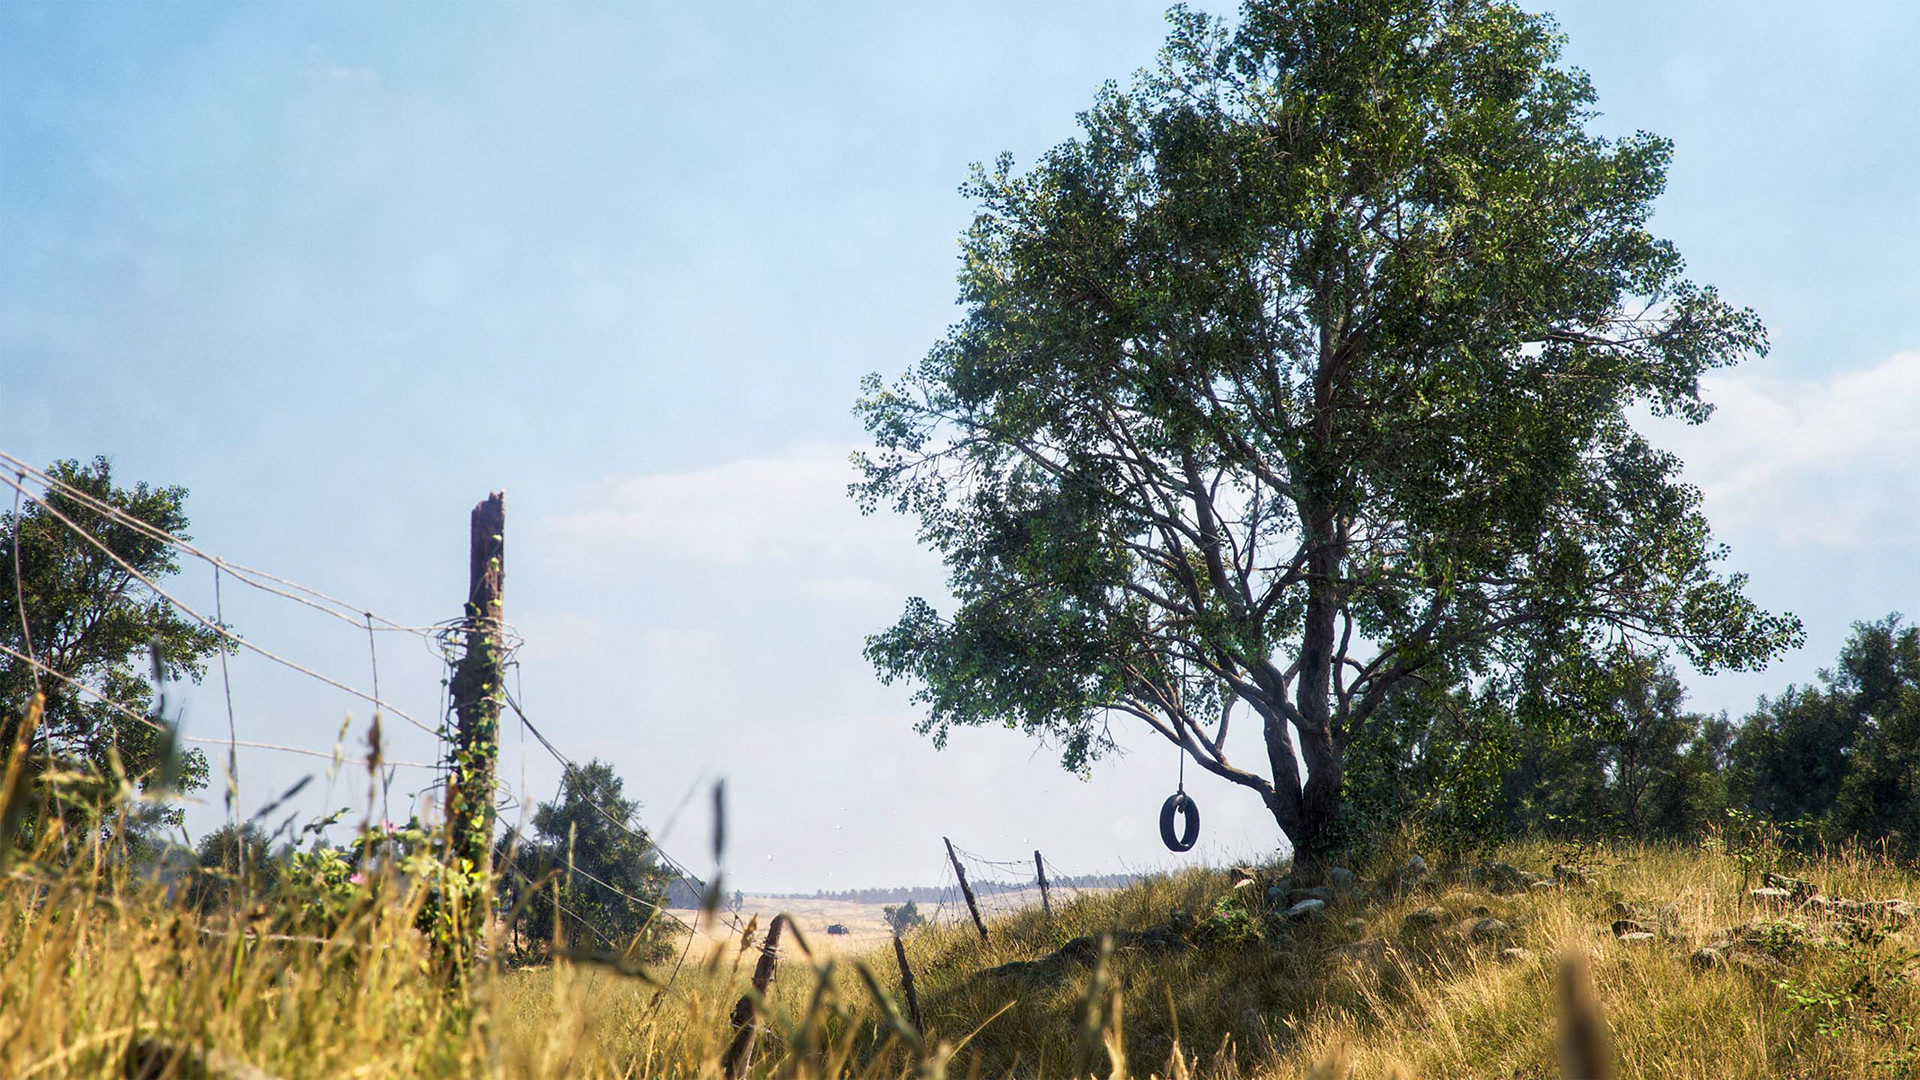
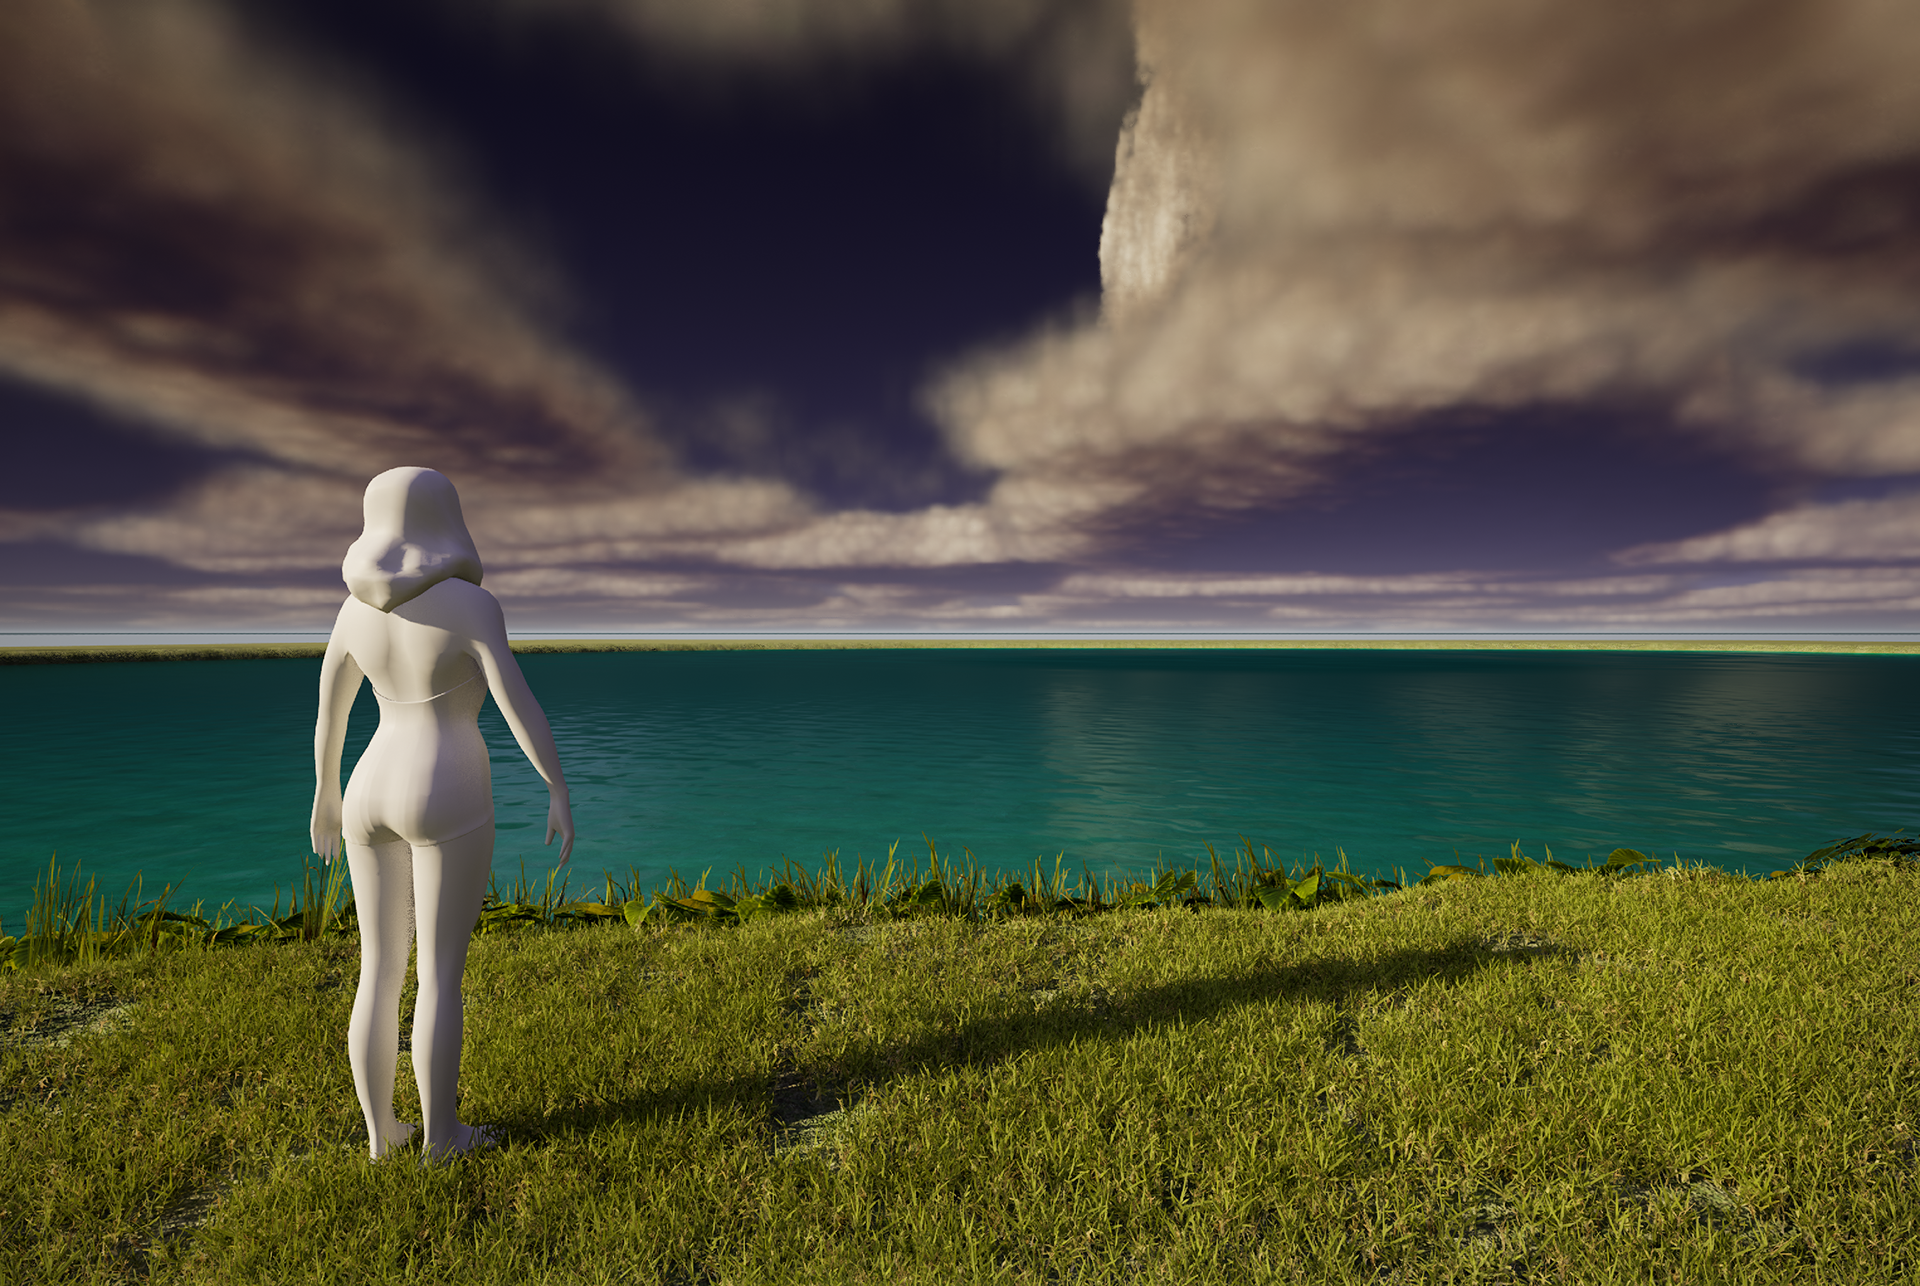
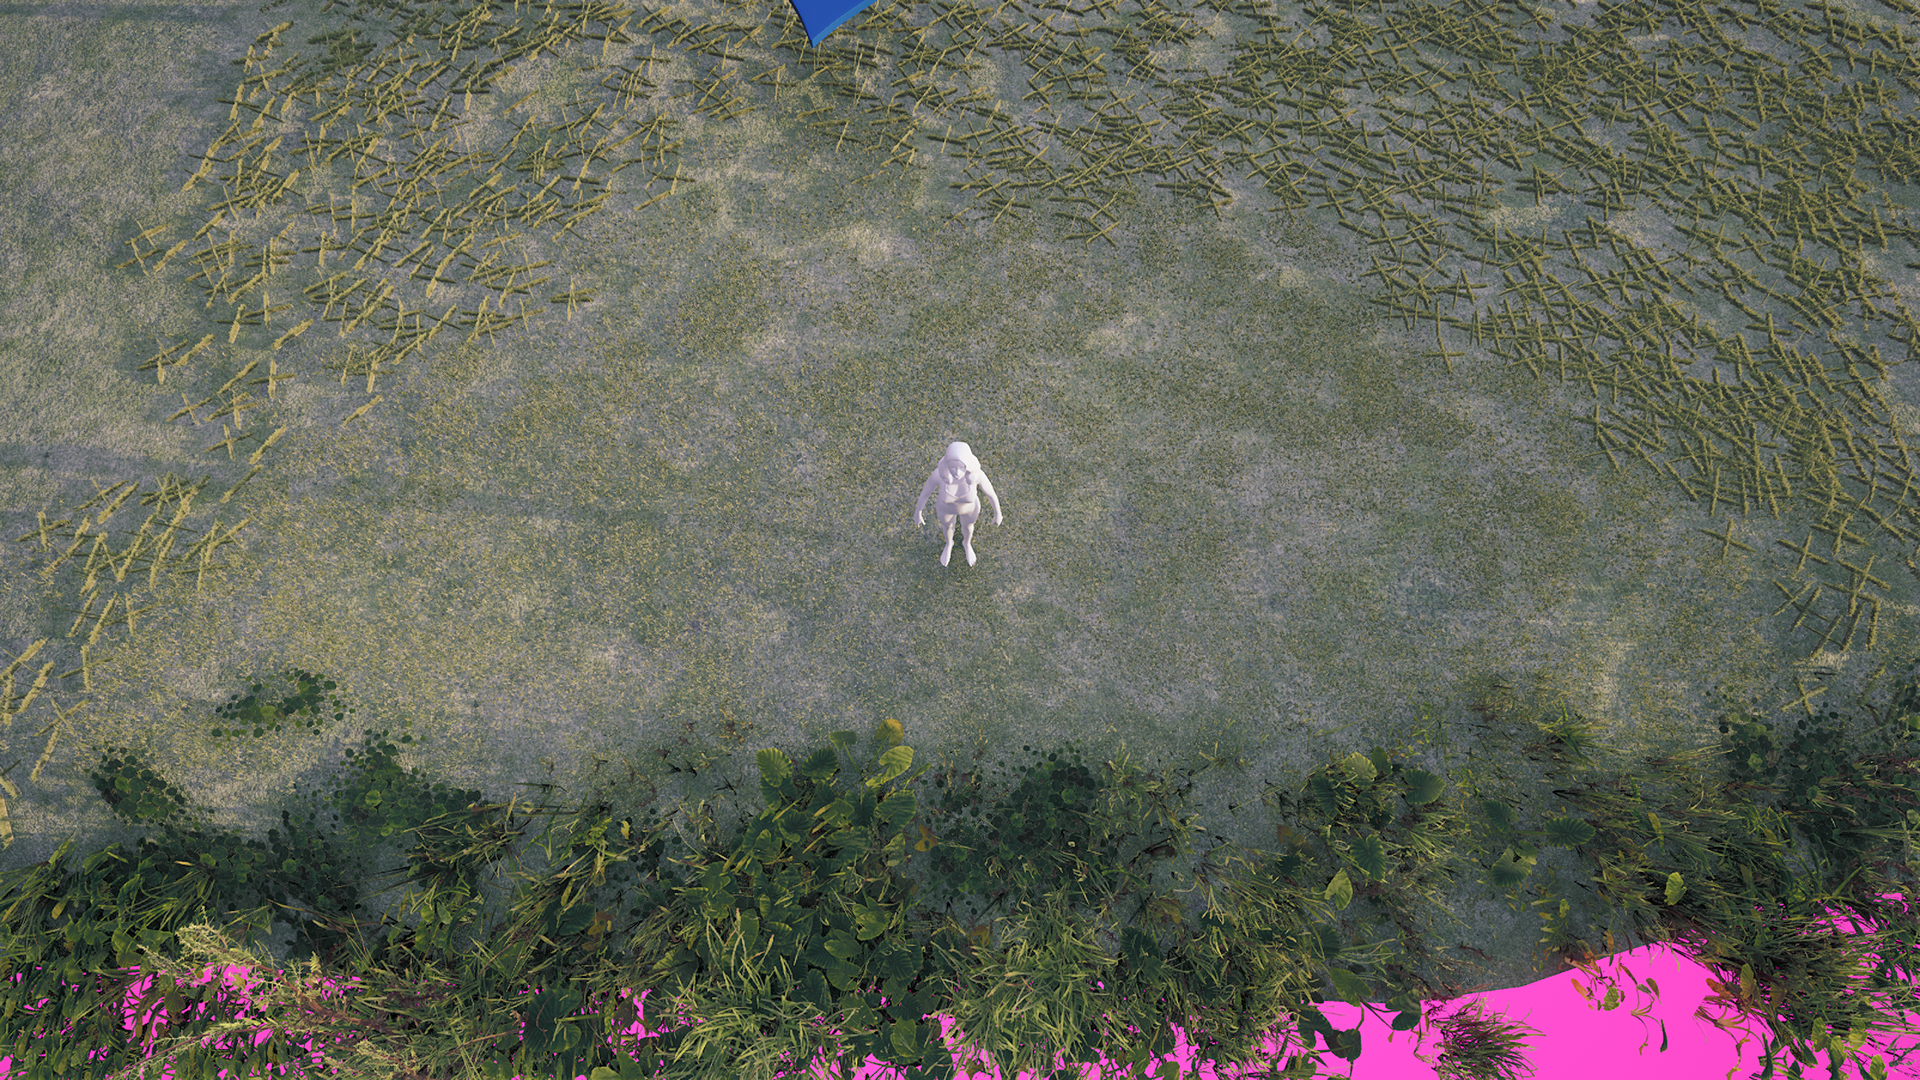
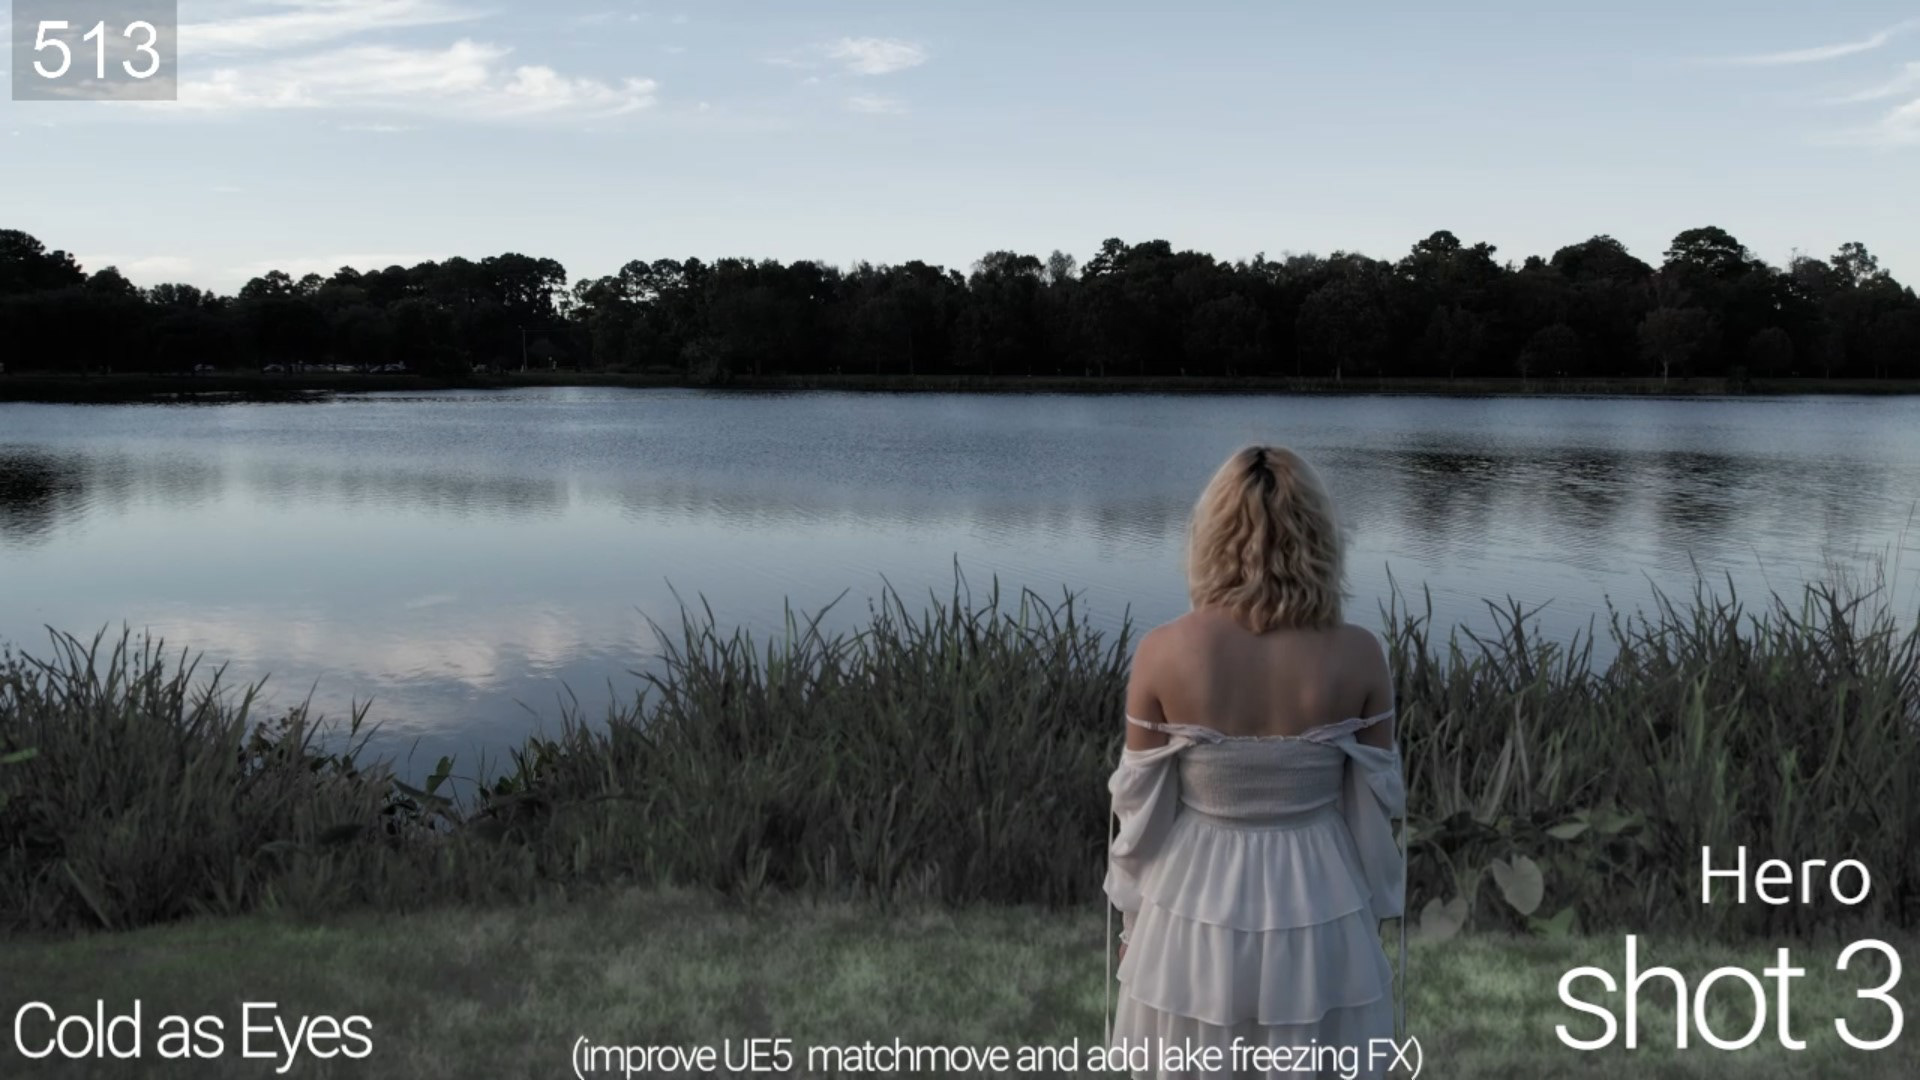
In week 5, I began to develop an Unreal environment designed to recreate the landscape and light setting of our drone footage for Shots 4 and 5 of our final composition.
R&D began first with a mashup of our Reality Capture generated Landscapes and Quixel's Early Access Megascans trees.
Development continued with a few key changes and additions:
A) The scanned landscapes were ditched in favor of Unreal's Landscape tool which allowed me to sculpt/recreate the topology of the real life lake front.
B) In-Engine Post Processing was added to help match the color grading and temperature of the scene more accurately to the drone footage.
C) 3D Foliage assets from Quixel's library were employed liberally.
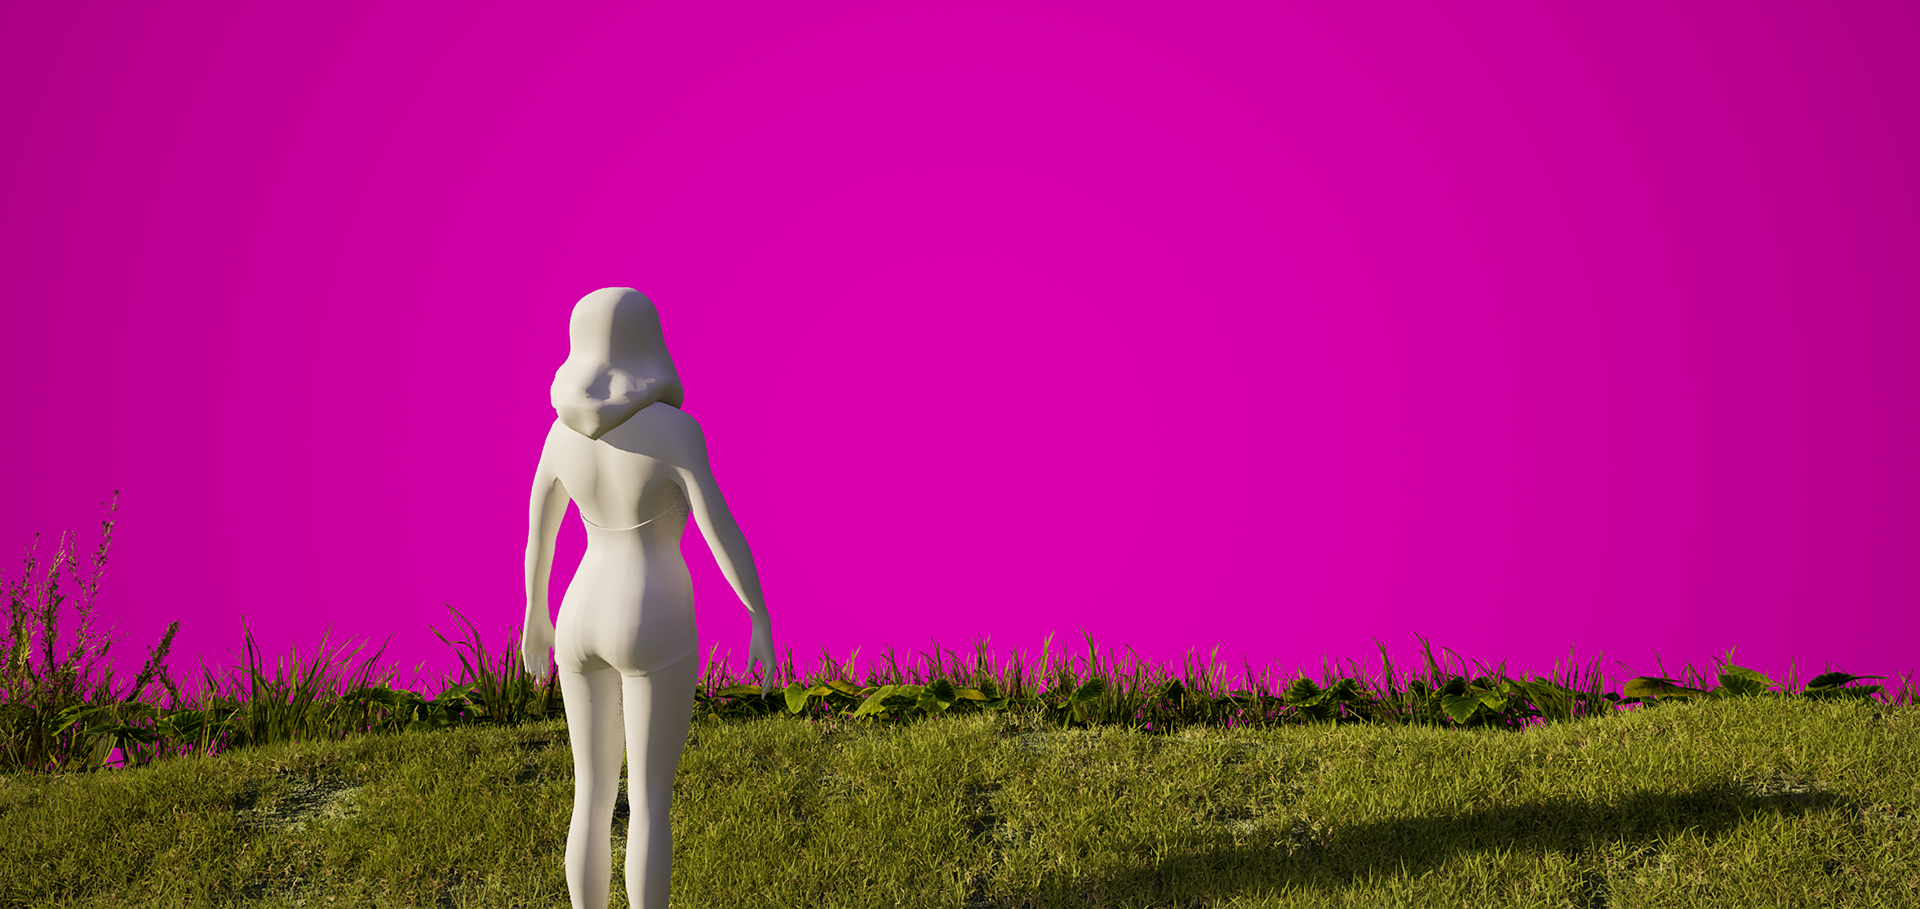
D) All but the landscape and foliage was then covered with a plane of flat color to aid in Compositing later down the line.

Satisfied with the arrangement of foliage for Shot 4 (the Over-the-Shoulder shot), the rest of the environment was built out and populated to accommodate the wider, overhead Shot 5.
Once complete, all effort was channeled into "Freezing" the various plants and foliage in the scene.
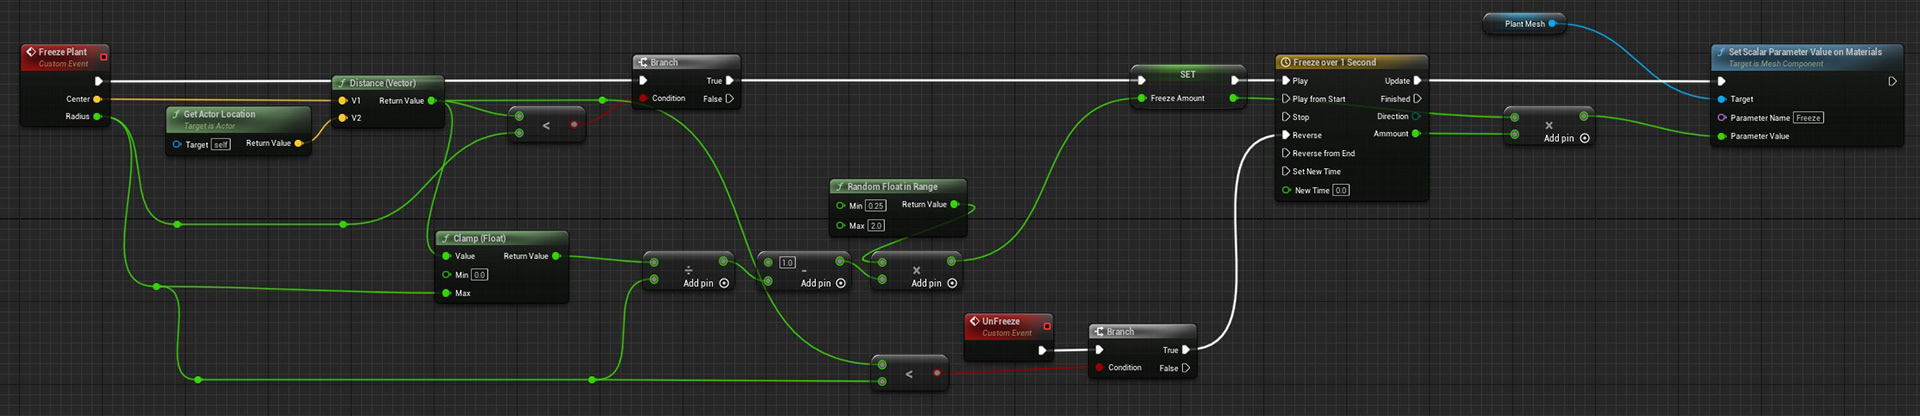
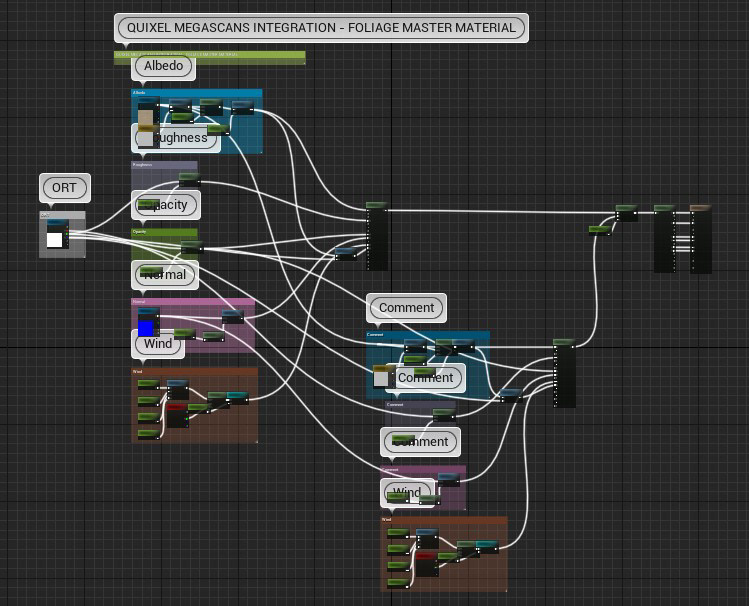
At huge expense to performance, all 40,000 instanced foliage actors were replaced with a custom object containing the above logic. Each one would have a custom material blend driven by a single variable to go from state A: Summer, to state B: Winter.
Several hours of sweat and tears were sacrificed to make this happen.
Seeing the result made up for the all that was lost.
Week 6: Putting it Together
In week 6, I was able to import the camera movements tracked from the Drone footage by my team mates. Once properly aligned, I could begin exporting plates for our final composite.
Unfortunately, render times were excessive due to the performance cost of the Foliage Freezing solution. In spite of this commitment, progress was made.
In engine, the composition, timing, and camera movements were tweaked and refined.
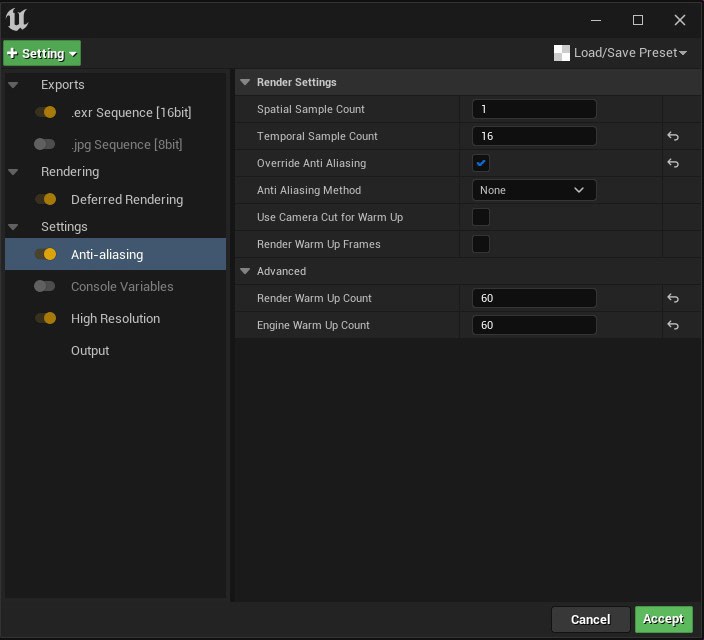
The format which renders were exported underwent some R&D, trying different Anti-Aliasing methods among other settings in Unreal Media Render Queue.
Week 7: Refining the Shots
In week 7, I worked to adjust the camera movements in Unreal and improve some of the frost effects in engine.

Week 8: Patching the Gaps
In week 8, I made changes to the Unreal Engine environment allowing it to better fit atop the original drone footage. These changes included adding more foliage and pulling the camera further back to capture more of the environment.
I also researched and discovered how to convert my EXR imports from sRGB to OCIO ACES, thus allowing my teammates to more easily process renders from Unreal.
Week 9: Finishing Touches
In week 9, I created a variety of assets and effects to better emphasize the freezing of the environment and assisted in the refinement of the virtual, Unreal Engine background for Shot B.

I modeled icicle spikes in Maya and used them in a Niagara Particle System which scales them up from the ground in a short radius around a specified point.
For this effect I created an Ice Material, applied it to the models, and then toggled them in render.
For Shots C and D, I created a frozen lake using a tiling Ice material and using it's height map to generate a new model with geometry instead of traditional displacement using the new Mesh Modelling mode in Unreal Engine 5.
The material used refraction and opacity to give depth to the Ice and a separate, animated material was created to sit on a plane underneath the Ice thus simulating the movement of water.
Week 10: The Finish Line
In week 10, I handed my final renders off to the compositors of our team to do their final touches to. With the remaining free time, I put together an credit reel and left the project happy with the results!
Working in a VFX pipeline was a unique experience that challenged me to approach Unreal Engine and the Game Design pipeline in a new way.